
Top Shelf Clearance Challenge – May 2019
I was invited by some creative, crafty and very talented bloggers to participate in another Top Shelf Clearance Challenge! Links to all their blogs, and the awesome projects they completed, are listed at the bottom of this post.
Click here to see my February, March or April Clearance Challenge Projects
About this Challenge…
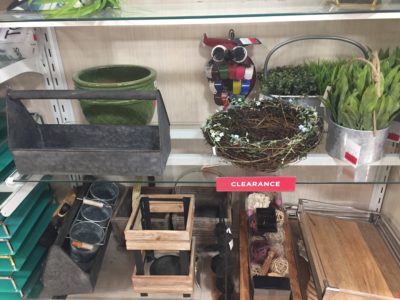
The rules for the Top Shelf Clearance Challenge are as follows. Buy at least one clearance item for $15 or less. Take a photo of the clearance area and the clearance sticker(s). Then take the item(s) and do with them as you wish.
This post contains some affiliate links for your convenience (which means if you make a purchase after clicking a link I will earn a small commission which helps keep my blog up and running but it won’t cost you a penny more)!
Here is what I found this month…
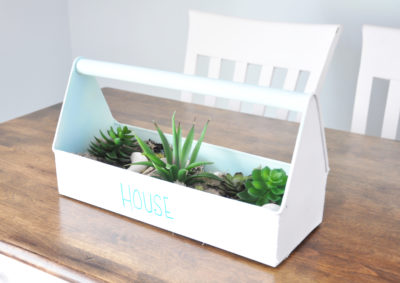
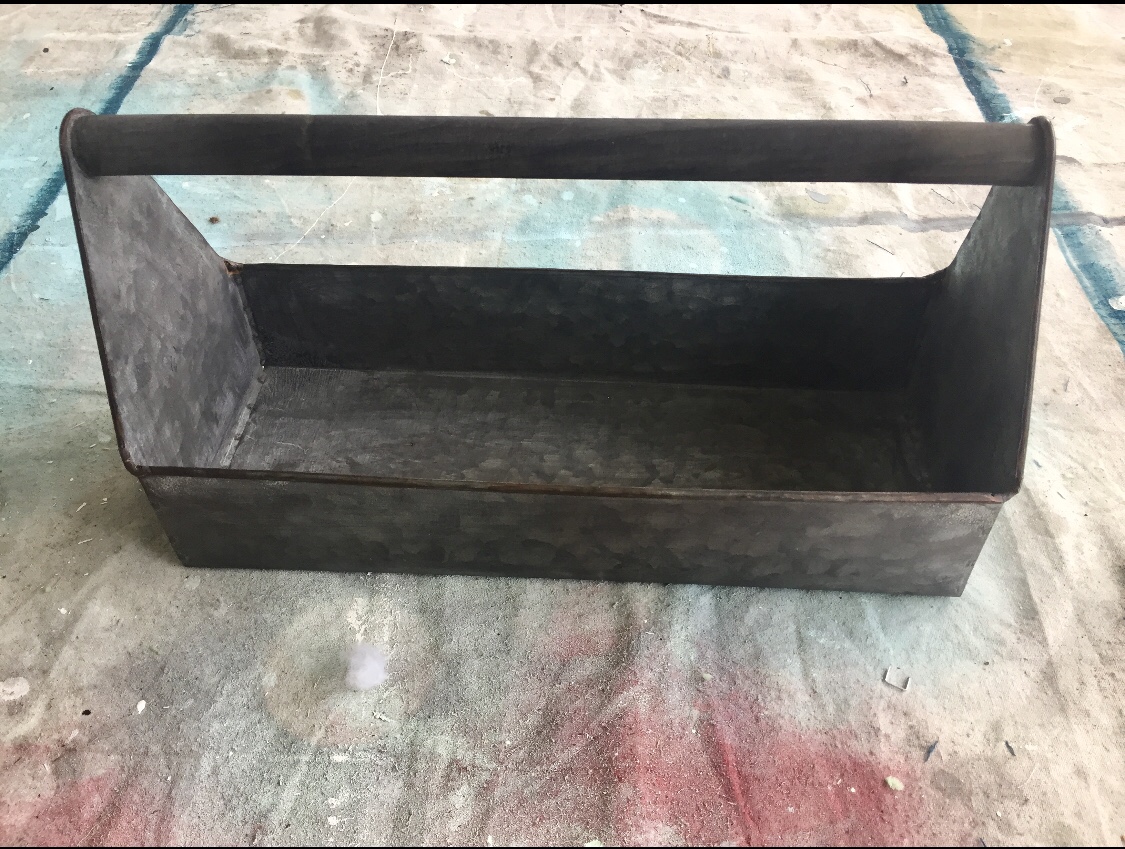
I checked my usual stores, but nothing caught my eye until I hit my local HomeGoods where I found this fun, metal caddy on the clearance shelves for $10. I wasn’t sure what to do with it, but I knew I wanted it, and I knew I’d find a use for it.
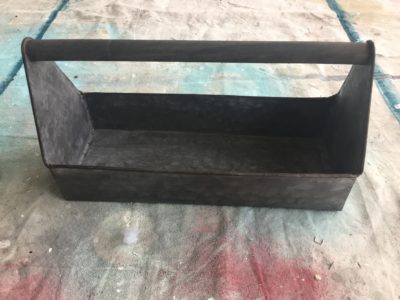
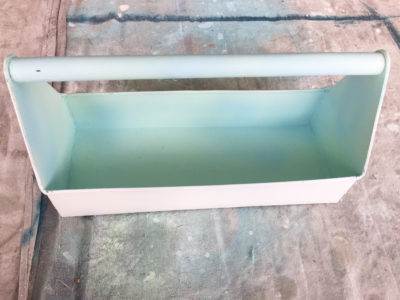
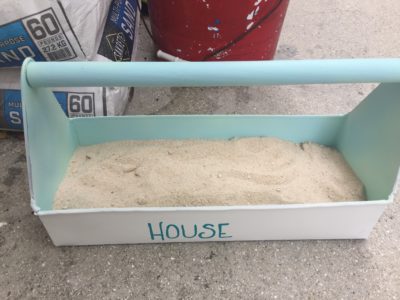
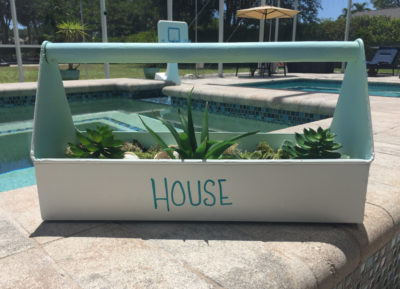
Once I got it home I decided it needed a paint job. I like the rustic metal look , but wanted to make this more beachy/coastal. Using some white spray paint and some seaglass aqua spray paint from my garage, I painted the outside white and the inside aqua.
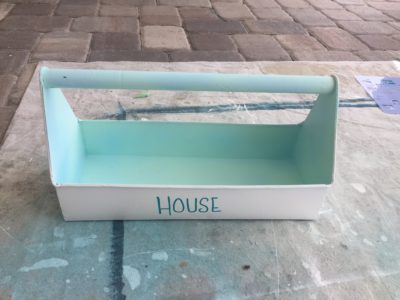
I wrote our last name (House) on both sides of the caddy using a paint pen. If you have never used a paint pen, you are missing out. They are great. I used them on this FarmHouse Sign project and one of my readers used them on this Christmas Sign Project too. I did not use a stencil, I just free-handed it (so it is not perfect).
What I decided to do with it…
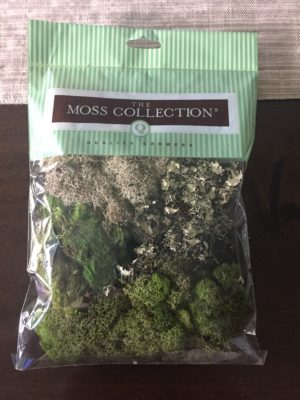
After it got a paint job I decided it’d make a great succulent garden. I headed to Hobby Lobby to find some faux succulents and bought this package of moss too.
Making the faux arrangement…
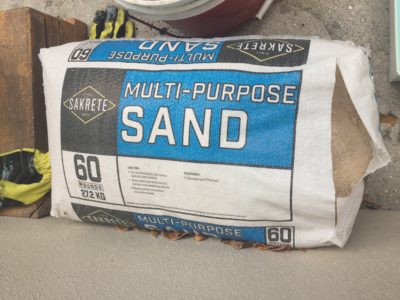
First, I filled the caddy half way up with sand, using left over sand we had in the garage from when we built our Tiki Bar.
Next, I started placing the succulents into the sand.
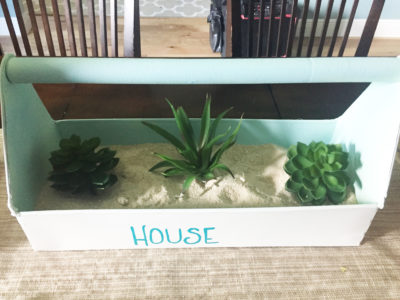
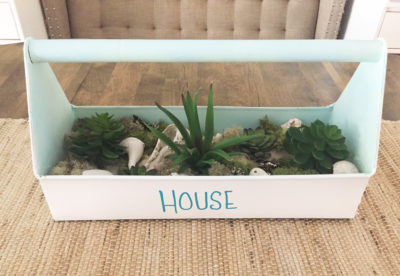
Once I was happy with how the succulents looked, I added moss and some shells (I have a million shells in the house) and arranged them until they looked good. This is how it ended up.
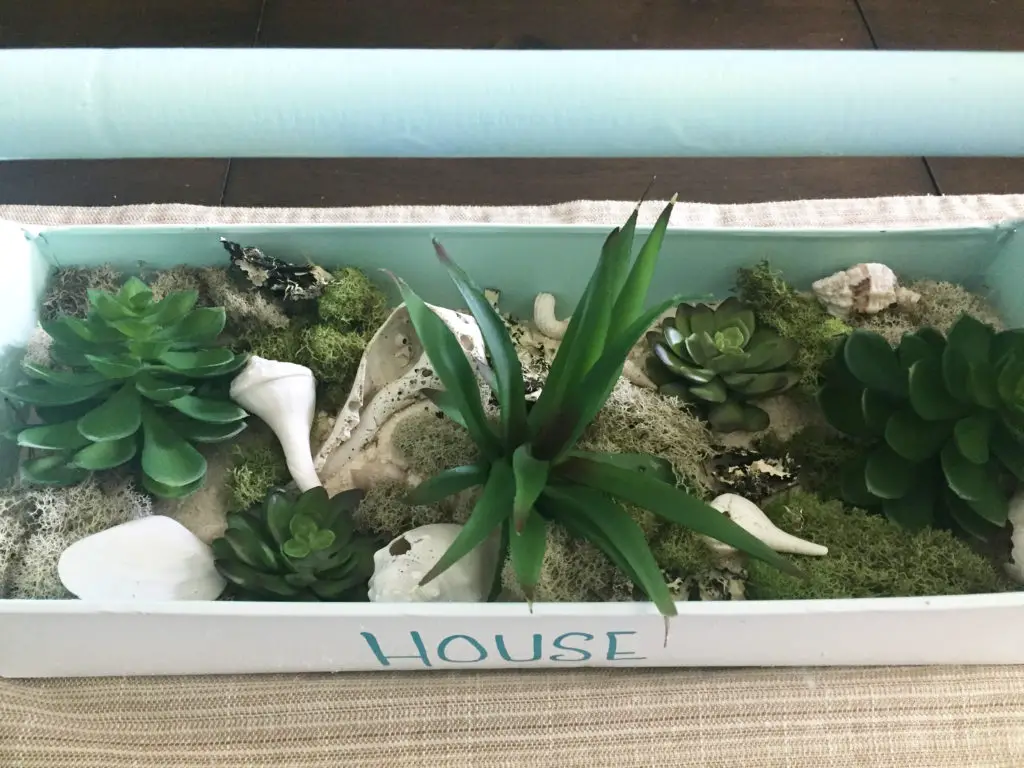
And that’s it! This was so easy to make and looks really cute! If you follow me regularly you know I love a good quick and easy project and this couldn’t have been easier.
You could obviously use real succulents or other plants too. Or you could use the caddy for a million other things, like storing pens, pencils, markers, etc, or you could use it for parties and put plastic knives, forks, spoons, and napkins in, or use it in your bathroom for makeup, or beauty products or cleaning supplies, or for lots of other things.
And one more BEFORE and AFTER…
Please be sure to check out all the other bloggers projects and see what they found on the Clearance Shelves this month!

 Terrie, Decorate And More With Tip
 Lindsay, The Farmhouse Eclectic
Pin This Item


10 Comments
Jodi, I love that sea color!! Such a creative idea with the succulents!! We have a million shells too so this gives me a fun activity for my little ones!
Glad you like it. I thought about using it just for shells, but I already have so many other containers full of them in my house. HA!!!
Jodi, I am loving your clearance find. using that as a planter is such a great idea. Love the colors you used for the pool area. Perfect!
Thank you, Terrie!
I love how you painted the caddy! That sea glass color is SO pretty! It looks perfect sitting next to your gorgeous pool!
Thank you so much! I think I’m a little obsessed with the color blue. LOL
I LOVE what you have done with this metal caddy! It is so cute and so summery! Great transformation!!!
~Emily
Thank you so much!
que c’est beau ce que vous faites,j’adore les teintes,bravo 🙂
Thank you!