
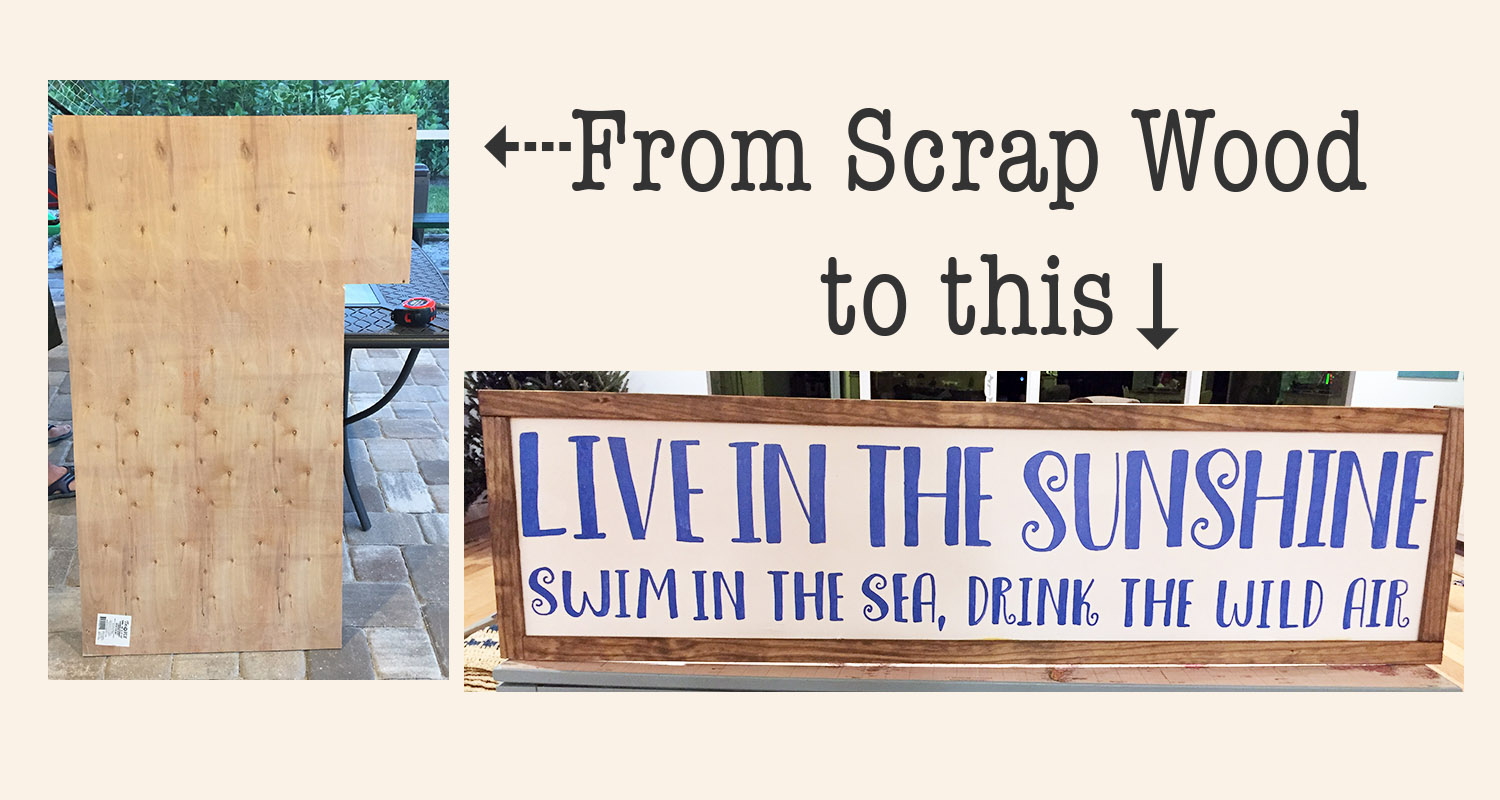
Making a Farmhouse Sign from Scrap Wood
I’ve been seeing all these cute farmhouse signs online and I’ve been wanting to order one. We happened to have some good scrap plywood in the garage so I thought I’d try to make one instead. I wasn’t sure if I could do it, but think it came out pretty cute! Keep reading for the full tutorial on making a farmhouse sign from scrap wood.
This post contains some affiliate links for your convenience (which means if you make a purchase after clicking a link I will earn a small commission which helps keep my blog up and running but it won’t cost you a penny more)!
Materials Used in making a Farmhouse SignPlywood |
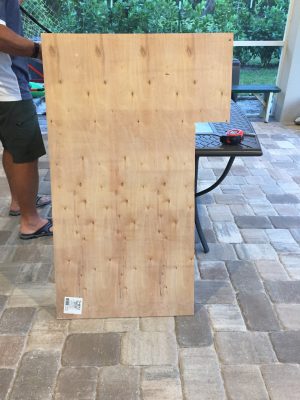
Step 1 in Making a Farmhouse Sign from Scrap Wood – Cutting the Wood
My husband was able to cut the scrap piece of plywood in half for me (and get rid of that extra little piece too). He used his jig saw to cut it, and as you can see the cuts didn’t come out perfectly straight. That was okay with me since I knew I’d be adding a frame around it. If you don’t have any scrap wood lying around and you want to give this a try, you can purchase a piece of plywood at any hardware store for not much money. The store can probably cut it for you too.

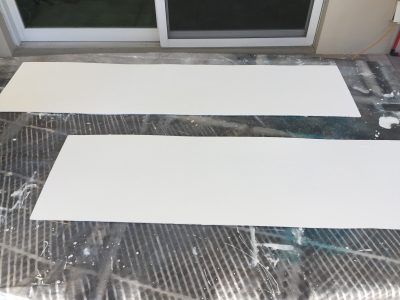
Step 2, Paint
I painted both pieces white (using leftover paint I found in my garage) figuring I’d use the other piece for another project, and I ended up making these Christmas Signs with it!
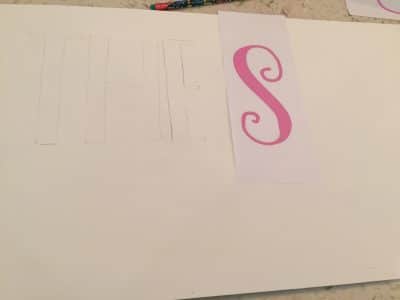
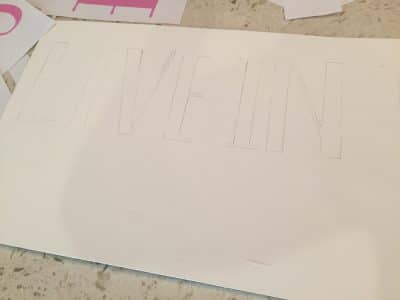
Step 3, Stencil the Letters
I downloaded a font called DK Innuendo Regular (for free) to use for the text. I printed each word on regular paper from my computer so I could trace them onto the wood. I just flipped them over and traced the lines of the letters with pencil making sure to do it pretty dark, and then flipped them back over and traced them again so the pencil would transfer to the wood.
Step 4, Paint the Letters
Once the letters were all traced out, I used a paint pen to fill them in. I made some mistakes, as you can see below, but was able to paint over them in white paint using one of my boy’s small paint brushes.
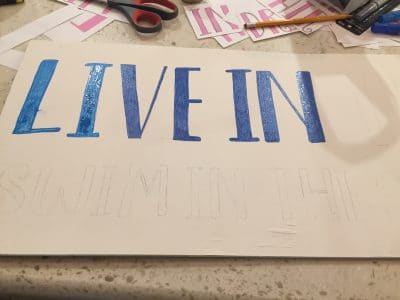
Here is how it looked before I added a frame. You can see the wood is pretty uneven on the top.

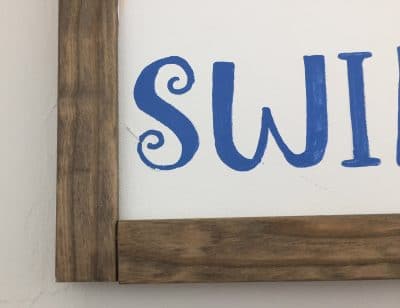
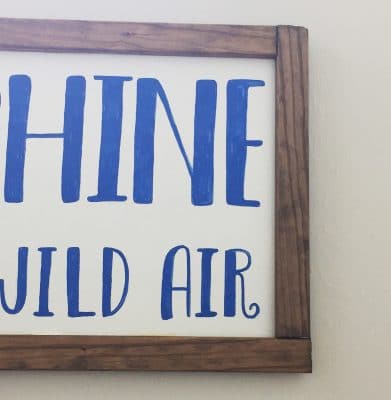
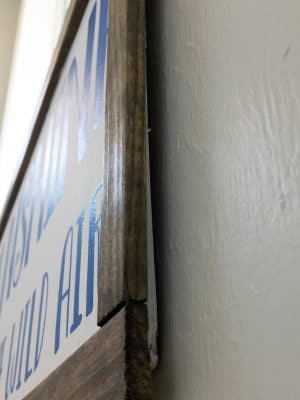
Step 5, Adding a Frame…
Back to the garage we went for more scrap wood. We found a couple of long pieces of left over wood that were the perfect size for a frame. They must have been used for trim or something in our house. Sometimes, in cases like this, I am happy that my husband saves everything. Other times, not so much.
We cut them in straight lines instead of at an angle to make the frame. See below. They are not perfect, but they look just fine. To attach them to the plywood we used some very small nails and wood glue. Then I used some left over stain from this dining room table project to finish it off.

We added some saw tooth hangers to the back and hung it up on the landing of our staircase. Here is how it looks hung up in the house. It made it into a nice gallery wall using these frames and these from Michaels.


And there ya have it. The only thing I had to purchase for this project was the paint pens. It’s not perfect, but not half bad either! What do you think?
PIN FOR LATER…


No Comments