
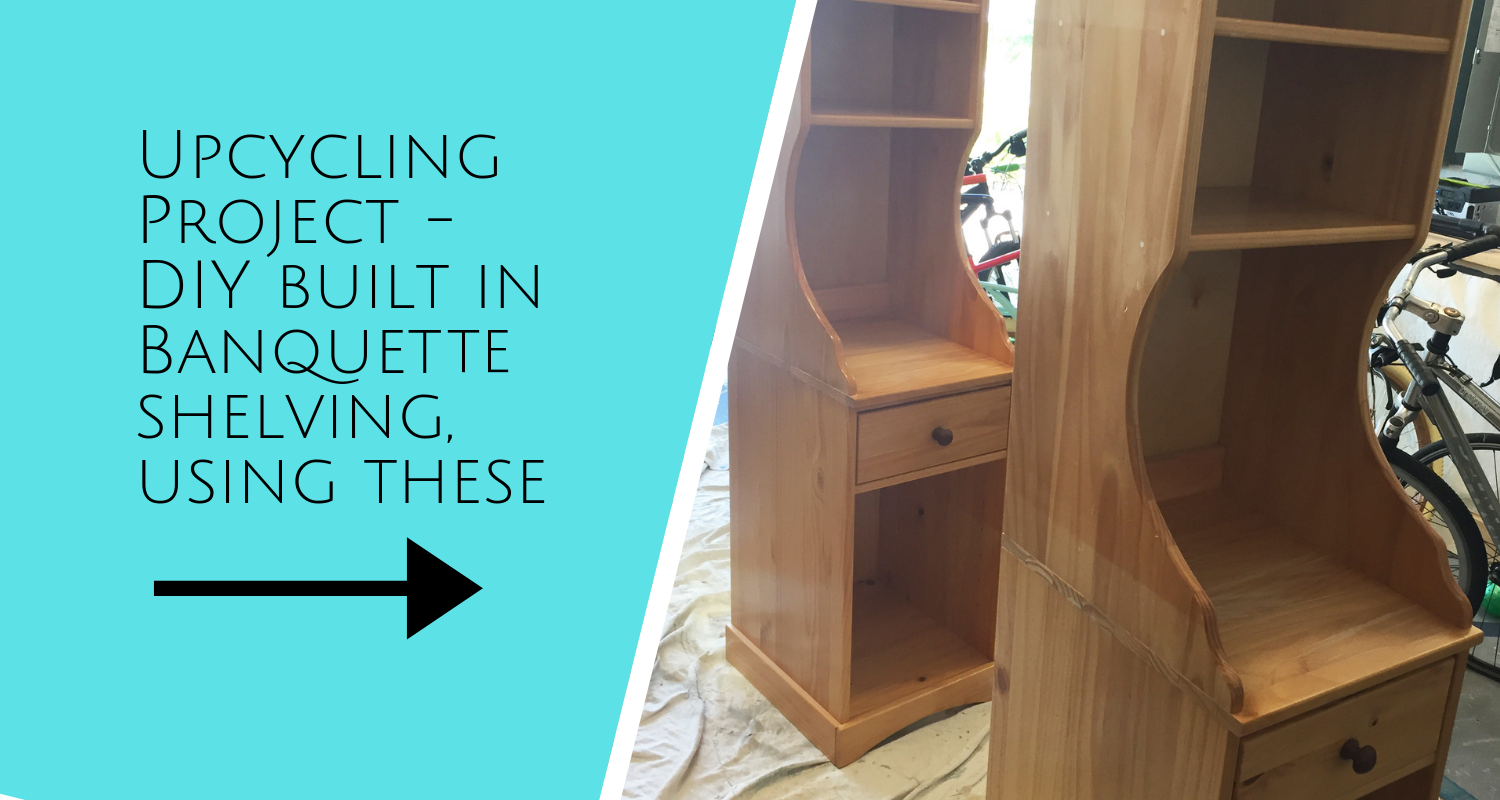
Upcycling – DIY Built in Banquette Shelving
I rearranged both of our boys’ bedrooms recently. Each of them had one of these shelves in his room. They used to be a part of a wall unit, with the bureau in between each shelf. After we moved into our new house, we put one shelf in each kids room, and they used them as night tables. However, they never really looked right stuck in a corner alone, and they were definitely not meant to be used as night tables. After we rearranged the rooms, I deciding I was finally going to get rid of them. I contemplated selling them, and then I thought maybe I could upcycle them into a DIY built in banquette shelving area. I already have a little banquette seating area, and I’ve always wanted some shelving around it, and I LOVE upcycling old furniture. So, I figured, why not give it a try? (This dining table was my first project! You can click here to see all of my other projects.)
If you want to do a project like this and you don’t have any shelves in your home to upcycle, check out your local consignment or thrift stores, yard sales or Facebook Marketplace. You just need to have a vision once you find something with the shape, or size that you are looking for. Paint, time and hard work are your best friends. Of course, you can also buy something brand new if you’d like.
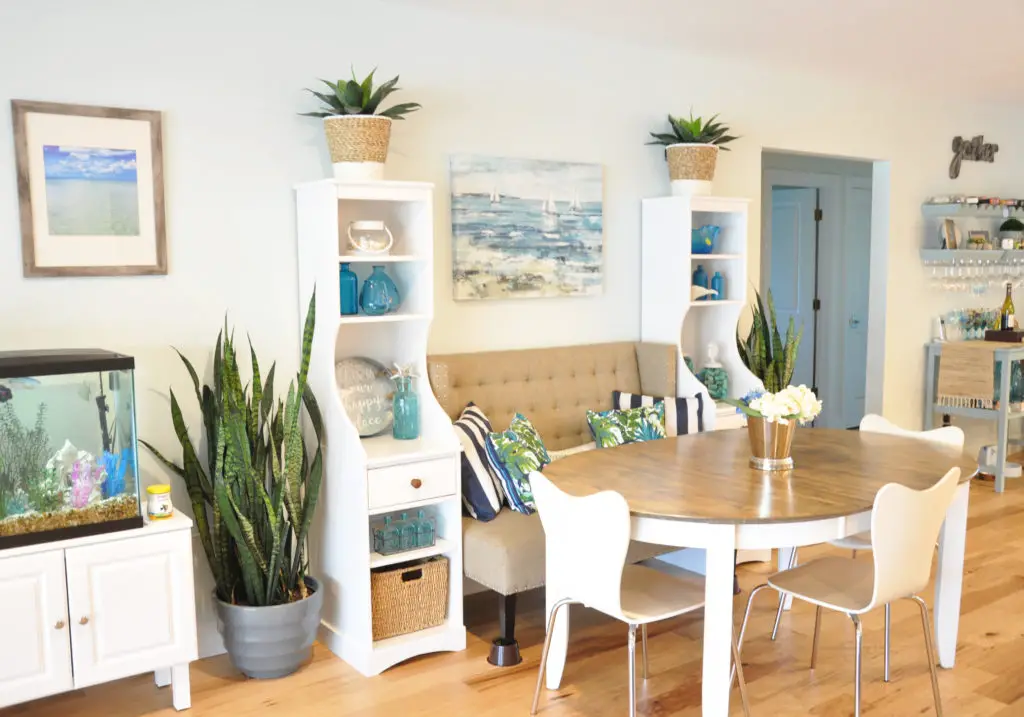
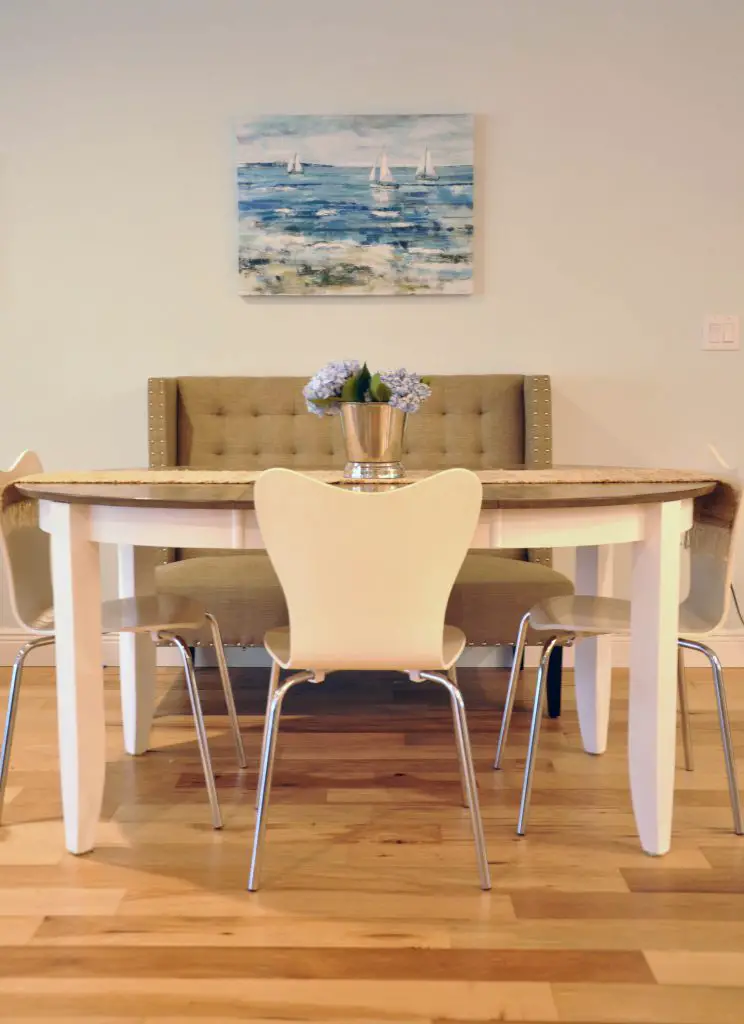
Below is a step by step on how I completed this project. I am so happy with how it turned out! I think the shelves add a little depth and personality to an otherwise somewhat boring looking kitchen table area.
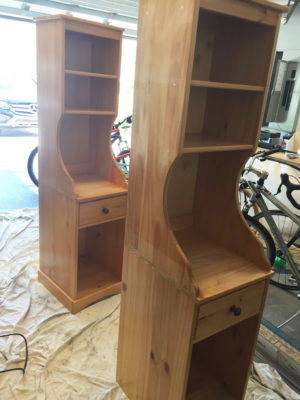
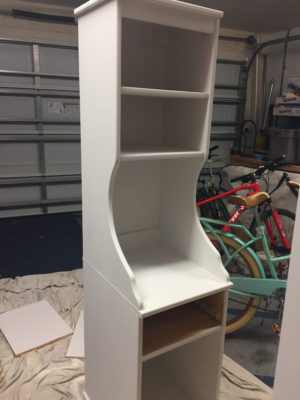
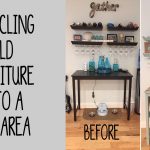
Here is how it looked before.
This post contains some affiliate links for your convenience (which means if you make a purchase after clicking a link I will earn a small commission which helps keep my blog up and running but it won’t cost you a penny more)!
Materials Used for this Project…paintbrush |
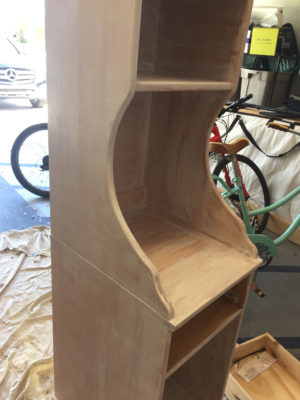
Step 1, Sanding…
I set up the garage as my ‘workshop’ to work on this project. First I filled in any holes that needed filling and then I sanded the entire piece down just a bit concentrating on areas that needed it most. Once done with sanding, I made sure to clean them up as best as I could using a damp rag.
Step 2: Painting…
Luckily, I had some leftover white paint in the garage and I was able to use that. I used a small roller brush and a regular paint brush and painted at least 3 coats. Once I was happy with how the paint looked, I moved on to step 3.
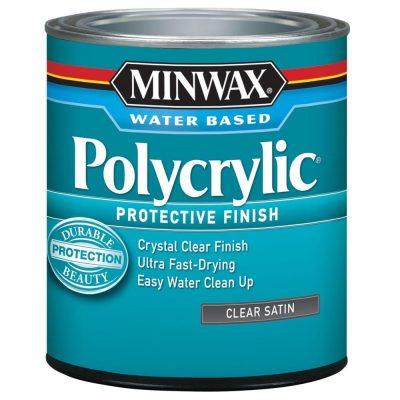
Step 3 – Polyuerthane..
I also had left over polyuerthane in the garage. Score! This kind by MinWax is the best in my opinion. It dries super fast and goes on clear. Other types I’ve used go on sort of yellowish or turn yellow over time. This one does not and stays clear which is especially good for white paint.
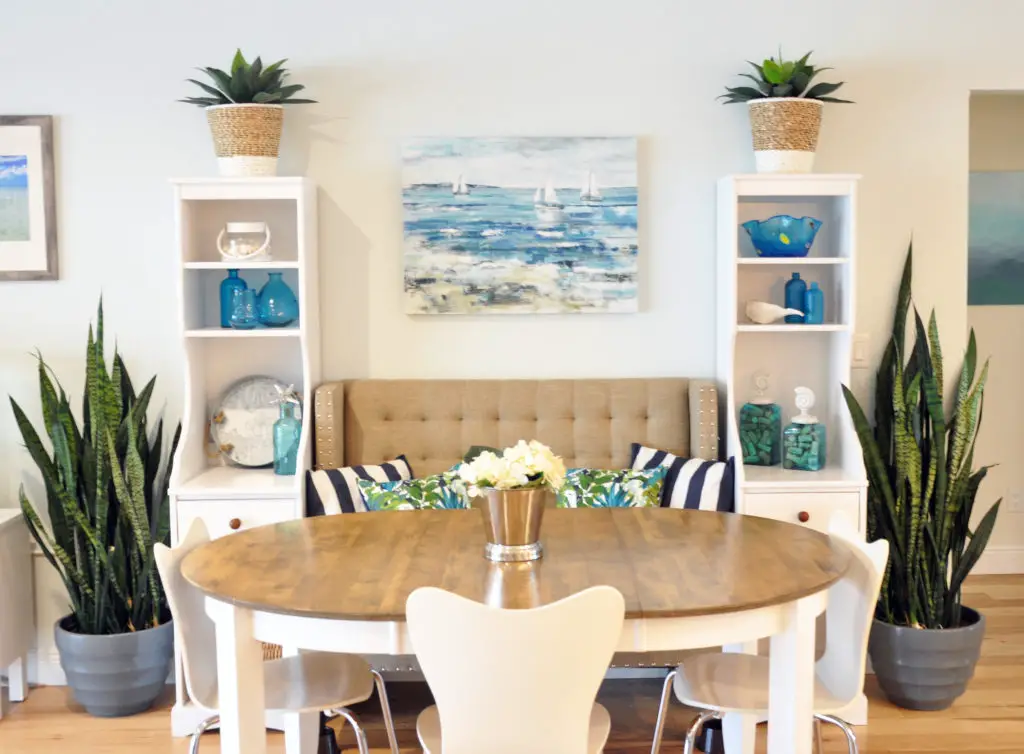
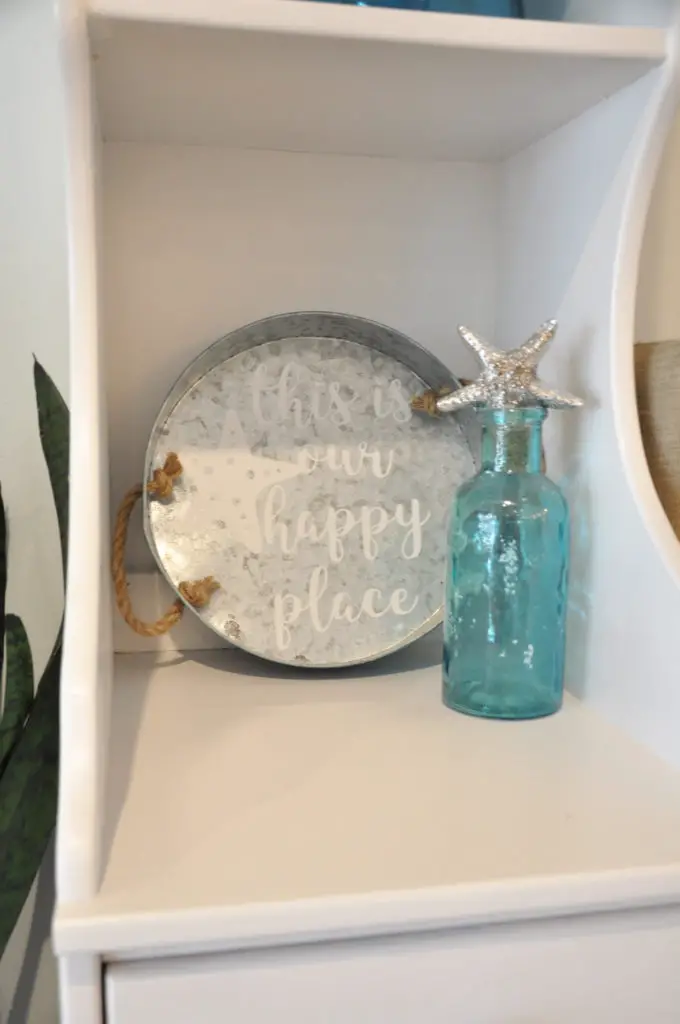
Step 4 – Style them…
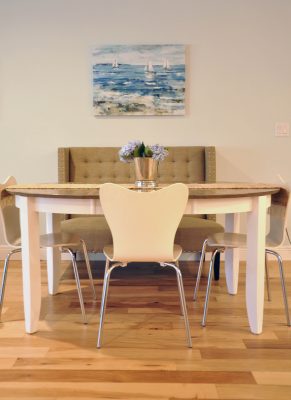
Once they were ready, my husband and I brought them in the house and then the fun part began. Decorating! I love styling shelves. Can you believe I already had all these items to style them with? I did spend a few dollars on the plants and baskets, and now I want to have a light fixture hung above the table. I’ve been wanting to do that forever actually. I saw a few really cute and affordable ones at online recently. Like this one or this one. Anyway, I digress….here are the shelves in all their glory.
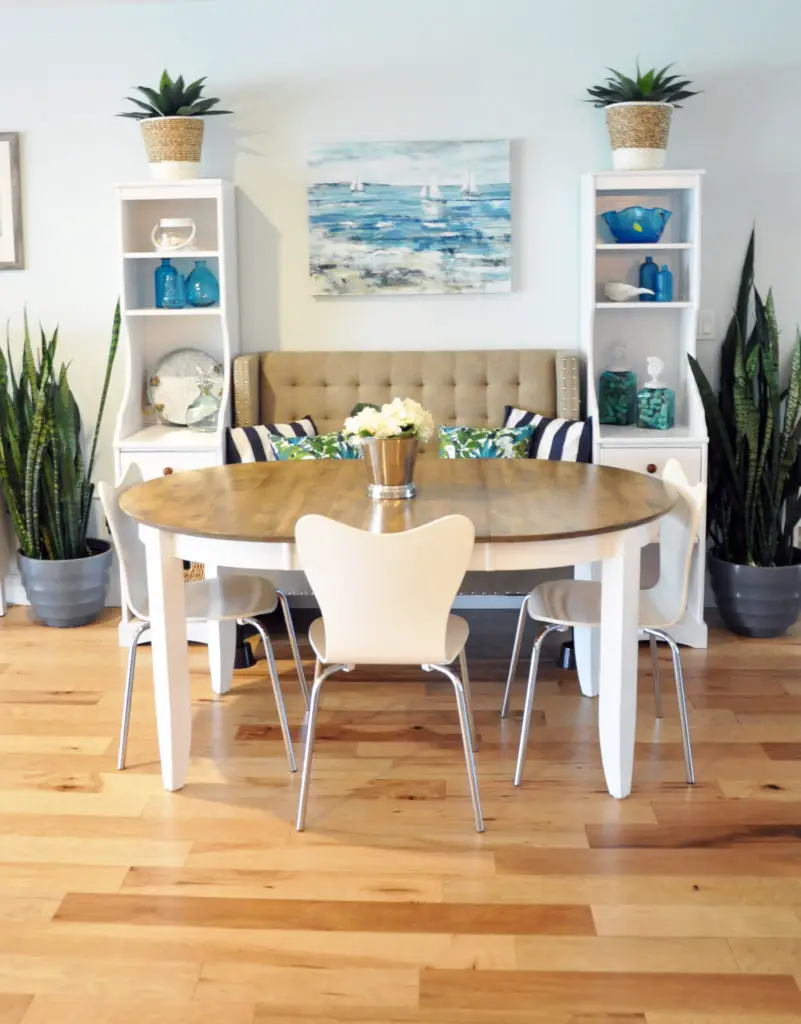
Here is a before and after.
What do you think? I hope you like it.
Have you ever upcycled a piece of your furniture? I’d love to hear about it.
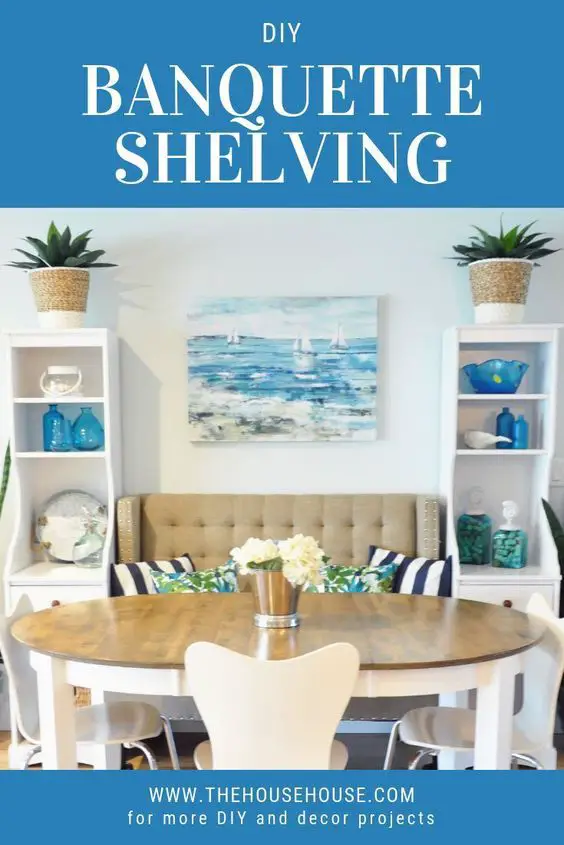
Pin this for later….
7 Comments
This is an amazing project that not only looks great but I’ll bet the extra storage is welcome, too. Thanks for sharing with us at Creatively Crafty. We’ve just started a Facebook group called Creatively Crafty Showcase and you’re invited to join us! It’s another way to share this post and just about anything creative plus we’ll have opportunities to interact/support each other. You’ll find us here http://bit.ly/2TL8Pli. Hope to see you soon!
Thank you! I just filled out the form on Facebook to join the group. Thanks for the invite.
wow! what a great vision! i love all the plants, too. and what a fun blog name, at first i was like whaaaat? but now i get it lol.
b
Thank you so much! hahaha, yup, the House house, it can be confusing. But, with a last name like House, it just made sense. 🙂
[…] Check out original post for details! […]
I love it! The cabinets on each side really looks nice. Hugs,
Thank you so much!