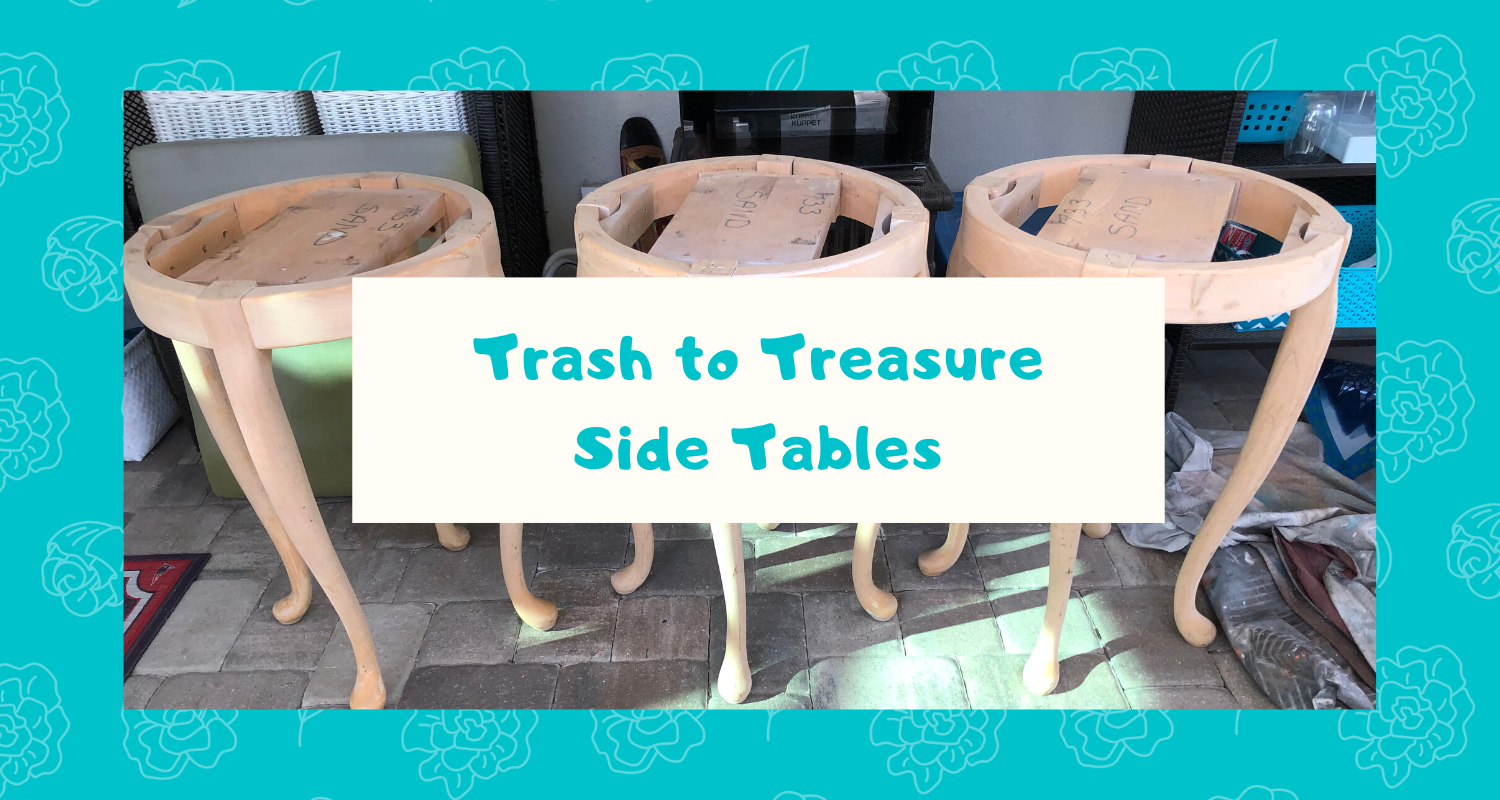
Trash to Treasure End Tables
If you’ve been following me at all, then you know my husband has found some pretty good things at the curb waiting for the garbage trucks. Like this Trash to Treasure End Table, This Bench, and these Wicker Chairs! I, however, never have much luck in this department. That is until a few weeks ago when I spotted THESE!
The day I found these was trash day, and consequently as I was leaving my neighborhood, I got stuck behind the slow garbage truck. To avoid it taking forever to get out of my ‘hood, I went down a side street I don’t normally go down so I could use the other exit out of our neighborhood. Well, as I turned onto that street, I spotted these tables out of the corner of my eye waiting at the curb. However, I didn’t stop to pick them up, cause, well, I guess maybe I was a little embarrassed to take them? And, I was running late to the gym. I texted my husband who was still home, and asked him if he had time would he please check them out for me. About 20 minutes later he texted me back and said “Got ’em. Good score”! Yaaaaa! He is such a good husband, and obviously not embarrassed to be a trash picker. LOL
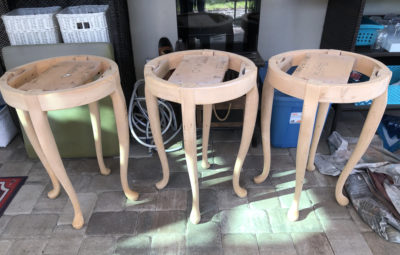
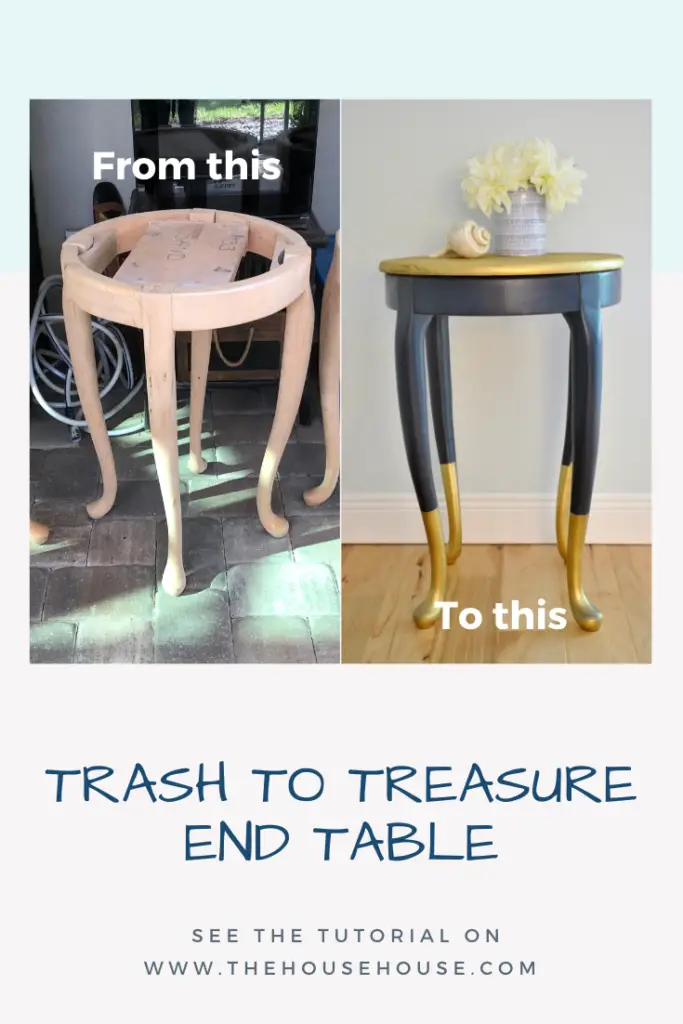
Check out these Trash to Treasure End Tables…
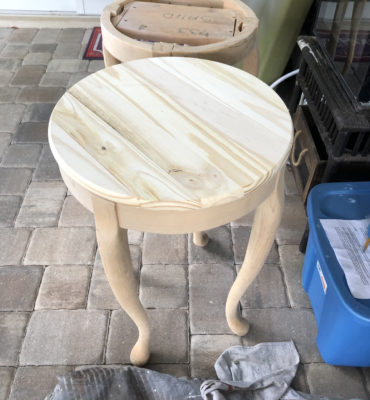
As you can see, the tables were really nice and in great condition, but had no tops. However, I knew I could come up with something to fix that. First, I checked Home Depot for tabletops, but they didn’t have the size I wanted. Then, I checked Amazon, and Yup, of course they had the perfect size (19 inch) . I ordered only one, just to make sure it fit and looked good. Happily it did (so I ordered 2 more).
Now…..what to do with these cute little things? Since I only had one complete table, I started by playing around with that one figuring once I perfected that one, and the other tops arrived, I’d just copy what I did to the other 2 (or maybe even do something different with the other 2).
Here is what I came up with.
Step 1 in Trash to Treasure End Tables, Paint…
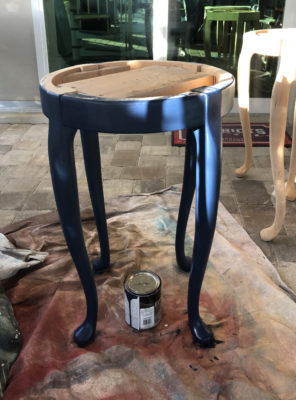
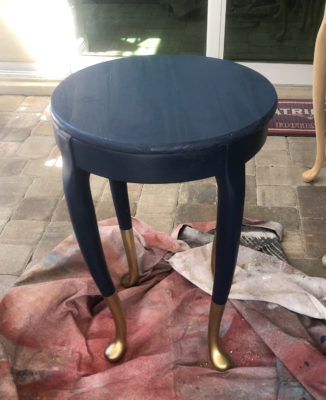
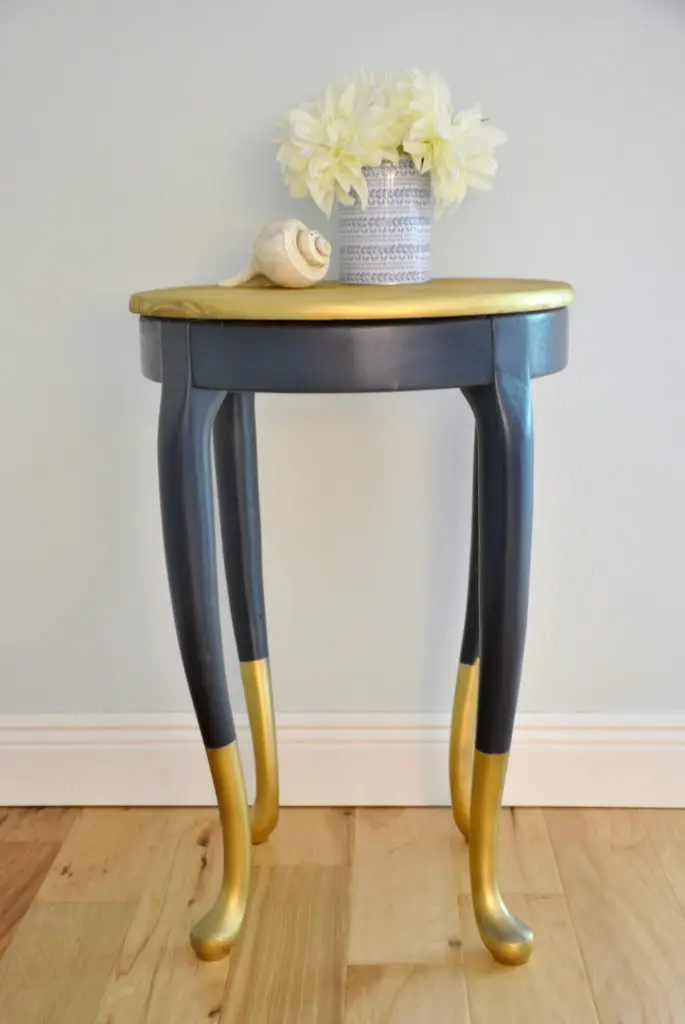
My first step in bringing these tables from trash to treasure was to paint, of course. I had some Sherwin Williams paint in the color Naval left over from this pub table project, so I used that. It looked great. I just love this color.
Step 2, Gold Dipping…
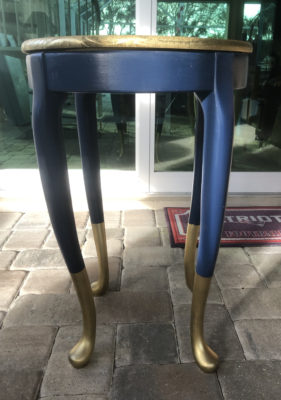
Once I was done painting I decided to do a little gold dipping. I’ve been seeing this technique on furniture pieces in the stores and online and thought I’d try it out. I took a trip to Lowes and picked up a can of this gold spray paint.
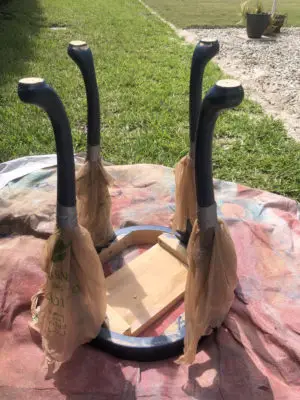
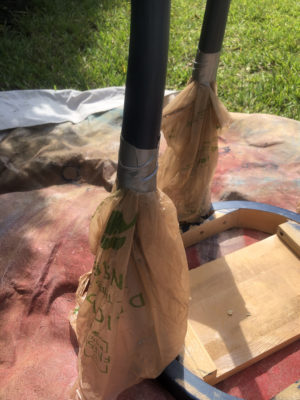
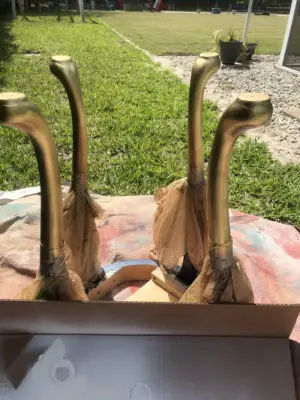
To achieve the effect I was looking for, first, I flipped the table over, and then I used some left over grocery bags and tape to mark off where I wanted to paint, not worrying about doing exact measurements. The bags protected the part of the leg I didn’t want to paint. Like this…
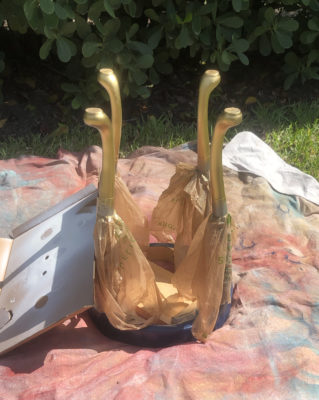
Then, I spray painted, until all the navy was covered up (approximately 2 coats).
Step 3, Painting the Top and Sealing the Piece…
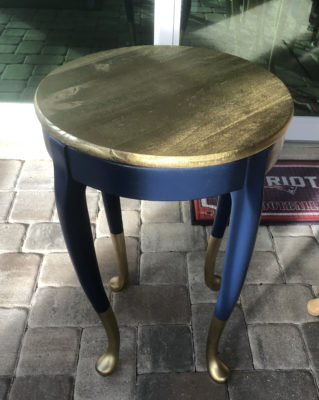
Now, to address the top. At first, I painted the top navy. It looked okay. On the other hand, I thought it might look better gold, so I gave it a try. Yes, I liked that much better!
The last step was to seal the piece. I always use Minwax Polycrylic Protective Finish to seal my furniture makeovers, applying at least 2 coats to protect the finish. It is water based, dries fast, and doesn’t yellow.
My husband attached the top for me, and it was done! Pretty simple project and looks really pretty. Most importantly, it is a nice save from the landfill!
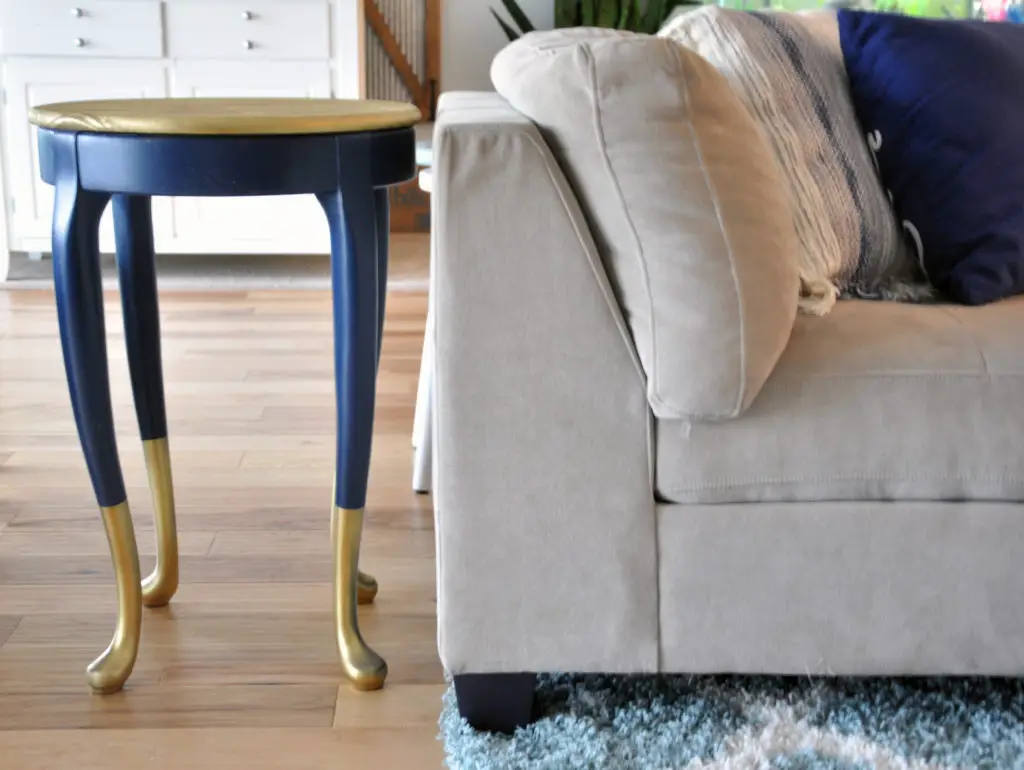
Here is how it looks styled in my home. Cute, right? Doesn’t it kinda look like these elegant, fancy legs are wearing elegant, fancy boots? This table is ready to part-tay!
Have you ever rescued something from the trash? I’d love to see!
Like this project? Please sign up for my email list for weekly DIY’s, furniture makeovers, deals and lots of other fun stuff!
PIN FOR LATER…


20 Comments
Jodi….my word I can’t believe how beautiful the tables turned out. I love the navy and gold. Awesome and I am like your husband…”Great score”!!!!
Terrie, thank you so much for the kind words! I am so pleased with how it came out too. A little different style for me, but I really love it.
I love this Jodi! So cool you were able to find tops for the base and I love the dipping technique! So cool!
Thank you so much, Dori! I am so happy with the way it came out.
Oh wow! These turned our so amazing! Great transformation!
Thanks, Jessica!
This was such an amazing find! I had to laugh when you were talking about not wanting to stop and pick them up yourself so you called your husband and got him to go get them! Too funny!
haha! He has no fear! He’ll take anything. LOL
I loved this project! But curious me . What did you do with the other two tables?
Nothing yet, but I plan to do the same look for at least one other table and then not sure about the third one yet. Maybe something totally different. Not sure yet.
Those tables are very classic. Such beautiful style… And you achieved a very classy effect!
Thank you so much!!!
Love the “treasures” you refurbished! Great husband to go for the “score”! Fabulous look! Elegant!
Thank you so much, Bonnie! Yup, my husbands a keeper!
Wow!!! These turned out amazing! Such a great transformation!! Love the black and gold combo!!
-Emily
Thank you!
Beautiful. I love the color and the gold dipping. I’m never ashamed to pick up stuff out for the trash. Upcycling helps save the environment. I’ve found Little Tike toys, shelves and more. Sometimes, I think people put them out hoping someone will come along and take them.
Thank you! I am so glad you like it! We have found some amazing things in the trash too, and you’re right! People definitely put things out for other people to take. We once did that with an old grill. It had a broken wheel and had seen better days. We put it on the curb and it was gone with an hour!
REally like the upscale look Jodi.CLASSY? Tell me did your Hubby glue the top on or screw it on, or what. Tks
Thank you so much! We ended up gluing the tops on. We were afraid the wood might split if we used screws.