
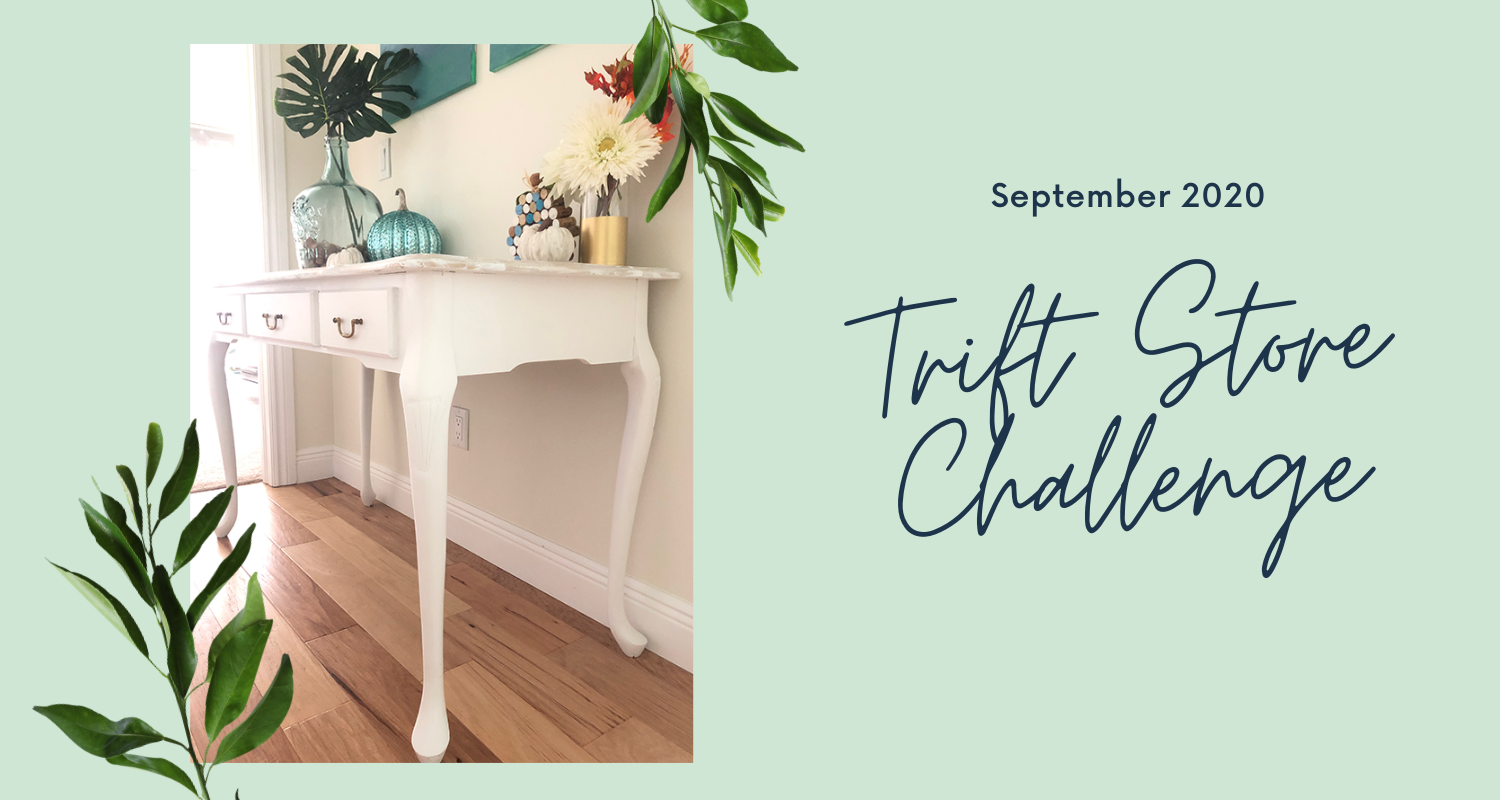
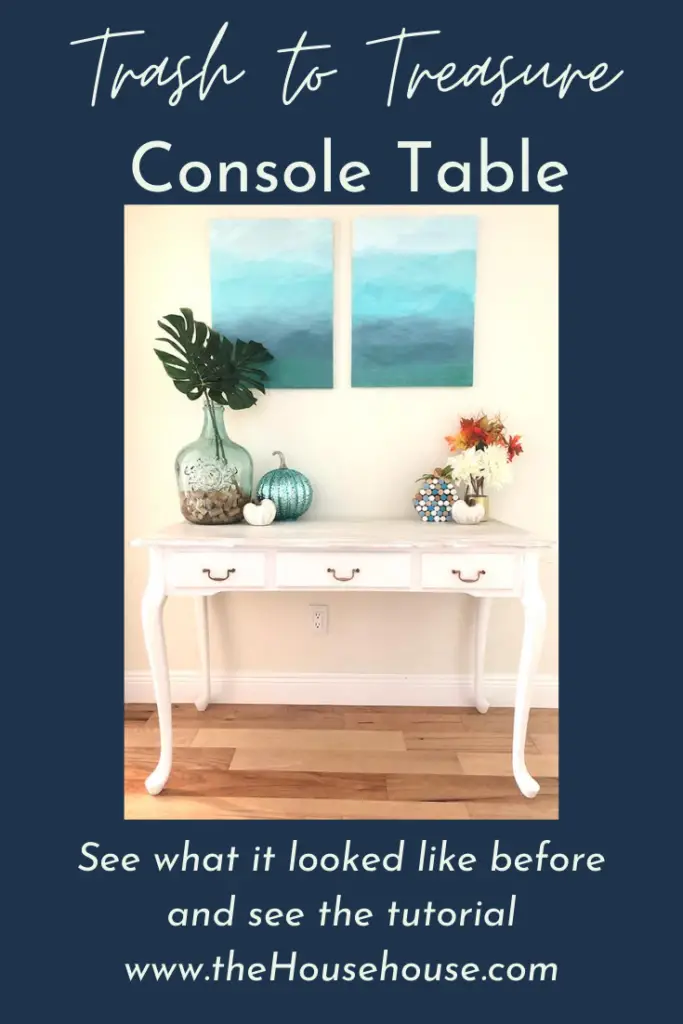
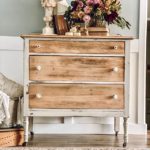
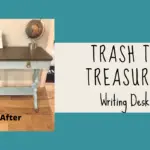
Trash to Treasure Console Table
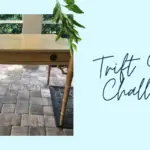
After a few months off, we are back with our Thrift Store Challenge blog hop! I have been participating in these monthly Thrift Store Challenges with a group of bloggers for over a year, but thanks to COVID we had to take some time off. Anyway, we are BACK!
If you are new here, the rules for the challenge are as follows – purchase something from a thrift shop, garage sale, etc. OR revamp/upcycle a piece(s) we already own that no longer works in our home, OR that we found at the curb waiting for the garbage trucks. This month I worked on something found on the curb. You can check out all my other trash to treasure projects here or my other thrift store makeovers here.
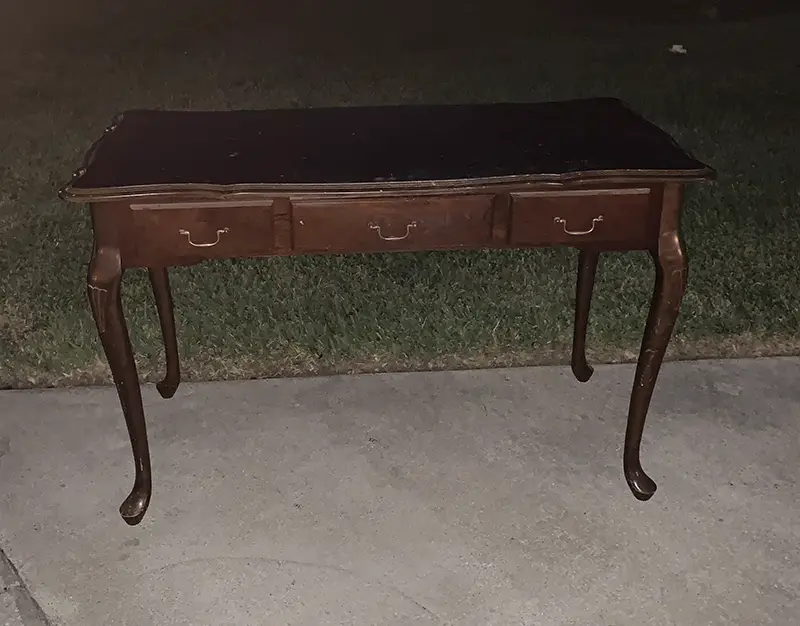
Usually it is my husband that finds me goodies waiting for the garbage trucks, but this month my dear friend Trish found me something. She spotted this console table in her neighborhood out waiting for trash. She snapped a pic of it, and texted the words “any interest?”, to me. Ummm, duh, ya! Of course. I replied! I’ll take it! She was so kind to grab it for me.
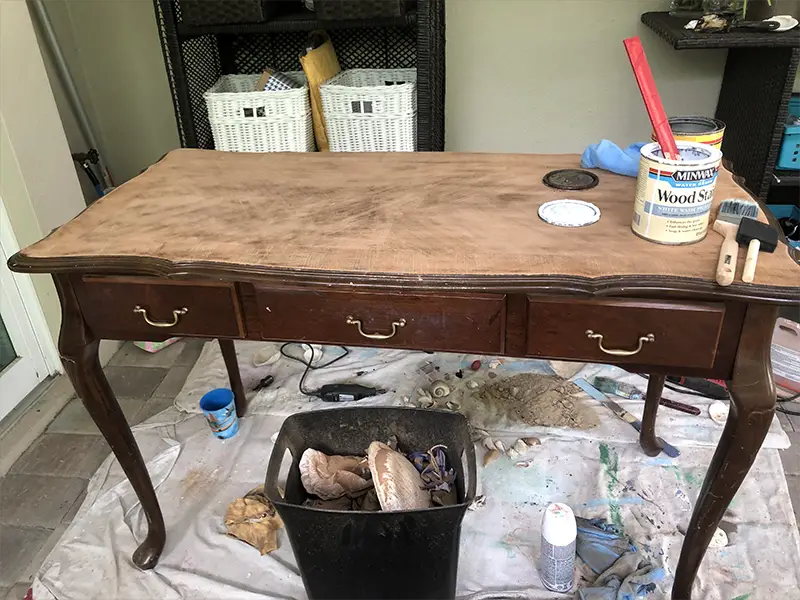
Anyway…..here it is….This piece was nice, but was also pretty scratched up, outdated, and beat up! You know what they say…”One man’s trash is another man’s treasure.” Here is what I did to make this Trash into a Treasure.
This post contains some affiliate links for your convenience which means if you make a purchase after clicking a link I will earn a small commission which helps keep my blog up and running but it won’t cost you a penny more!
| Materials Used for this Project… |
|---|
| paint stripper I used Citristrip Klean Strip after wash paintbrush paintbrush cleaner hand sander with different paper grits Minwax Water Based Polycrylic safety glasses mask rags |
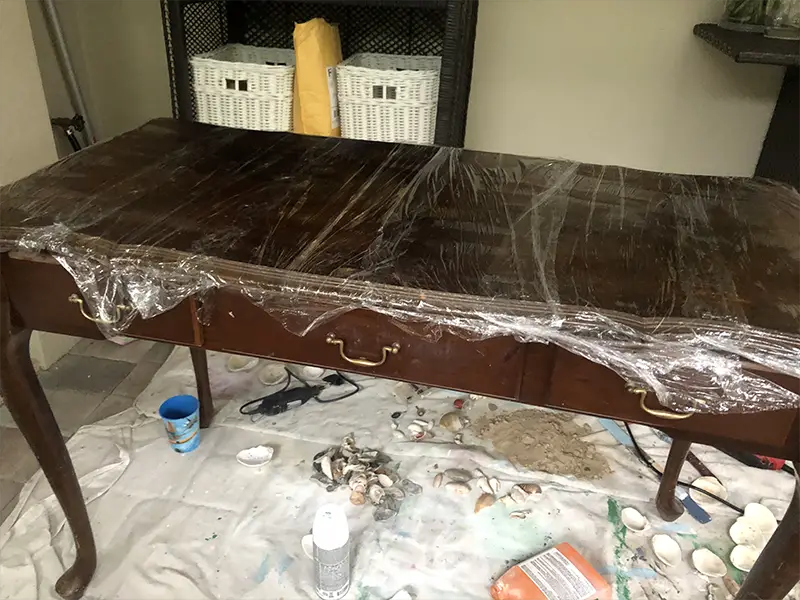
Step 1 – Strip the Paint
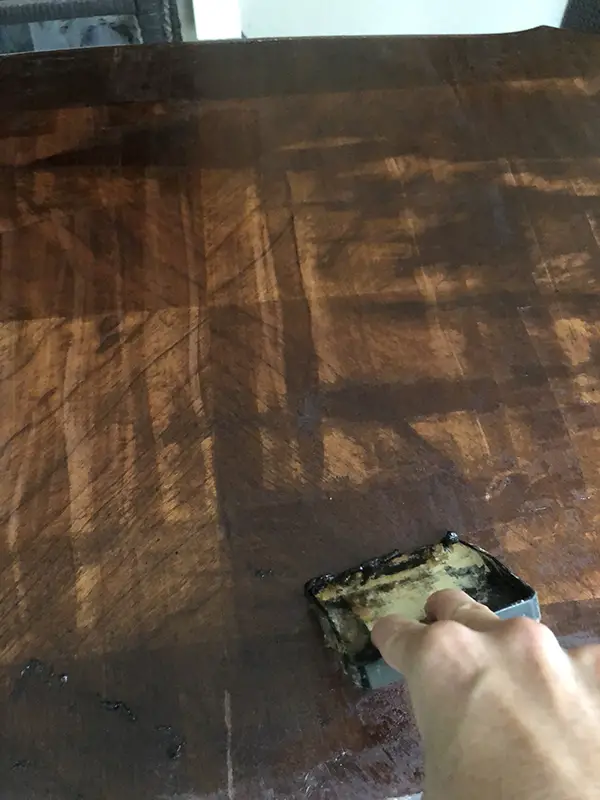
Using some Citristrip that I had in my garage from other projects, I applied a layer to the top of the table and then put plastic wrap on top of it. After letting it soak in about 1/2 hour, I removed the plastic and started scrapping off the paint. Then I used my hand sander to remove the rest.
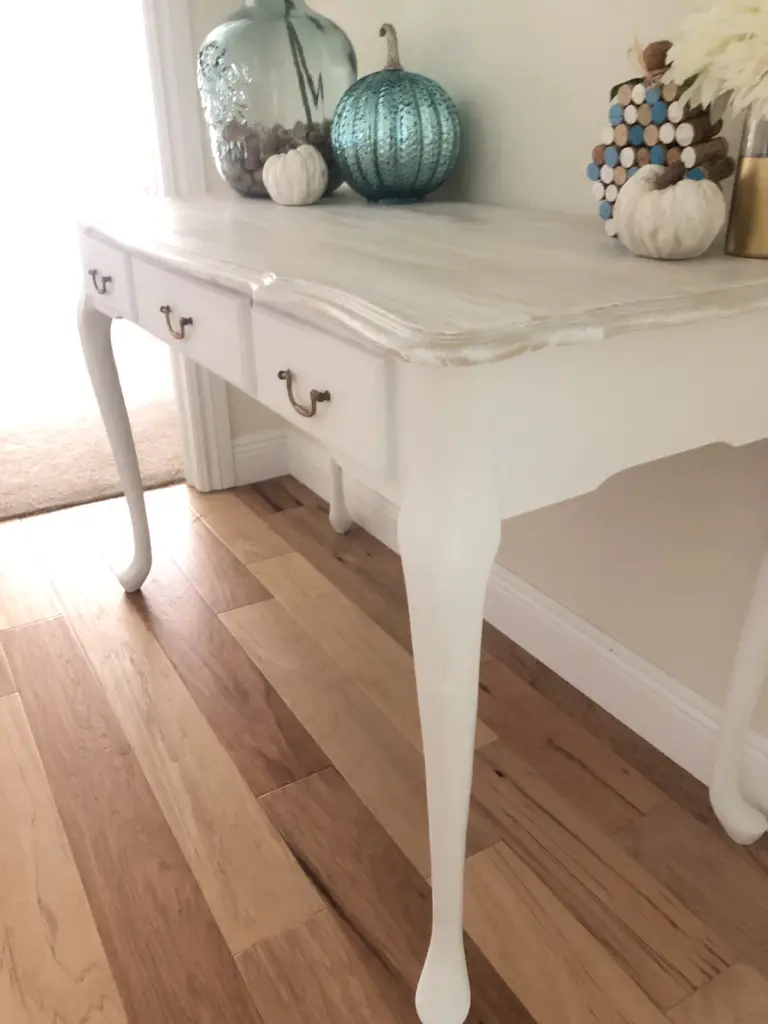
Step 2 – Paint or Stain the Top…
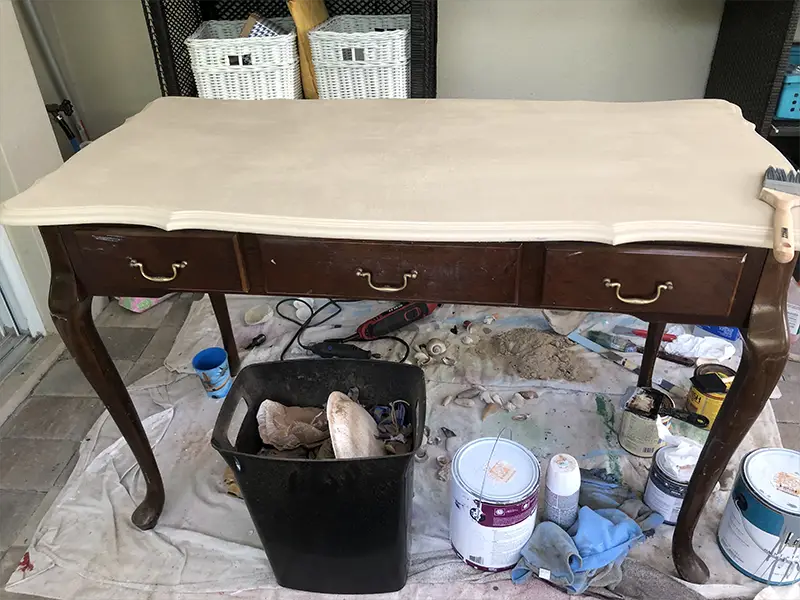
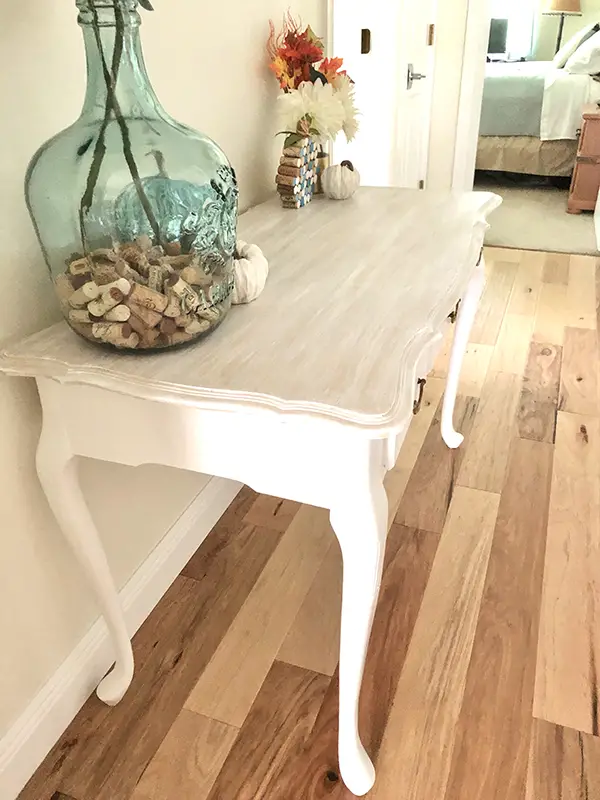
Sometimes when I work on a piece of furniture I have an idea in my head and then things change as I start to get into it. After I stripped the paint off the top of this piece, I planned to re-stain it. However, it wasn’t coming out as I expected. The top had a lot of scratches and the stain wasn’t covering them up, and just didn’t look good at all.
After trying out a couple of stains, I ended up painting the top Basswood by Behr, which I had left over from another project. If I planned to paint the top in the first place I would have saved myself some time and not stripped the piece to begin with. Oh well.
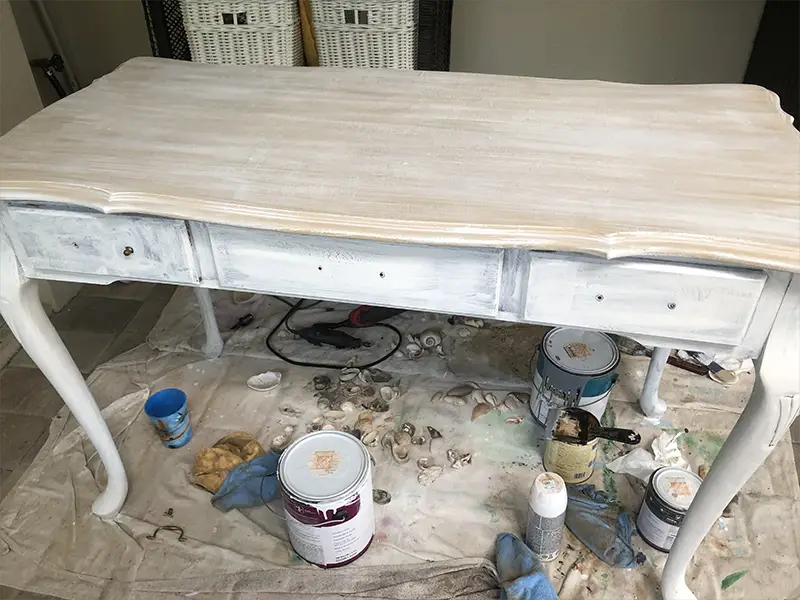
Step 3, Paint the legs…
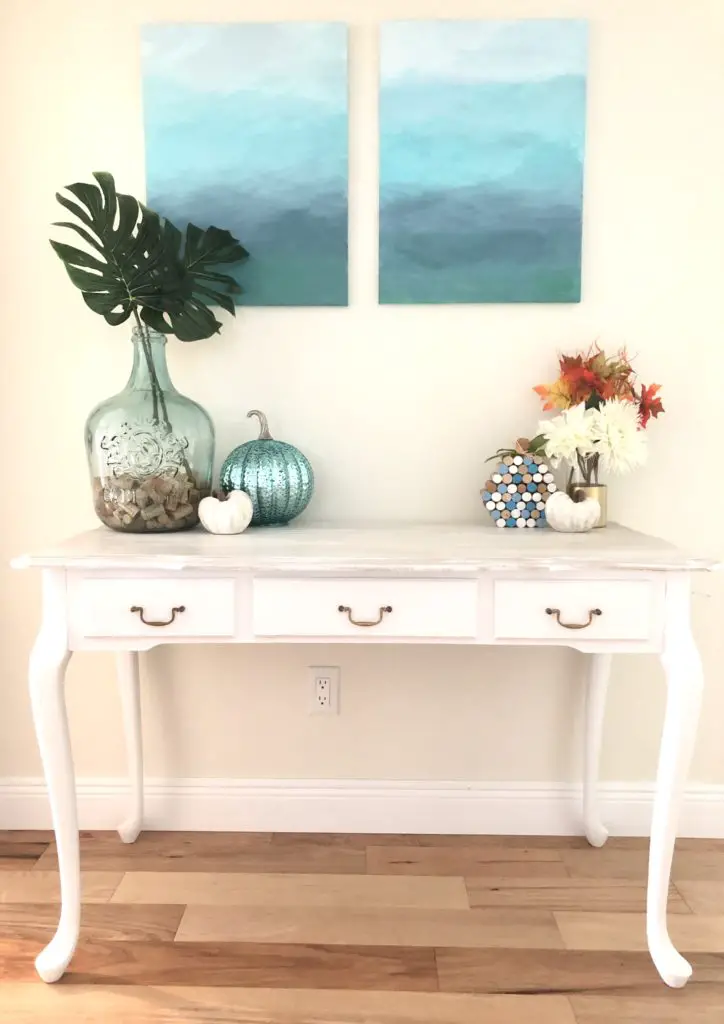
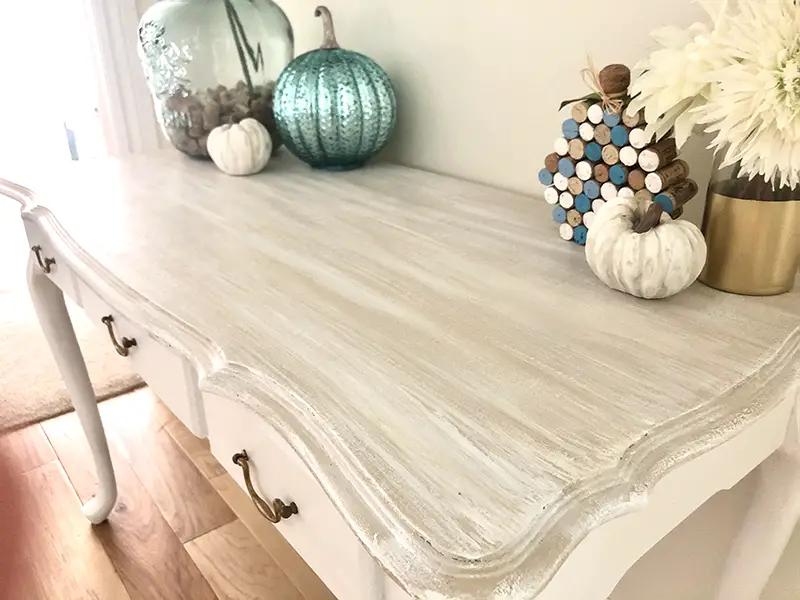
Using left over paint from my garage, I painted the legs white. I did not use furniture paint or chalk paint. This is just regular wall paint, but I planned to use several coats of polyurethane on the piece to protect the finish. Lastly, using a dry brush, I added some white paint to the top, to give it that antiqued look.
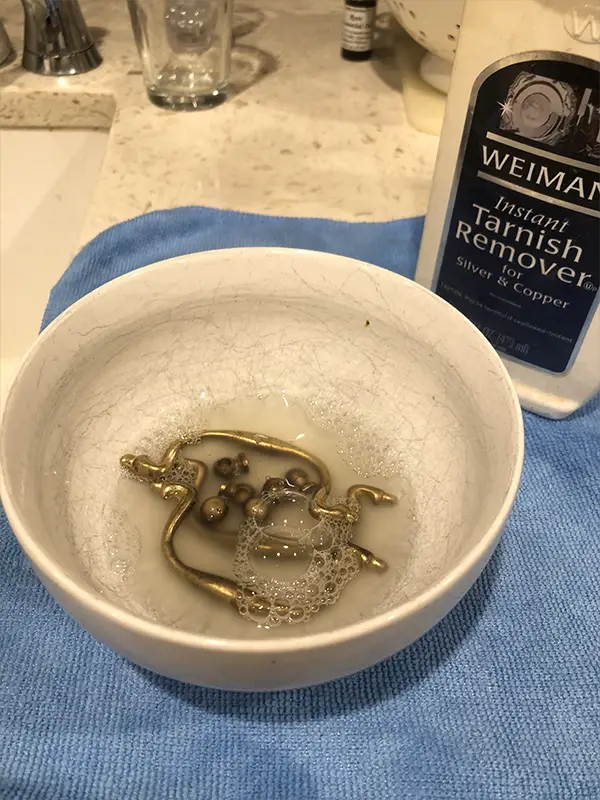
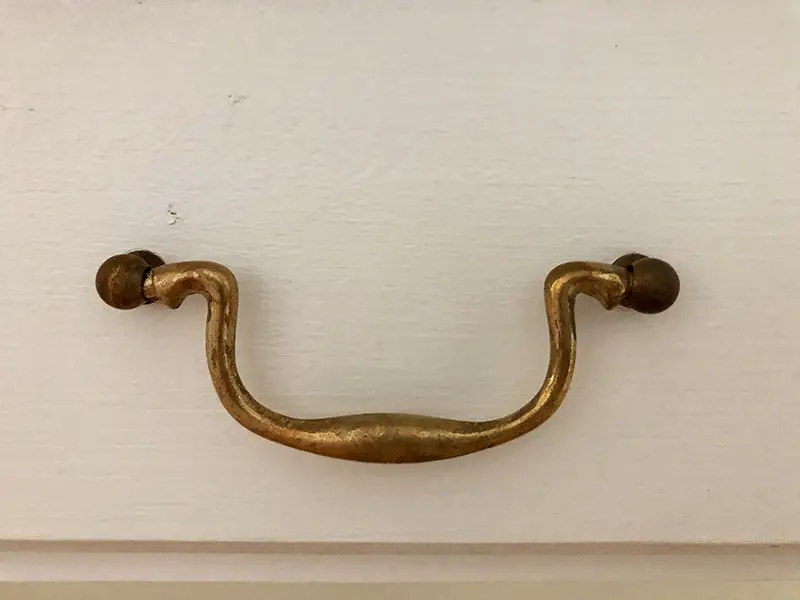
Step 4, Clean up the Handles…
I took the handles off and scrubbed them with some tarnish remover, then put them back on. They are not perfect, but definitely look better!
Step 4, Polycrylic…
I used 2 coats of MinWax water based polycyrlic to the entire piece to protect it from scratches.
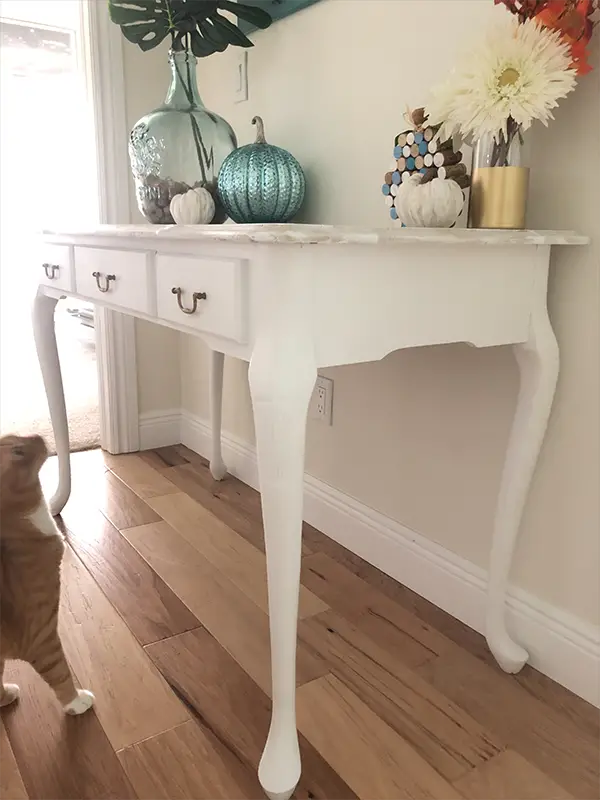
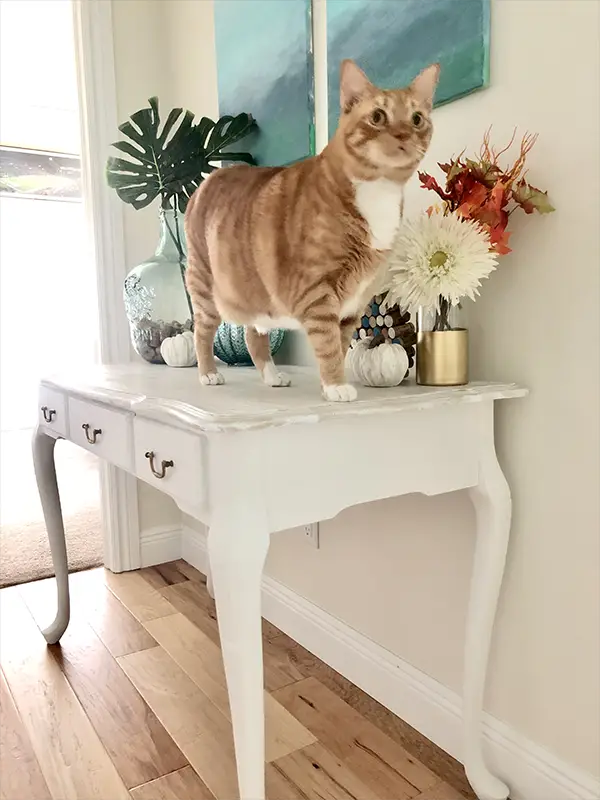
And, here is the final piece!

Just for fun I included these pics of my fat cat photo bombing my table He likes it!
And one more Before/After

Before 
After
PIN FOR LATER…
Please check out all the other fabulous projects…
Tara at Stilettos and Shiplap
Emily at LeCultivateur
Jessica from Jessica B Simmons

Cindy from Cloches and Lavender
Danya – A Vintage Flare Farmhouse
Laura from Harper Home Design
Susan at Color Joy Interiors
20 Comments
I love how it turned out – quite the transformation! Great job!
Thank you so much, Laura!
I loved hearing about your process with the table. What a great friend you have to look out for this piece! I tried stripping a table this summer and it was quite a process. I’m leaning more toward paint next time! 😉 You did an amazing job and your cute kitten approves!
Thank you! I have several friends that look out for ‘treasures’ for me. Lucky me! Bring ’em on!
Jodi this table is so pretty now! I love the shape of it, especially the legs. What a wonderful job you did with it and I really love the tones of the top so I think it all worked out for the best!
Thank you!!! It does look a lot better.
Jodi this is beautiful, I love the top. I’ve been there when you have plan in your head that doesn’t work.
I’m loving that it didn’t work.
Cindy
Thank you! Ya, it happens. We’ll call it a happy accident. 🙂
What an amazing piece you found. Love what you done with the table. It will be a great piece to have in any room.
Thank you, Terrie! I appreciate that.
I love how this piece turned out Jodi! What a great find and redo.
Thank you! I’m so glad you like it.
This is a beautiful transformation!! Free finds are the BEST finds!
I agree!
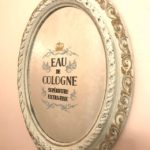
Good job on the console. If you’re still unhappy with the hardware, try some Rub and Buff metallic wax. (Also, I love the artwork above the console! Is it your work? If so will you please feature it in a later blog?)
Hi Liz,
Thanks for your comment. I am glad you like the way it came out. I already sold this piece but will definitely use Rub and Buff for future projects. And yes this artwork is mine and I actually wrote a blog post all about it a few years ago. Check it out….https://www.thehousehouse.com/diy/diy-artwork-cheap/
🙂
Act with a great taste!
Thank you!
You worked hard on it it shows. Absolutely lovely great color choice!
Thank you so much!