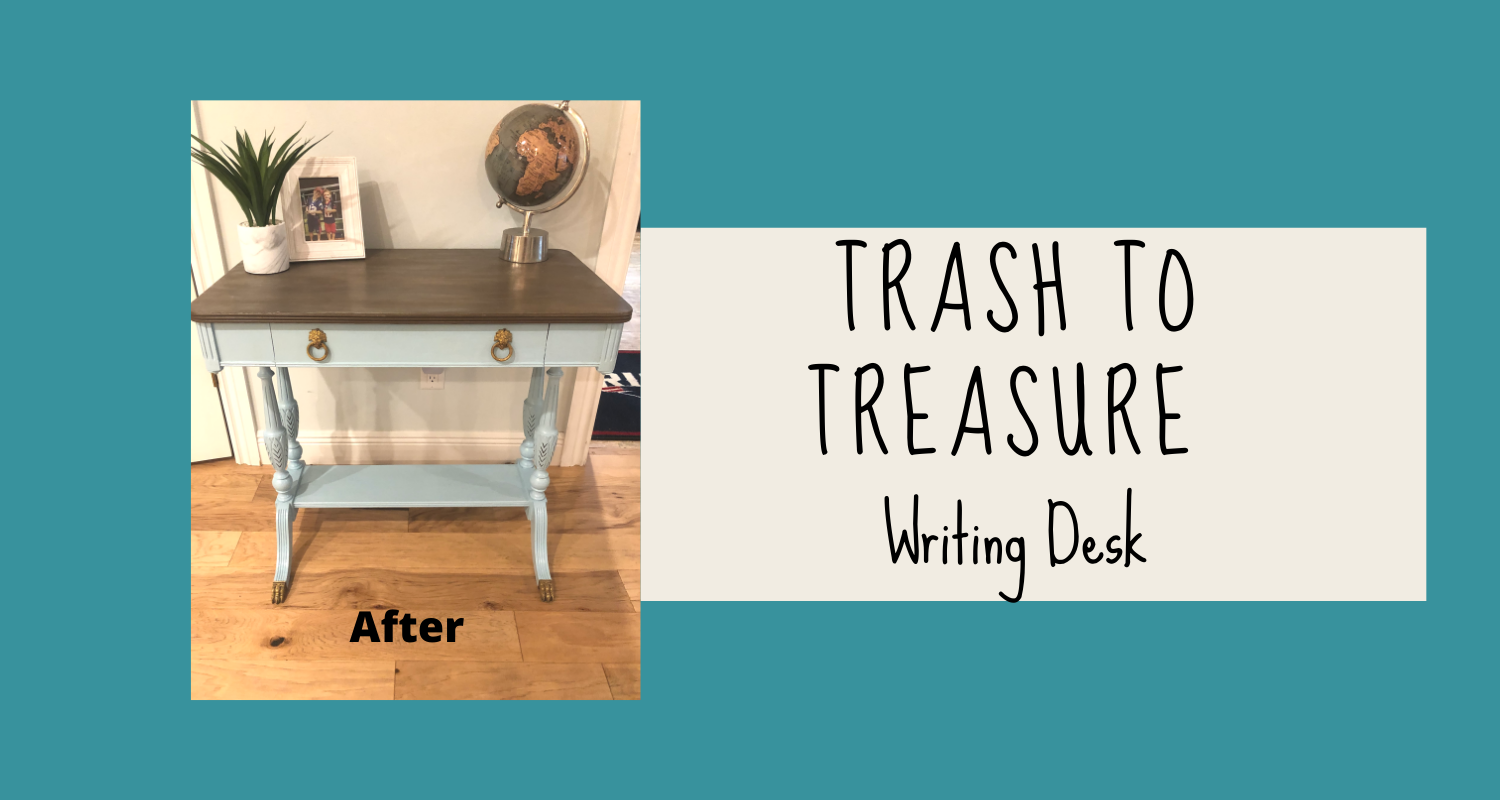
Trash to Treasure Writing Desk Makeover
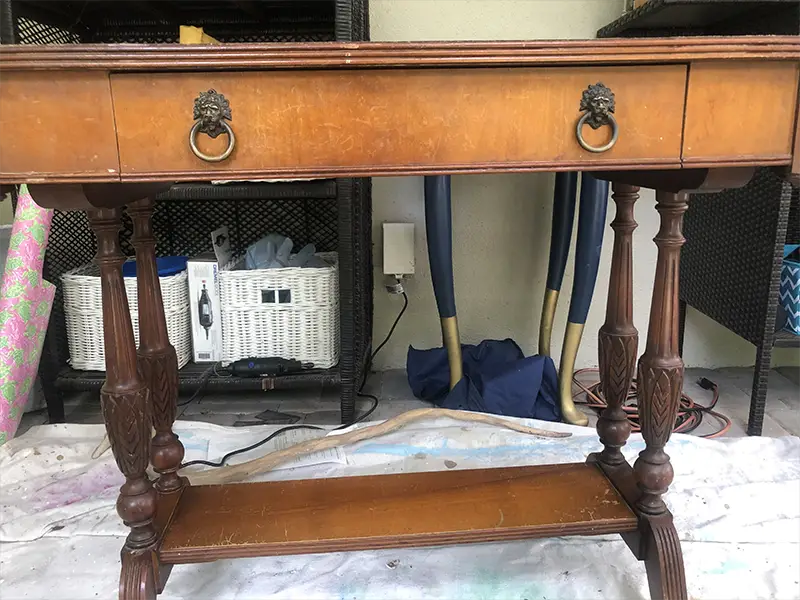
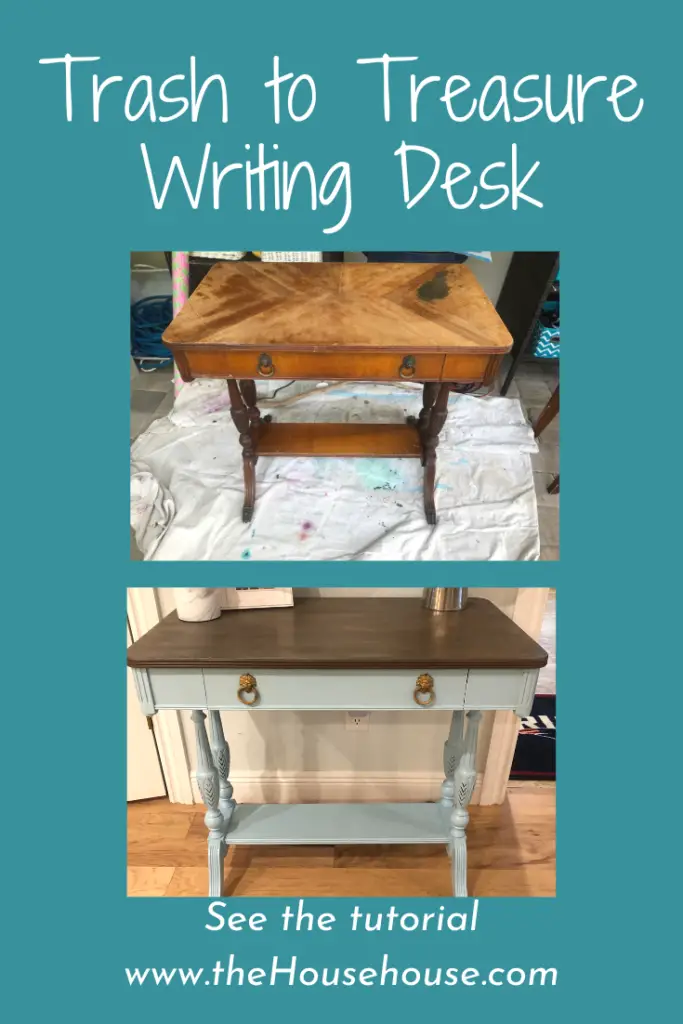
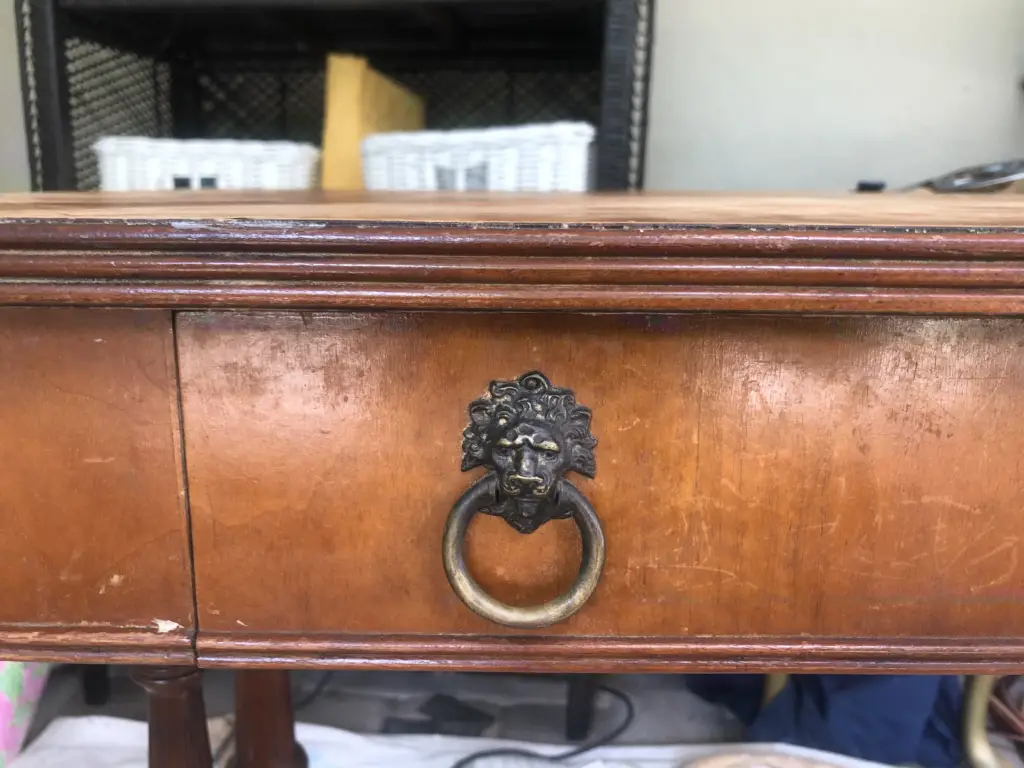
My husband did it again! He took this old writing desk (I think it is a writing desk, am I right??) off the side of the road, which was meant for the garbage trucks, and brought it home for me. He is a trash picker. You can see all the other goodies he has brought home for me and their trash to treasure makeovers here. This piece was very cute, but was also very beat up! The top had some bubbled up water damage, and the rest of the piece was severely scratched up. But, you know what they say…”One man’s trash is another man’s treasure.” Here is what I did to make this into a treasure.
This post contains some affiliate links for your convenience which means if you make a purchase after clicking a link I will earn a small commission which helps keep my blog up and running but it won’t cost you a penny more!
Materials Used – Trash to Treasure Writing DeskPaintPolyuerthane Hand Sander Plastic Wood All Purpose Wood Filler |
Step 1 in Trash to Treasure Writing Desk – Remove the Water Damage…
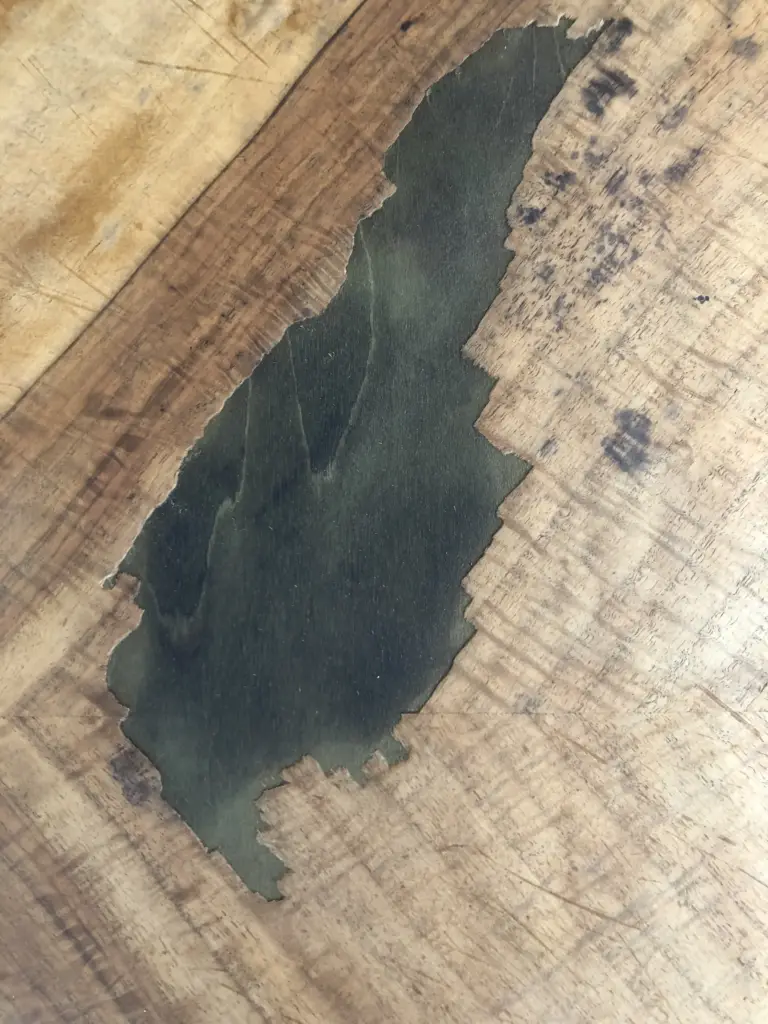
I started by using my hand sander to try to sand down the bubbled up water stain. It wasn’t working. The veneer literally just peeled away and what I found underneath was moldy, damaged wood. I cleaned it up as best as I could, but it left a hole on the top of the table that I needed to fill in. As you can see, even after I sanded there were lots of scratches.
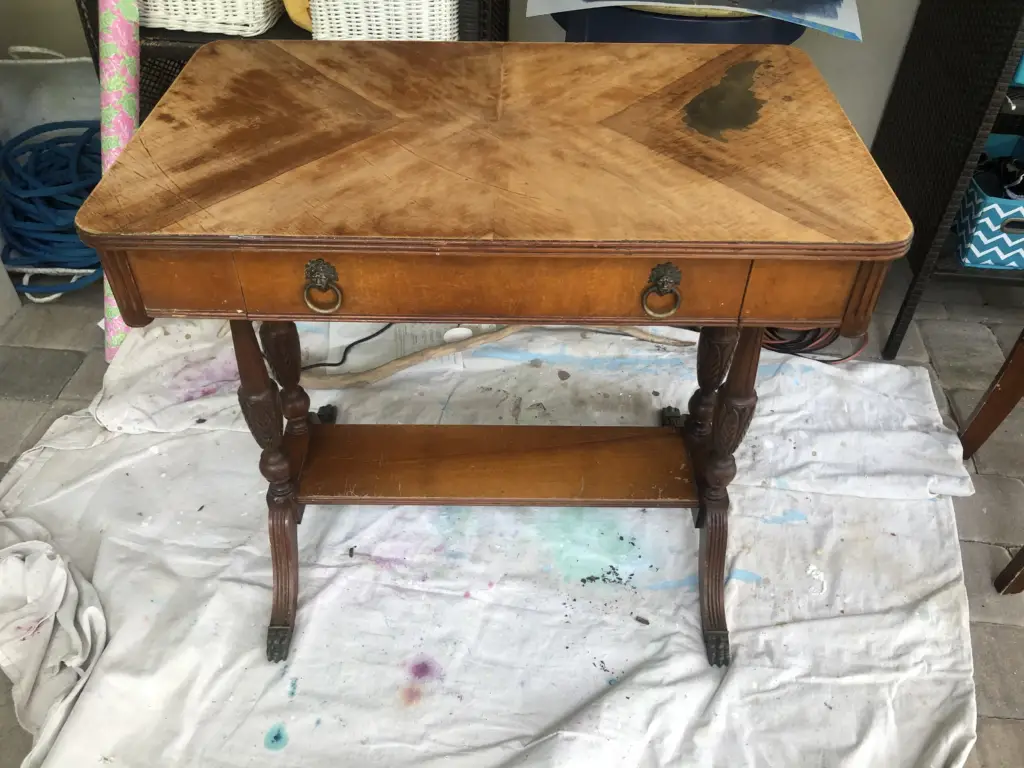
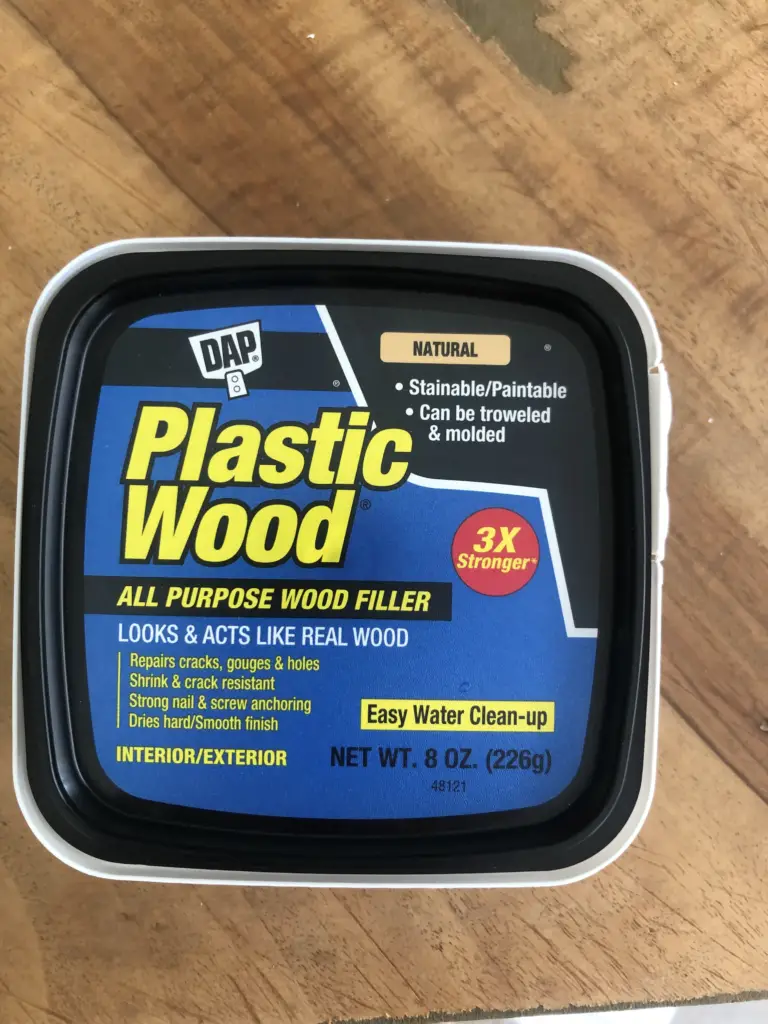
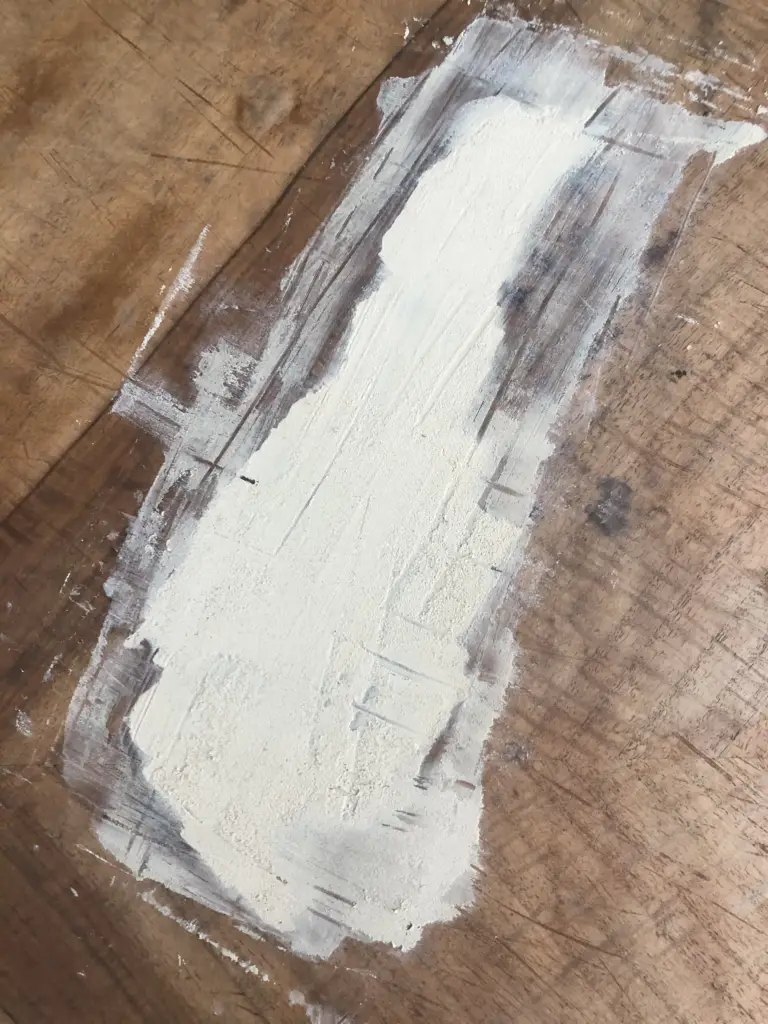
I used this Plastic Wood All Purpose Wood Filler that I found at Home Depot to fill in the hole.
Once it dried I sanding it down a bit.
Step 2, Paint and Polyurethane…
First, I painted the top white, just to cover up the wood filler and give it a base coat.
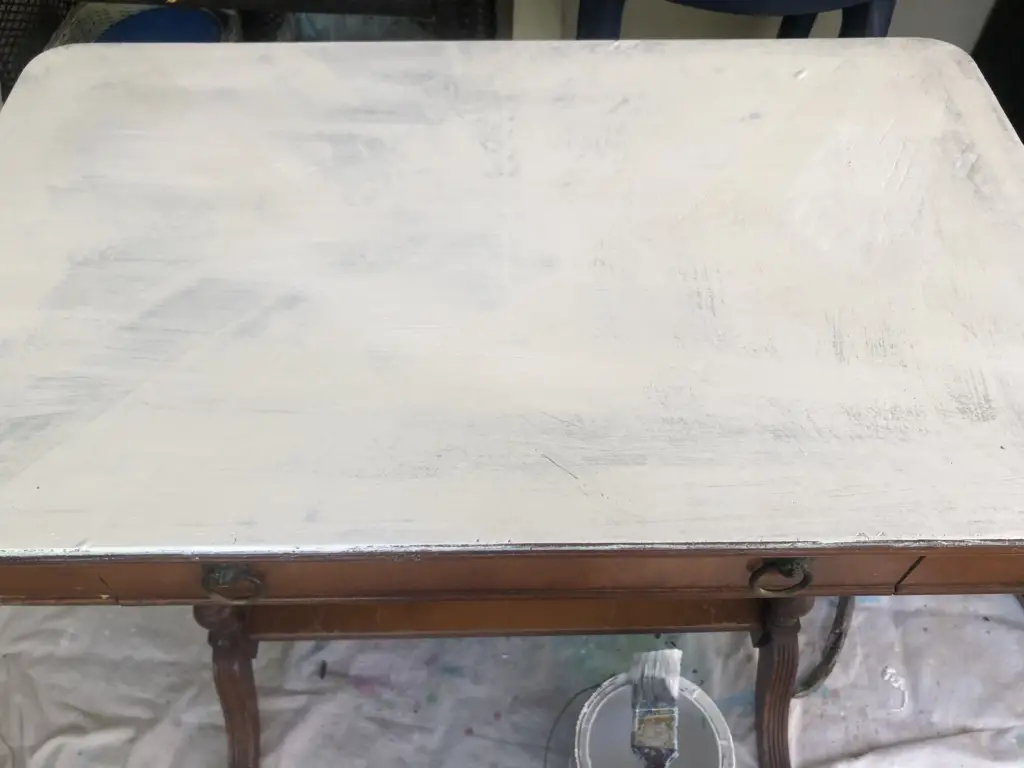
This entire piece was very beat up and was scratched all over. It was beyond repair in my mind, so I decided to paint it instead of trying to sand and re-stain it. This piece was not an antique and not worth any significant money, so I figured I’d go for it. Check out these writing desks on Etsy.
I checked out my paint stash in the garage and had about 1/2 gallon of this color that we used on the Tiki Bar called Tropical Lagoon.
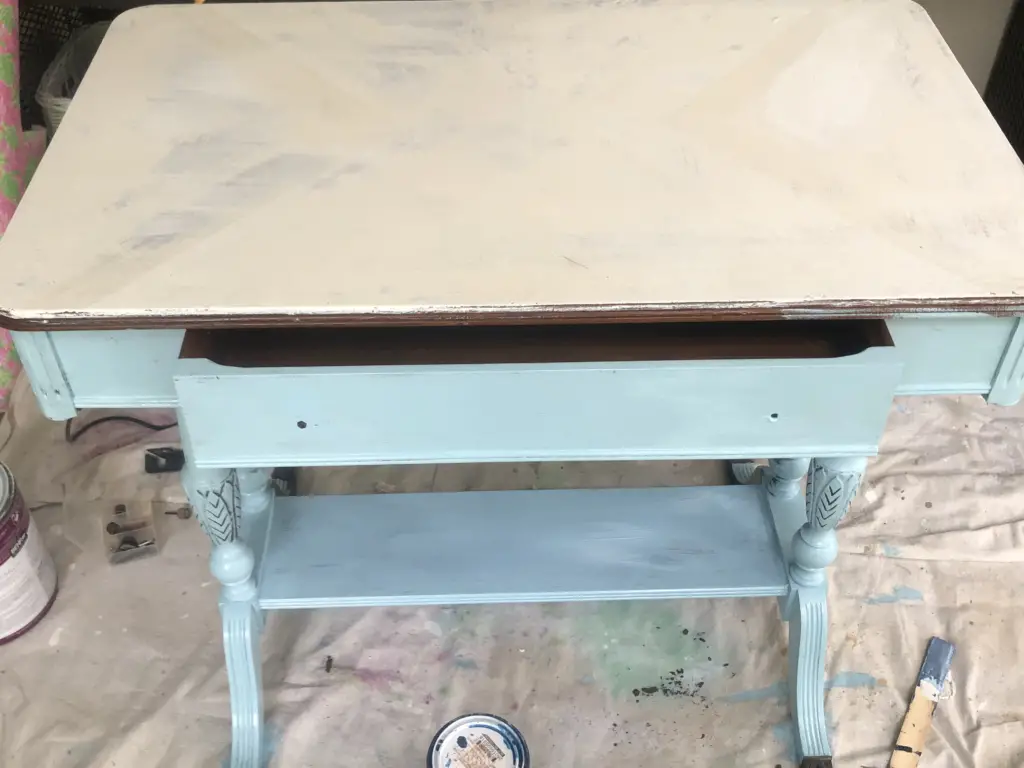
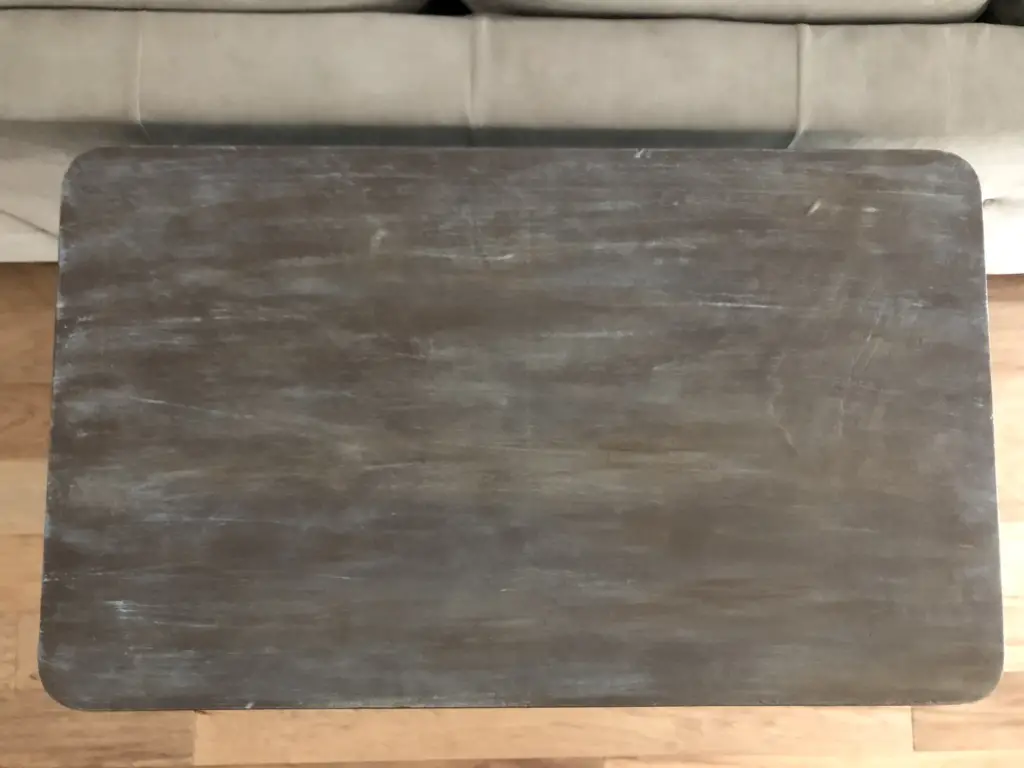
For the top I choose a chocolate brown color. After I painted the top, I decided to do a bit of an antiqued look. To achieve this, I dipped a dry brush in the Tropical Lagoon color that I used for the legs, and lightly painted it on the top. Any spots I wasn’t happy with I added more brown to, until I was satisfied with the look.
Lastly, I used some MinWax water based polyurethane to seal my paint job. I used 2 coats.
Step 3, Clean up The Knobs and Claw Foot legs
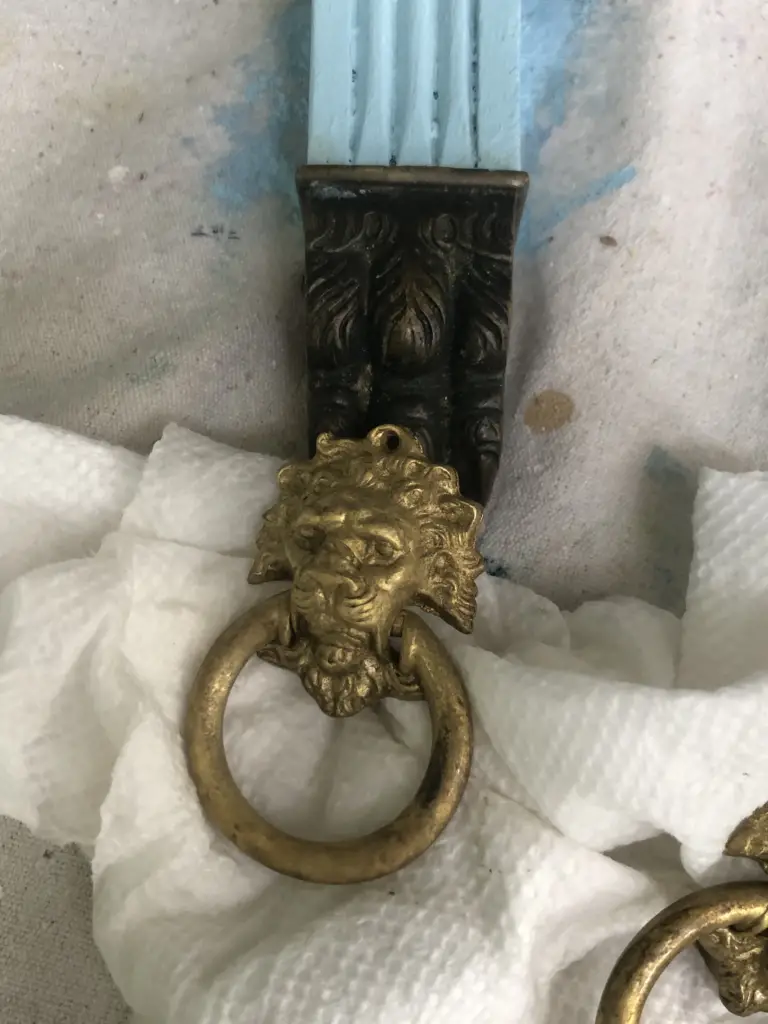
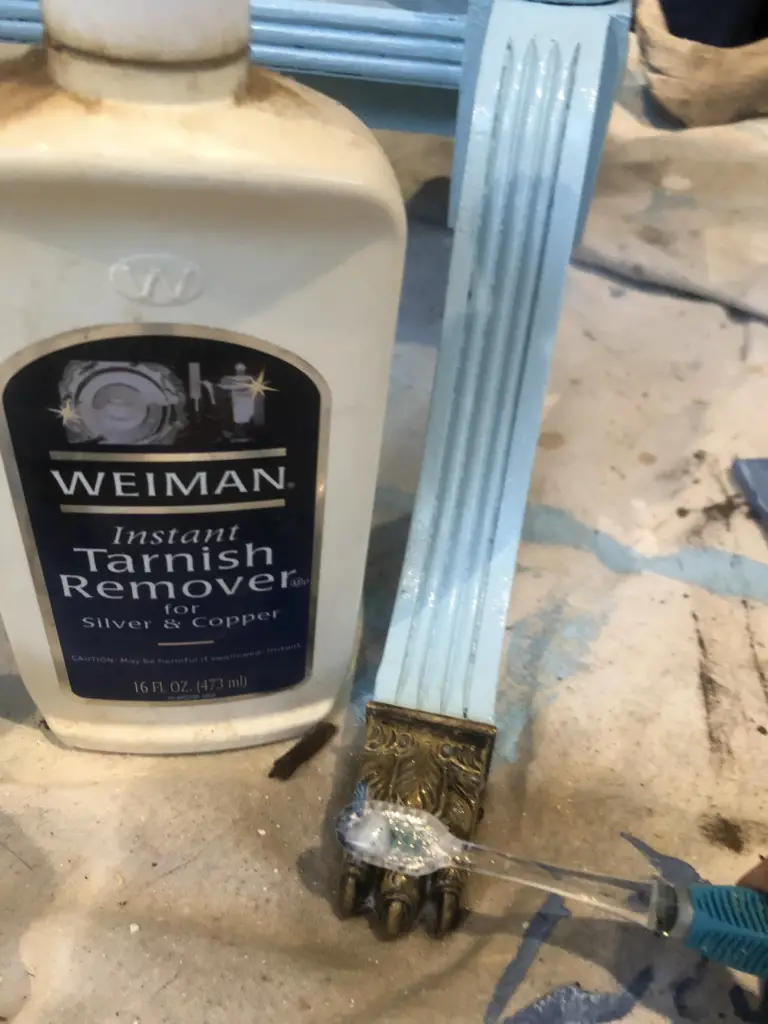
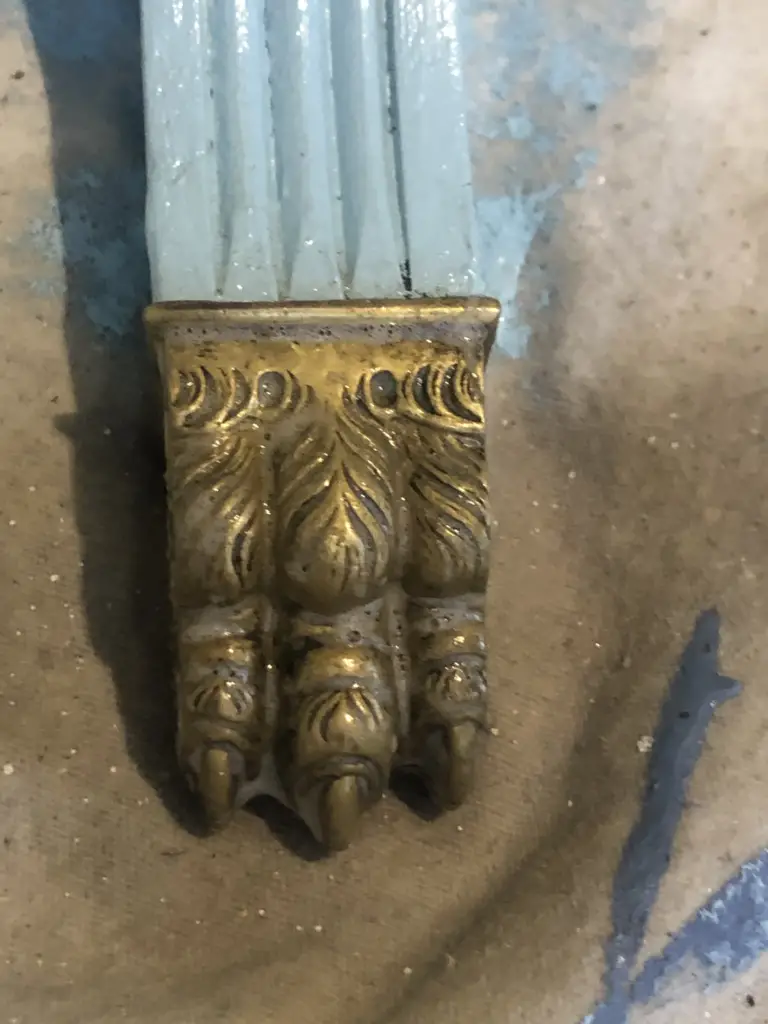
I love the details of the knobs and the claw feet of the legs, but my goodness were they dirty and tarnished! I found some tarnish remover in our garage and decided to see if this stuff would clean them up. To clean the knobs I unscrewed them from the drawer, and used an old toothbrush to scrub them. This stuff really worked great. Once the knobs were down I scrubbed the feet until they matched the knobs.
Knobs – Before Knobs compared to feet that hadn’t been cleaned yet. Cleaning the feet All Cleaned up!
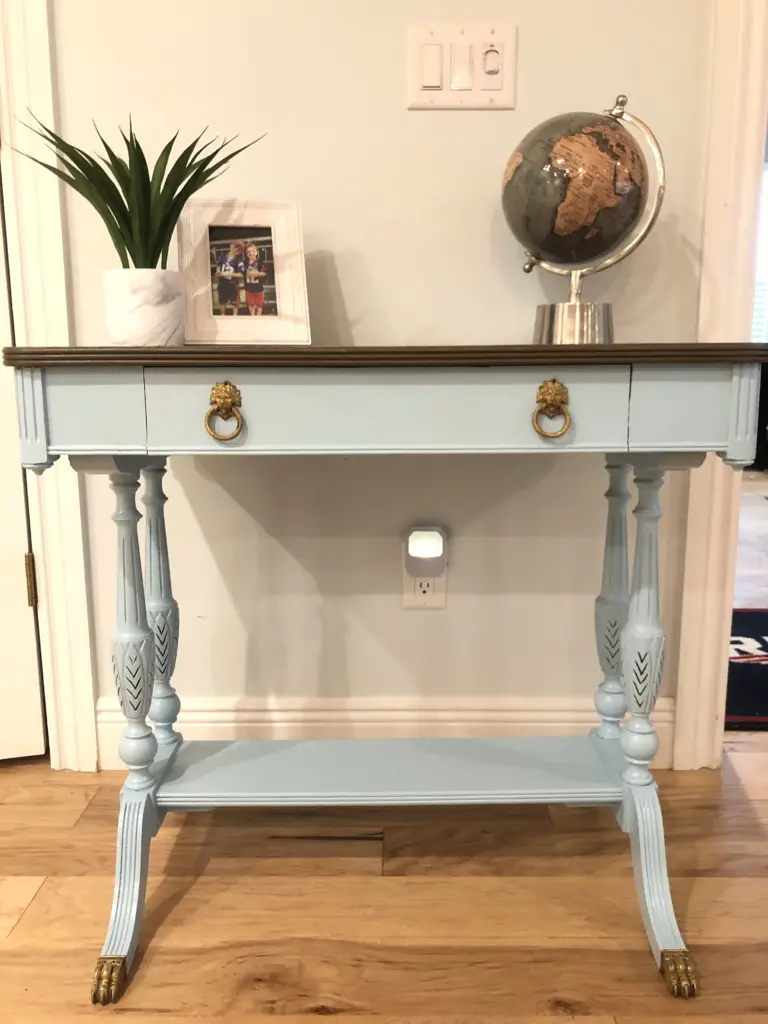
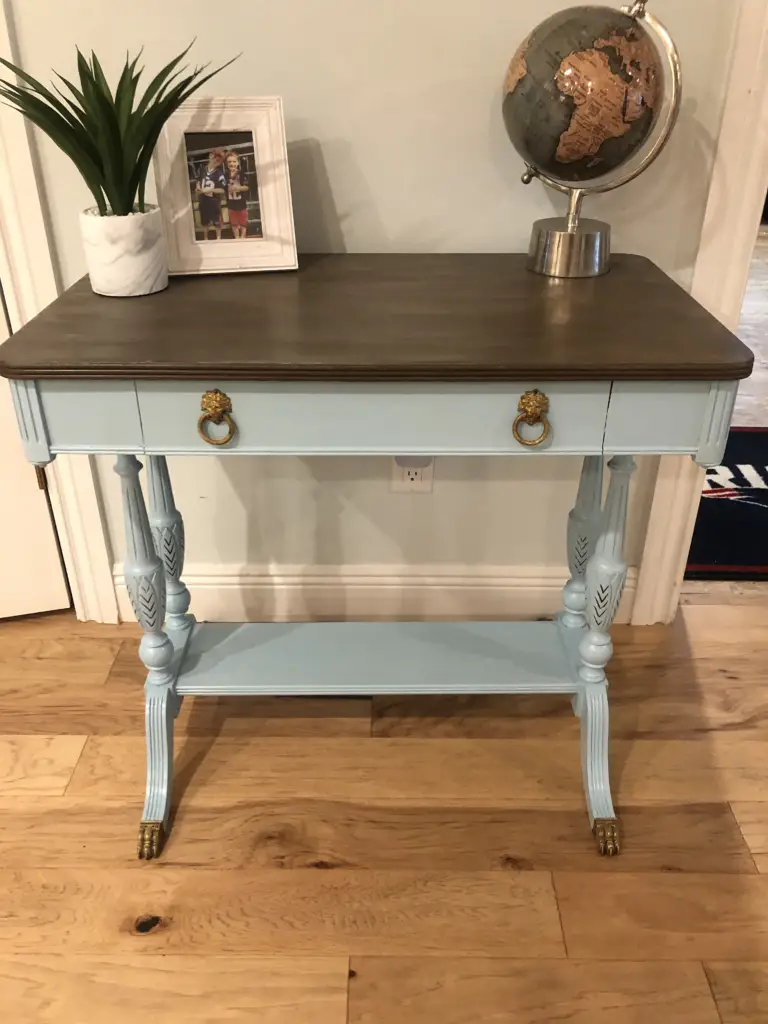
And here is the final product…I was able to sell this cute piece on Facebook Marketplace to a nice woman who was setting up a new hair salon.
Before After
What do you think? Are you a trash picker too? I’d love to see any transformations.
Don’t forget to check out my Etsy Shop!
PIN FOR LATER…


10 Comments
Wow I love how it turned out, especially the details on the legs. Good job. It was worth saving!
Thank you! I am happy with how it turned out too. 🙂
Wow! Elegant and beautiful.
Ty!
Thank you so much!
Beautiful, looks great❣️😊
Thank you so much!
Looks terrific! Wish i had a garage to go ‘shopping’ in & have things turn out so great! Im just starting to get into all this- a little late in the game at 52, but i hope my stuff turns out so well! Great job!
Chris
Thanks! I started late to the game too. I’ll be 49 in a few weeks.
I love it! Thanks for the inspiration. I have a table top with severe water damage but the ring is white instead of black. I may need to try this plastic wood stuff!
Give it a try. It worked pretty good.