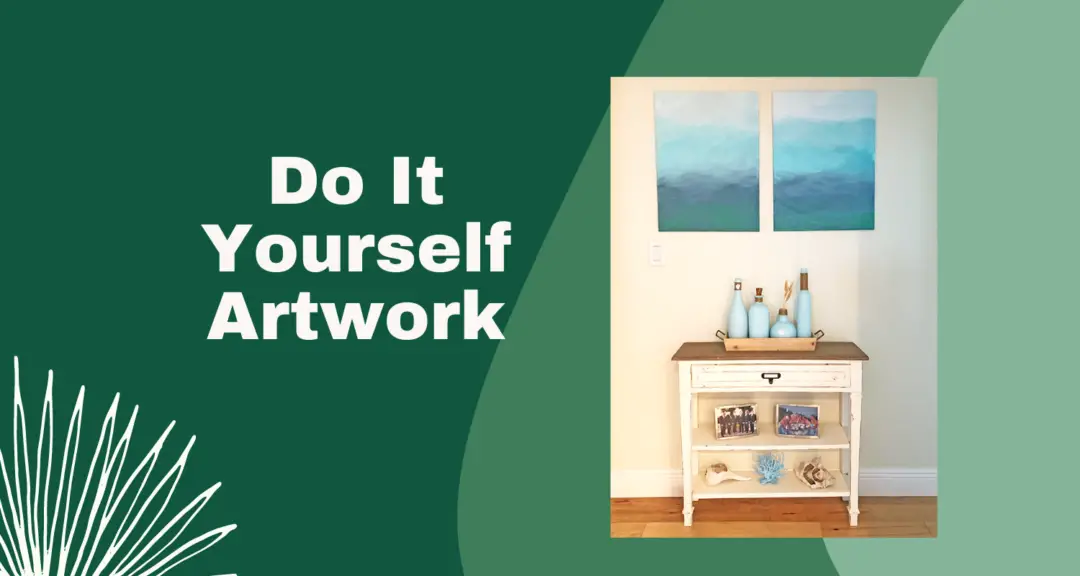
DIY Artwork for $23
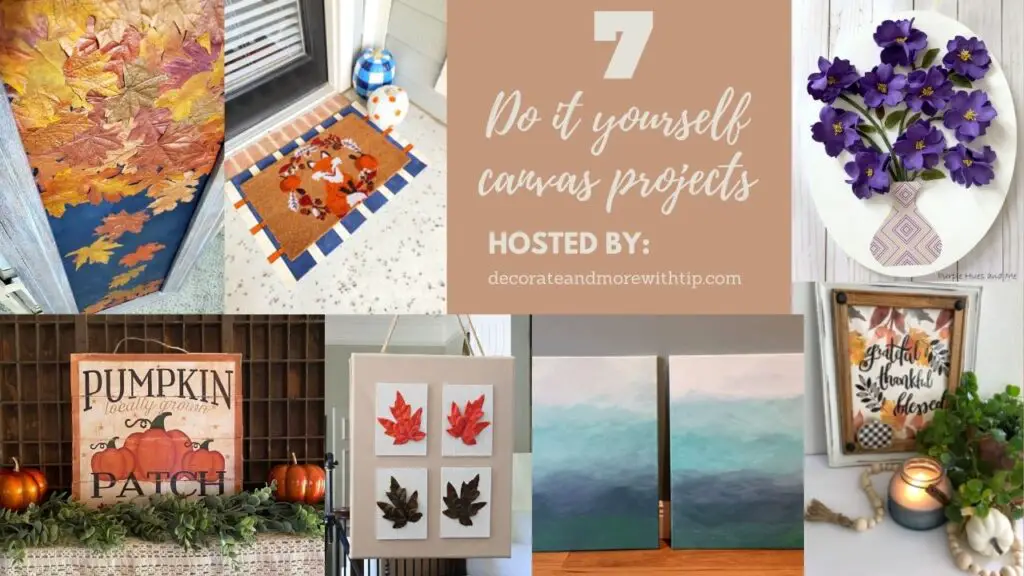
Welcome to the September DIY Challenge, hosted by Terrie at Decorate and More with Tip. (You can see my past DIY Challenges here.) This month we were challenged to create a DIY using a canvas. If you are coming over from Patina and Paint, welcome! Wasn’t her project so good? She is so creative! Make sure you check out the links to the rest of the ladies in this challenge at the bottom of this post.
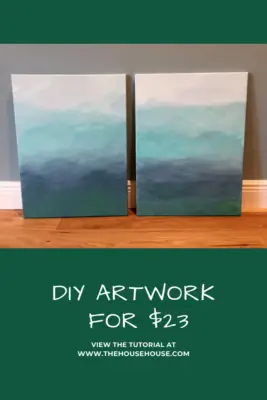
Simply put, I followed this tutorial that I found on Pinterest from someone who is much more artistic than myself. I loved the colors in this piece and thought they’d look perfect in my house, so was dying to try it. However, I was nervous as I have NEVER tried to paint anything like this, so I thought for sure I’d mess it up. Sometimes I try things that I see on Pinterest and they are HUGE fails, but this one was actually really easy and I was very happy with the result. And it only cost me $23!
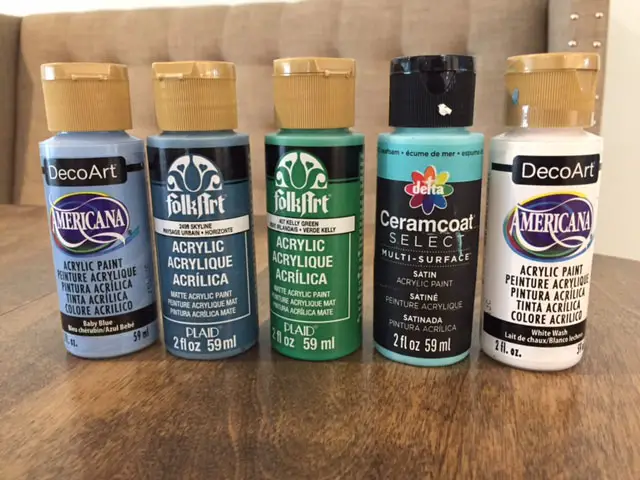
Here are the supplies I used…
This post contains some affiliate links for your convenience (which means if you make a purchase after clicking a link I will earn a small commission which helps keep my blog up and running but it won’t cost you a penny more)!
Materials Used – DIY ArtworkCraft Paint I used the following colors, but there are hundreds to choose from. Ceramcoat brand #04021 Seafoam Americana brand #DA02 White Wash and #DA042 Baby Blue paint brush |
The Painting Process (the Fun part)…
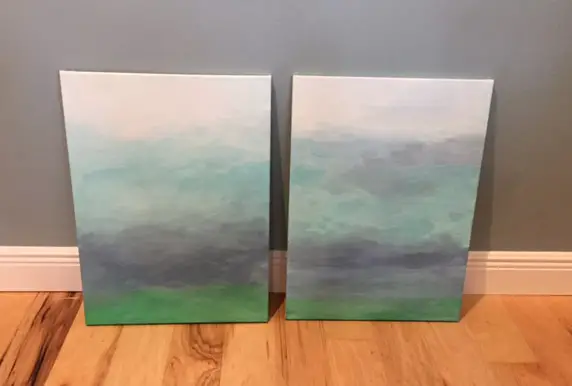
Once I was all set up, I just went for it. I started on the bottom with the Kelly Green, then worked my way up trying to blend the colors the best I could using a lot of white. The good news is you really can’t mess it up. If you don’t like the way something turns out, just paint over it. Here was my first one, in progress.
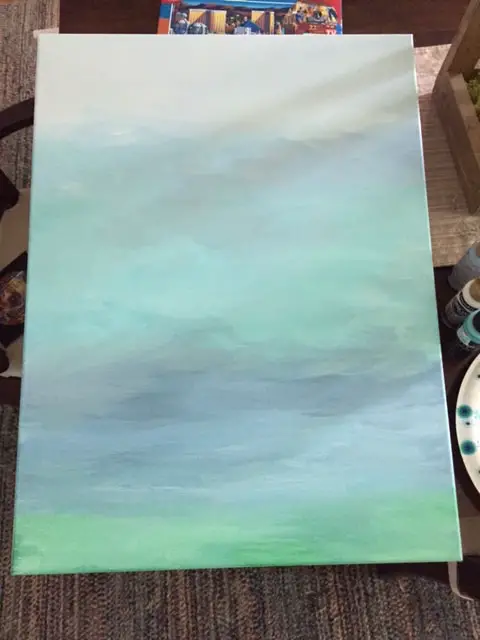
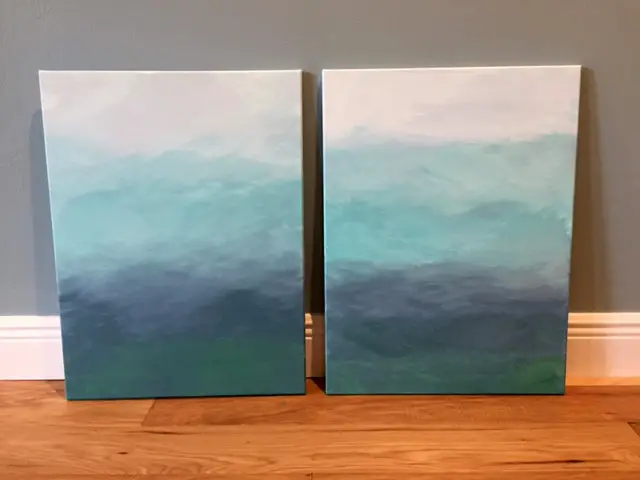
Originally, I was only going to paint only one of my two canvas’, but it only took me about a half an hour to complete the first one, so I decided to paint the other one too. When I thought I was done and happy with how they both looked, I took a picture of them and walked away for a bit. When I came back a while later, I thought there was way too much green on the bottom. So, I got to work blending the colors until I was happy. You really could go overboard and just keep painting and painting all day long, but by now my kids were home from school so I called them DONE. Even now, looking at these pictures, I see some areas I would like to fix, but I think I’ll leave them alone…..for now.
Side note – I feel like the colors in real life are much prettier than these pictures below.
My husband and kids were both surprised that I painted these and although they are not the best things you’ve ever seen in your life, I really like how they came out.
First I hung them in the living room.
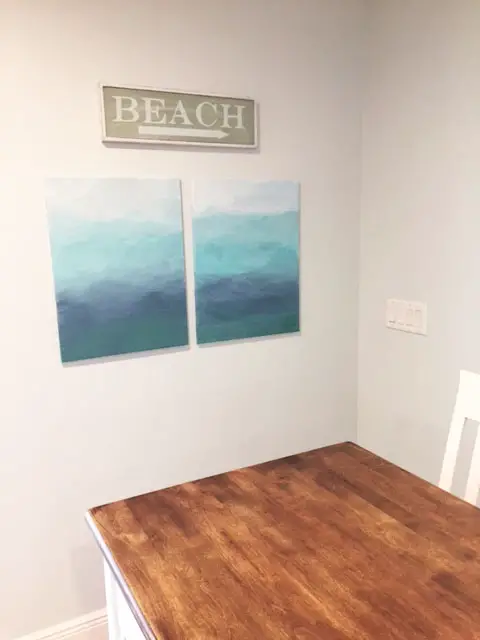
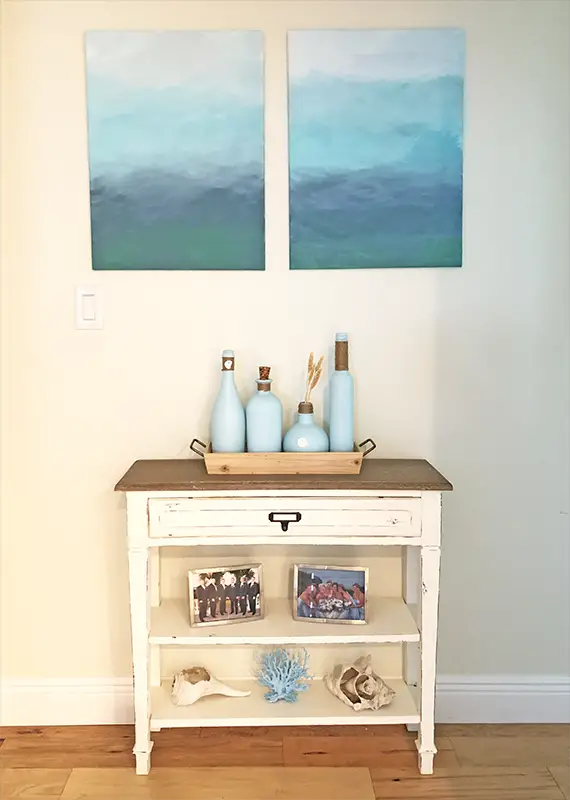
I ended up moving these to our hallway and like them much better here.
So, there ya have it!
Trust me, if I can do something like this, so can you.
PIN FOR LATER…
Check out what my blogger friends have come up with this month…
DECORATE AND MORE WITH TIP | BLUESKY AT HOME | PURPLE HUES AND ME | PATINA AND PAINT

 The House House | Paula’s Homemade Space | K’s Olympic Nest

12 Comments
Jodi I love your artwork. Those colors are just perfect for your home. Beautiful, soft and soothing! love this so much.
Thank you so much, Tammy!!! I am so glad you like my artwork.
So beautiful! Love how you share your inexperience and tip for walking away for a bit. I struggle with that and then end up with a gray canvas lol. Absolutely love your final artwork!
Thank you!!! I can see how artists take forever to finish a painting. It is hard to stop and just say, ok, looks good.
The two canvases turned out so pretty, love how you blended in the colors. Very pretty and perfect for your home.
Thank you. I’m glad you like them.
Jodi, I would never guess you are a novice at painting. Your works of art look stunning and certainly compliments the decor in your hallway! You did a fabulous job in creating them!
Thank you so much!
Your artwork turned out beautiful! It looks great in your house. I may have to try your technique! Thanks for sharing!
Thanks. I’m glad you like these.
Jodi, this is gorgeous. It’s like a piece of art you would buy in a gallery. You combined such pretty colors. Definitely Pinning.
Oh wow! Thank you so much!