
Christmas Surprise Box Challenge

Today, I am joining a group of bloggers for a fun and unique DIY Surprise Box Challenge, sponsored by the amazing Terrie from Decorate and More with Tip. We did this several months ago and it was fun. You can see that post here. Each of us was assigned a person to buy for. We then had to go to pick up some holiday related item(s), and mail it to that person. That person then had to come up with a DIY project with the item(s) they received. Sounds kinda fun, right? You can see what all the other bloggers items were and what they came up with below. I was assigned to Dylan at Dylan Kade’s Blog. Please be sure to check out all the projects at the bottom of this post.
Side note, we were supposed to include in our surprise box an ‘unexpected’ item, which I misunderstood and didn’t include in my package to Dylan. Sorry Dylan. BUT, I thought my item was a little unexpected in the first place. He is all about neutrals and I sent his something very COLORFUL. I can’t wait to see what he came up with.
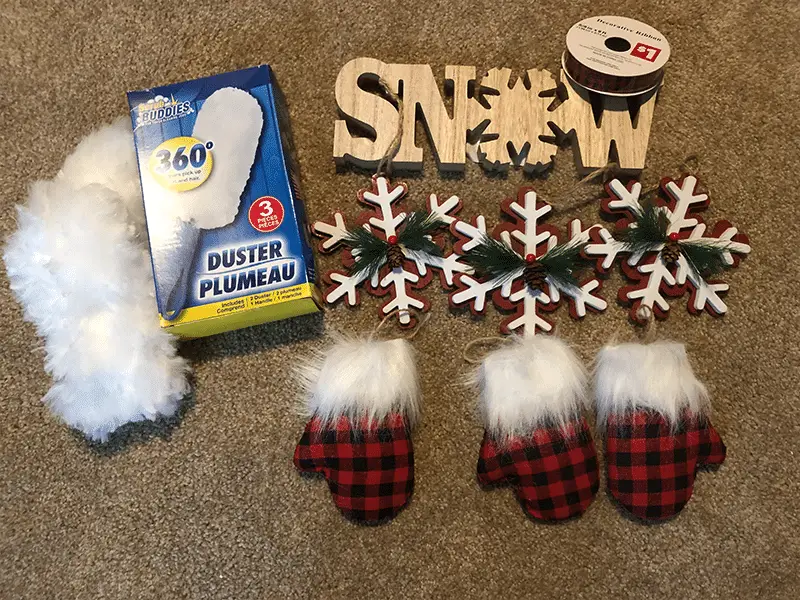
ANYWAY, Terrie was assigned to me and here is what she sent me. Talk about CUTE. How fun are these items? As you can see, my unexpected item were the box of dusters. So, let’s start with what I ended up doing with those.
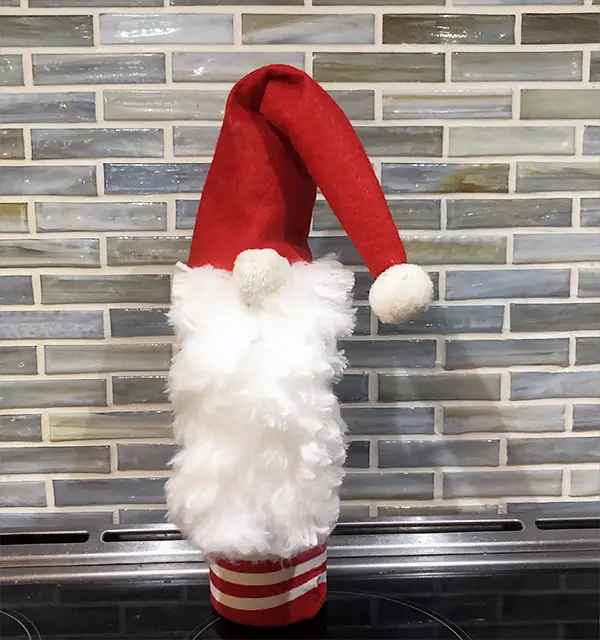
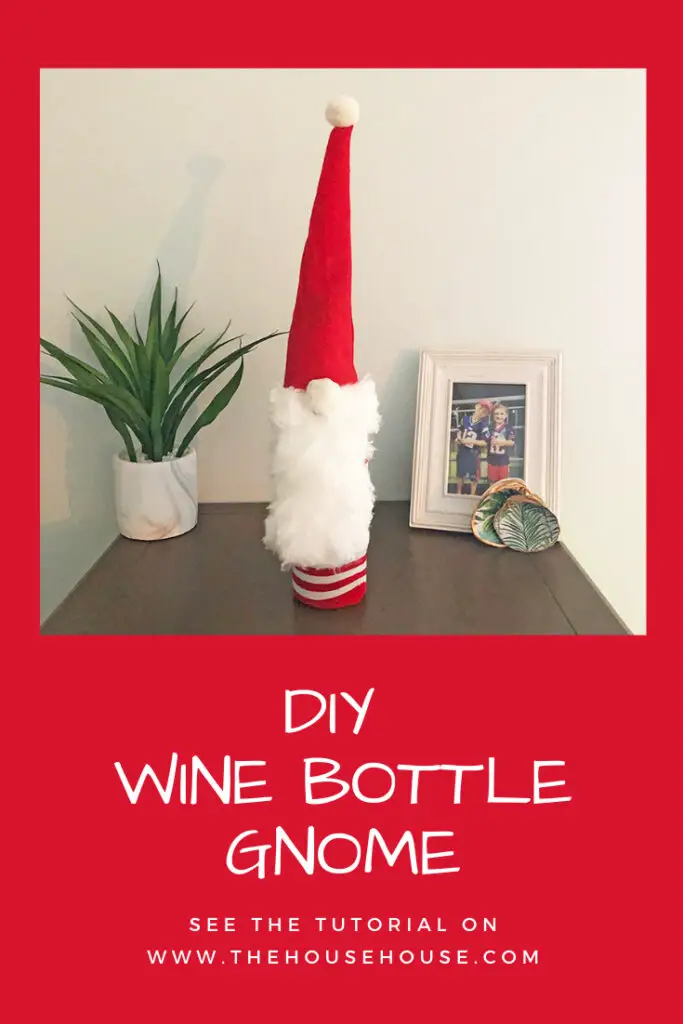
EASY DIY Wine Bottle Gnomes…
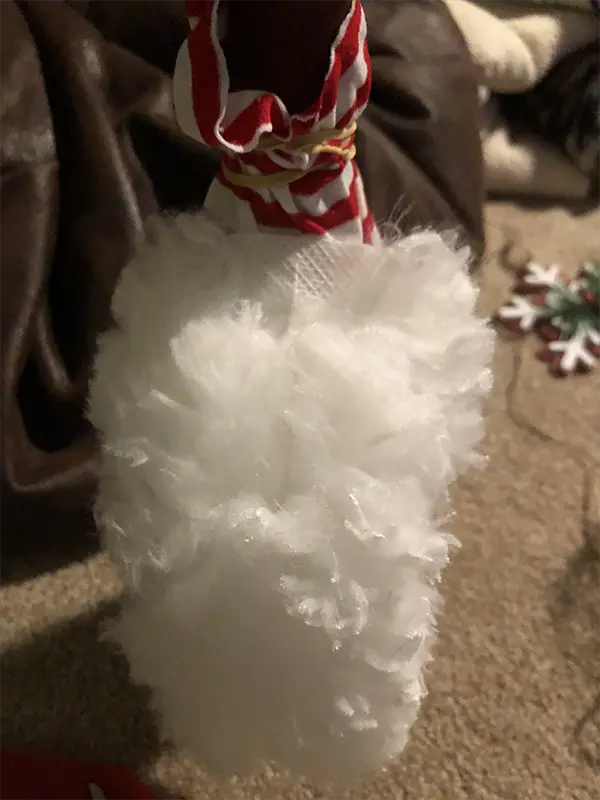
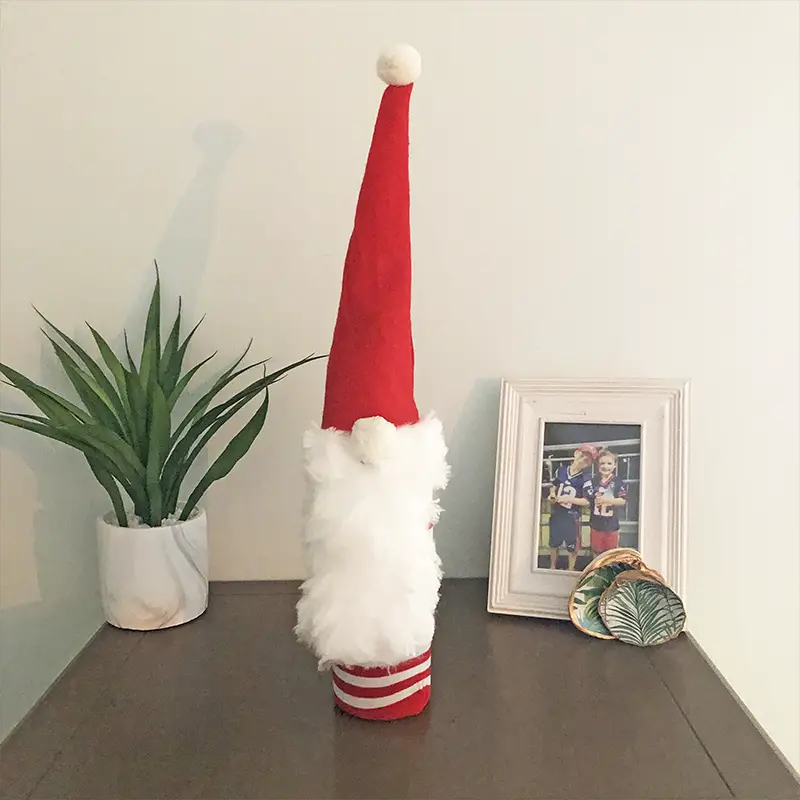
These white dusters reminded me of a gnome beard. Is that what you see too? Or maybe a Santa beard? Well, I’ve been wanting to make a gnome for a while, so now was as good a time as any to use these and give it a try. I made mine with an empty bottle just to see if it worked. It did work and afterwards realized that if you used a new, unopened bottle they would make the perfect gift for a friend, neighbor, as a hostess gift or for any wine lover you may know (but actually you could use any kind of booze) . These are SO simple to make and they came out SO cute.
Materials used in my DIY Wine Bottle Gnome…
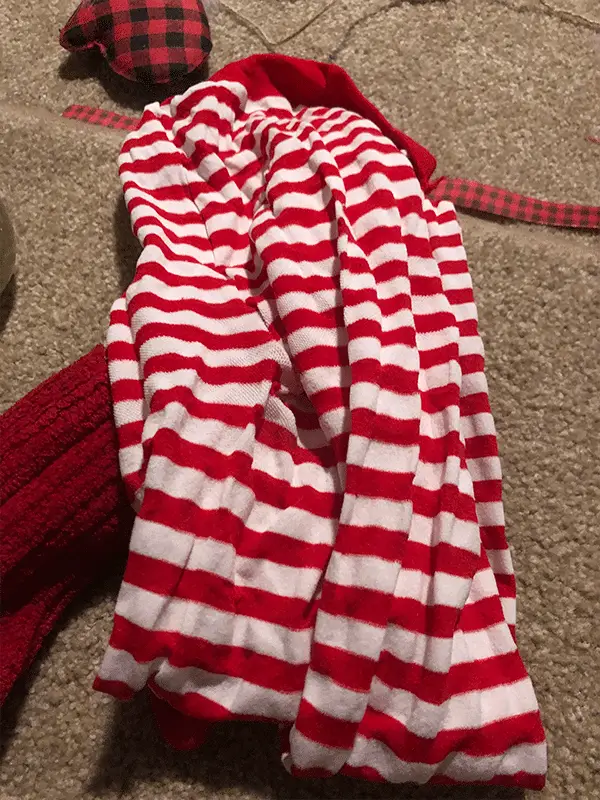
I used a pair of red and white striped stockings that I had from a Cat in the Hat Halloween costume, some red felt from Dollar Tree, rubber bands, white dusters (from the surprise box), white pom-poms, glue gun, wine bottle
Step 1…
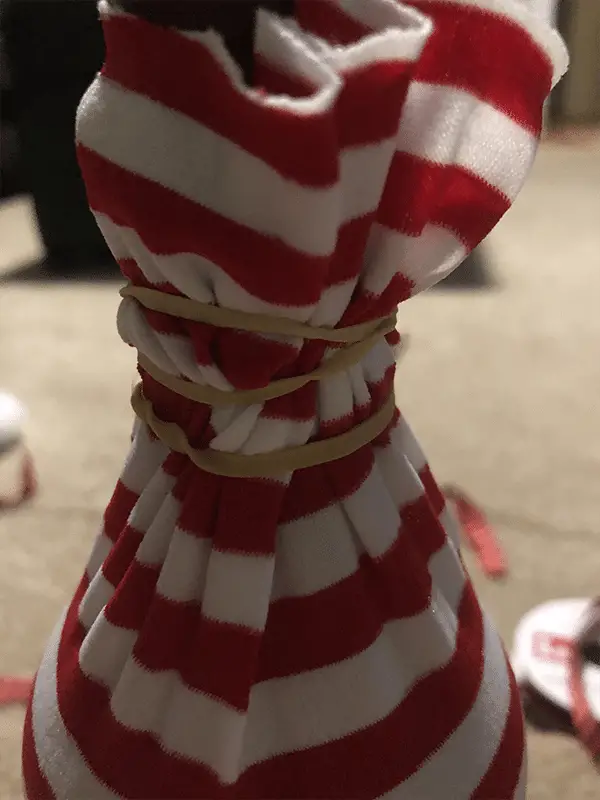
I used an old pair of stockings from a Halloween costume but another idea would be to get a pair of Christmas socks. Just insert the bottle into the sock, then you’ve got a 2 in 1 gift. Bottle of wine and socks too.
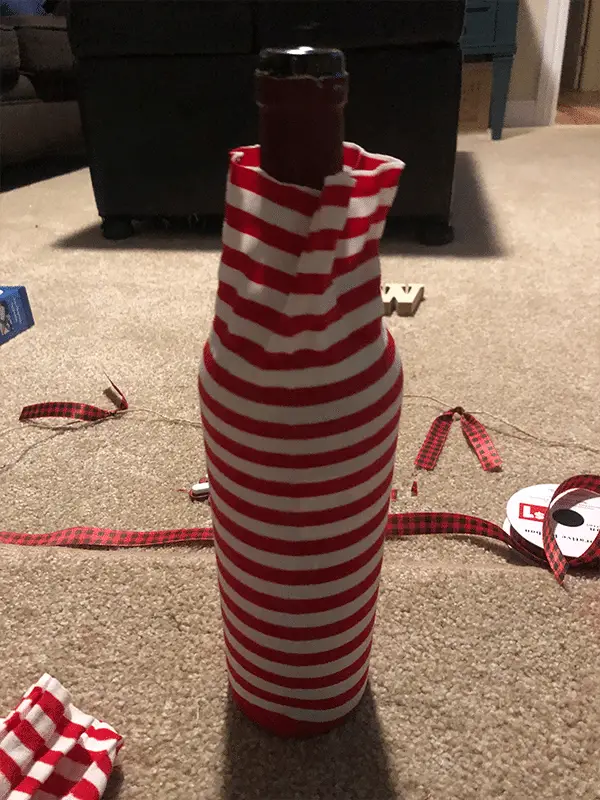
I didn’t have Christmas socks so I used these stockings instead and cut a long enough piece to cover the wine bottle, then used a rubber band to tighten it on top.

Old Red and White Striped Stockings Cover the Bottle Use a rubber band to secure it
Step 2 – Make a Hat
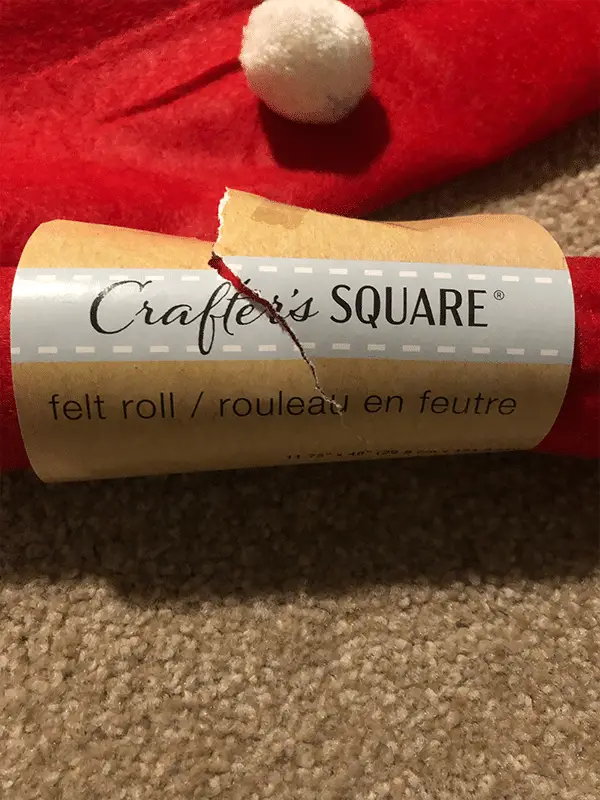
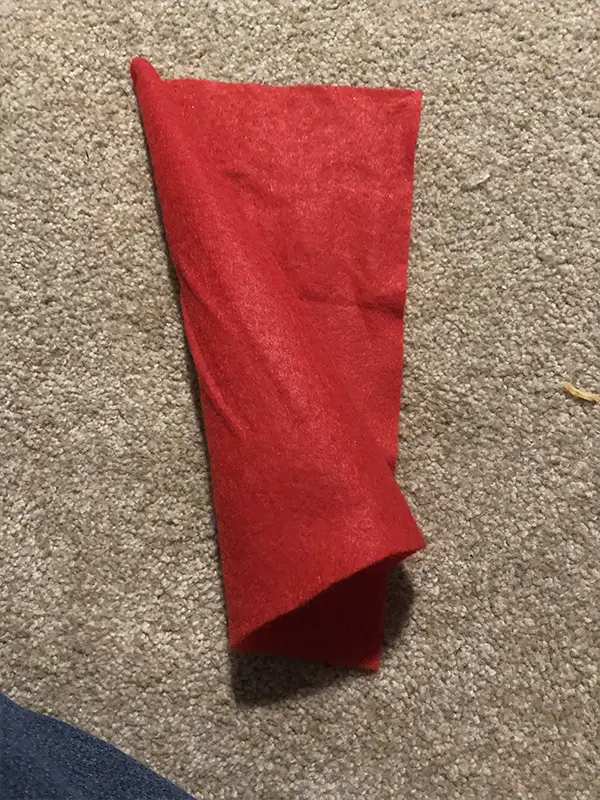
I bought a roll of red felt from Dollar Tree to make the hats. I simply rolled up a piece and used my glue gun to glue it together, then trimmed the excess material off.
Step 3, Glue on the Beard…
Before you put the hat on you need to glue the beard on. I glued mine just a bit under the rubber band or enough where the hat would cover the top part of the beard. I used my glue gun for this.
Step 4, Put on the Hat and Nose…
Lastly I just slipped the hat right over the bottle top and glued a puff ball to the beard as the nose, and one to the top of the hat. No need to glue the hat on if you are giving this as a gift. That way the recipient can just take the hat off to open the bottle.
I sort of the like the hat standing up straight, but you could flop it over too.
How cute are these?
PIN FOR LATER…
What to do with the rest of the items…
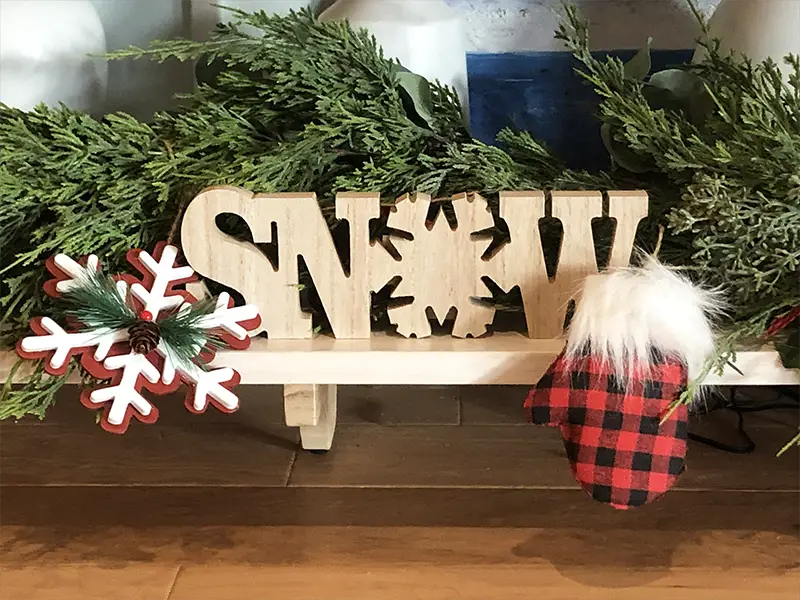
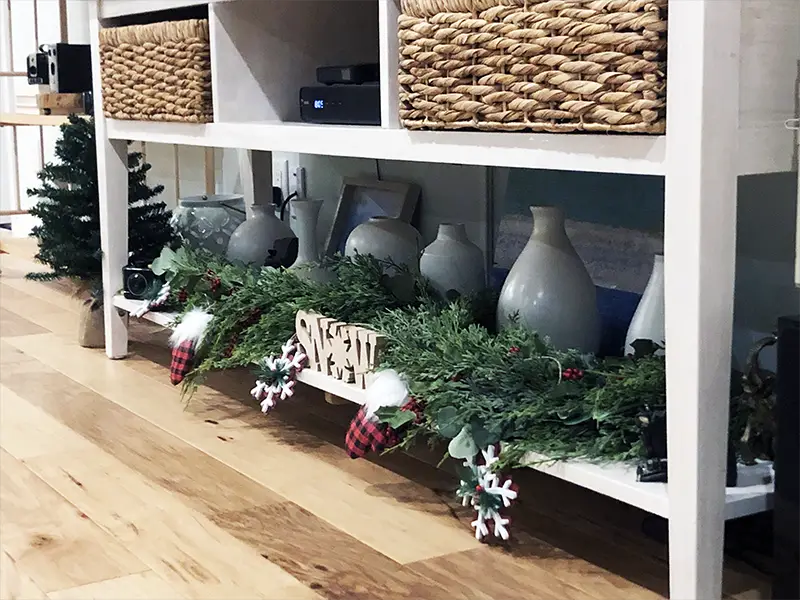
I decided to go simple with the rest of the items and make a garland. I had some twine in my craft bin so I pulled that out to use as a base. Then I just tied the items about every 5 inches to the twine.
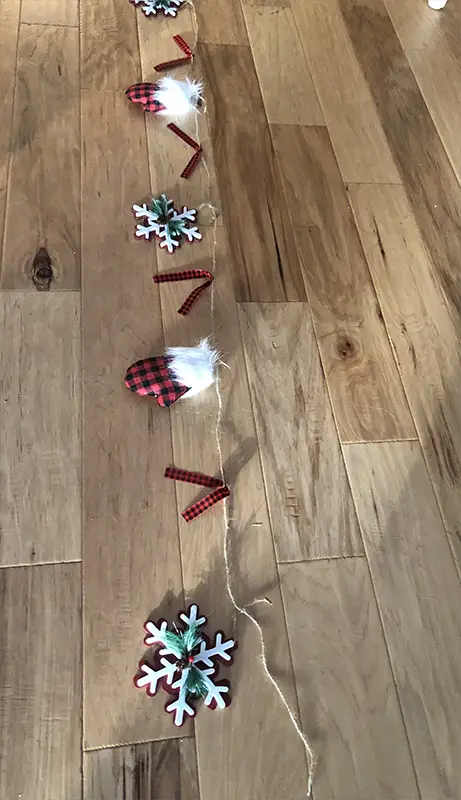
I don’t have a fireplace mantel, so every year I decorate the console table under my TV and pretend it is a fireplace. I was able to find my green and red garland from the garage. It was a miracle I found it since we have so many Christmas bins and we haven’t taken them out of our storage closet yet. I went in there to look and happened to find this in the first bin I opened! Lucky me. Anyway, this garland already had pops of red in it so I sort of tied the new garland into the old one. Look how cute it looks. The mittens and snowflakes also had red in them so it matches perfectly.
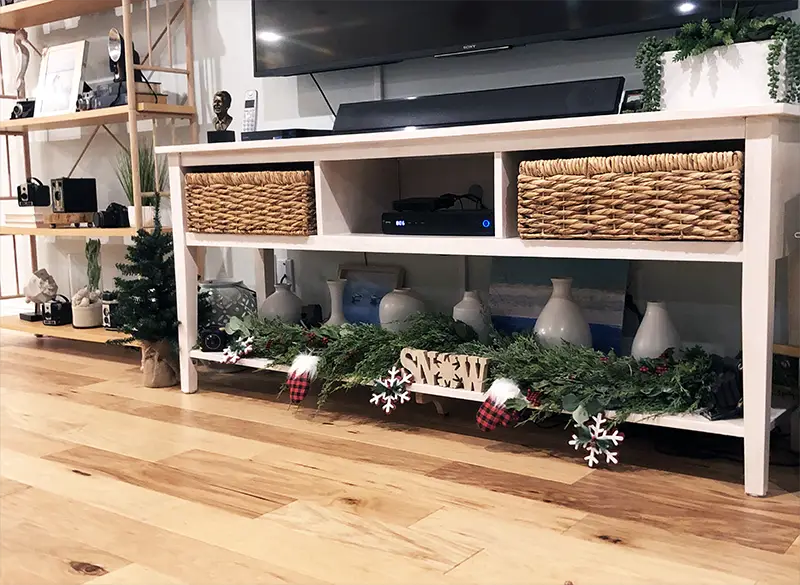
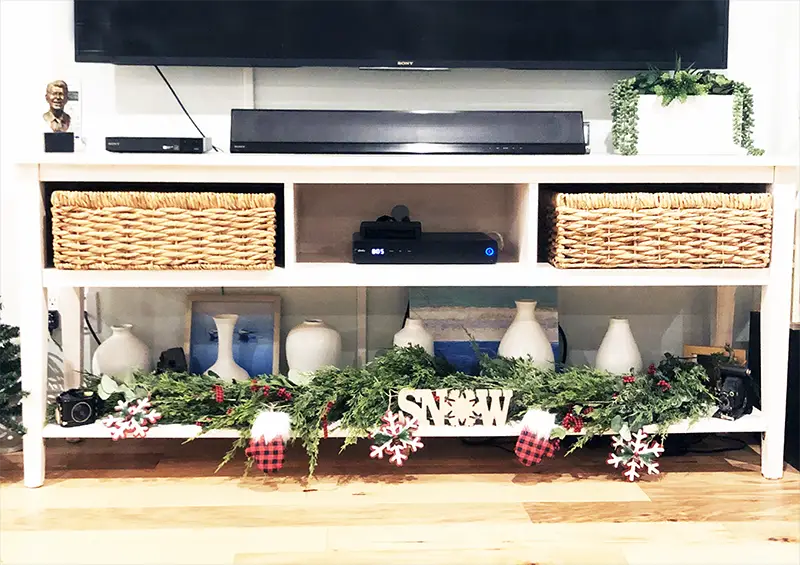
I decided to keep the SNOW sign as is. I love the natural look. I just simply placed it in front of the garland.
Overall this was very simple and easy and it really gives it a pop of color! Now I need to get all my other Christmas decor out and start decorating!
Please check out all the other bloggers projects from this fun challenge…
Terrie – Decorate and More with Tip
Tammy – Patina and Paint
Tara – Stilettos and Shiplap
Mariah – Worcester Run
Shae – Sweet Southern Grace
Shayna – Robinson Repurposing
Jessica – Jessica B Simmons
Emily – LeCultivateur
Dylan – Dylan Kade’s Blog

13 Comments
Absolutely adorable! All of it! Great job Jodi!
Thank you so much!!!
Jodi, all your decorations looks amazing. You made the challenge item look not so challenging. I love what you did with all the items. The garland was brilliant! I love that idea. I would of left the snow alone as well since it looks so nice where you placed it. You are very creative! Happy Holidays to you and your family!
Jodi, you made the challenge items not so challenging! That is so cool what you did with the dust pads. I love him, he is so adorable. I also love the garland you made with the other items. I would of never thought of a garland, so creative. I would of left the snow as is as well since it looks so nice where you placed it. Happy Holidays to you and your family!
Thank you for sending me such fun things to work with! I am so glad you like what I did with them. I love my little gnome. Isn’t he so cute?
I don’t think I would have come up with the gnome idea but he sure is cute! That snow sign and how you used the ornaments to make a garland was a great idea too. I love how it looks with the greenery on your “fireplace” . lol Such a good job, Jodi. Wasn’t this fun?
This was so fun. I love how creative everyone was with their items. Glad you like my little gnome. Isn’t he cute?
The gnome is so fun! I love the festive display with the other supplies too!
Thanks so much, Jessica!
Love what you did with your challenge! I’m very partial to gnomes this year and yours is adorable!! Great job!
I’m so glad you like my gnome! I love him too.
Love what you did! I am partial to gnomes this year too!! So cute!!!!!
Thanks, Shae. Gnomes are the cutest!