
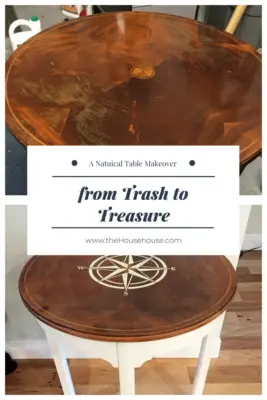
Side Table From Trash to Treasure
 New Project…
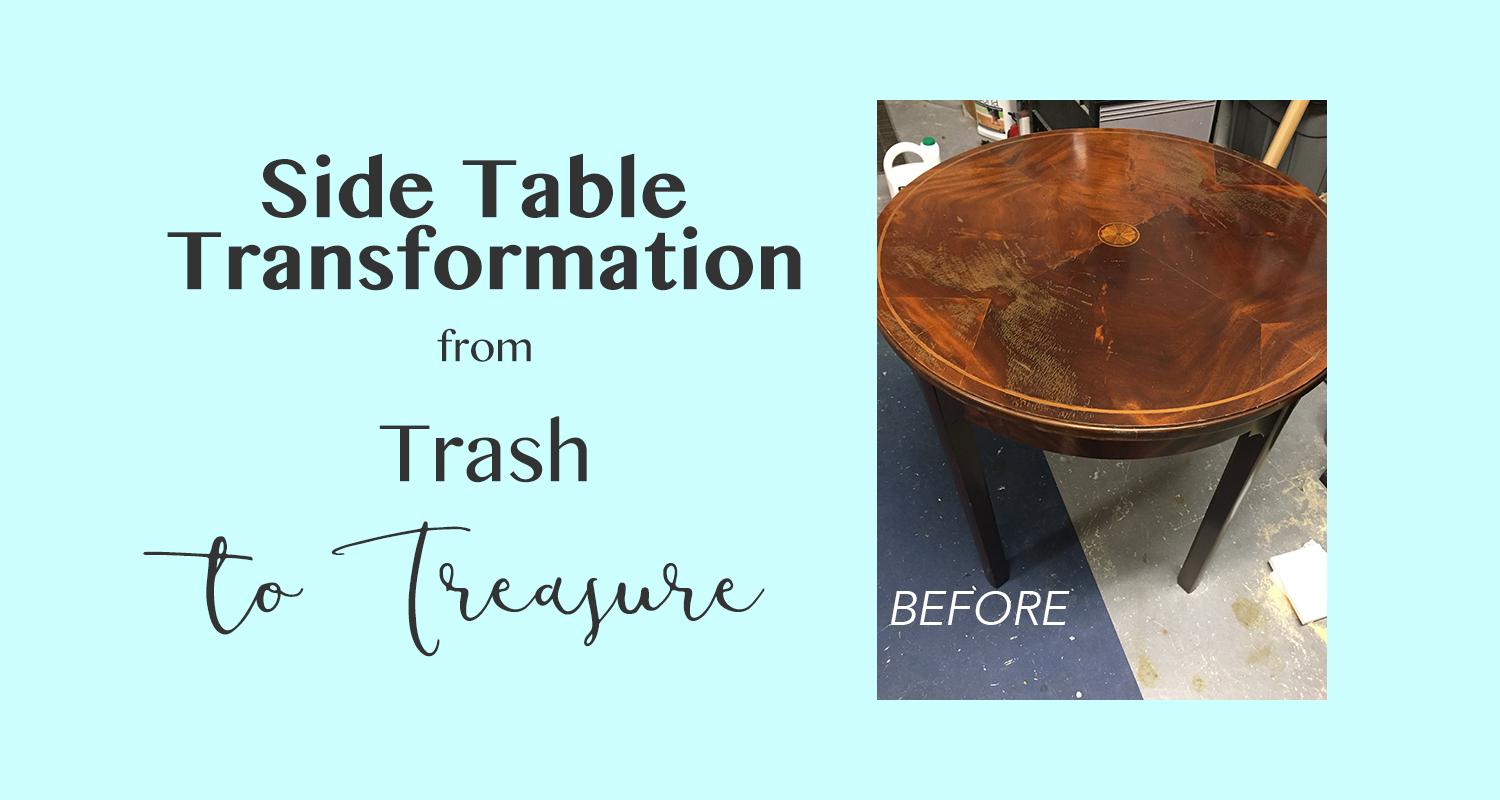
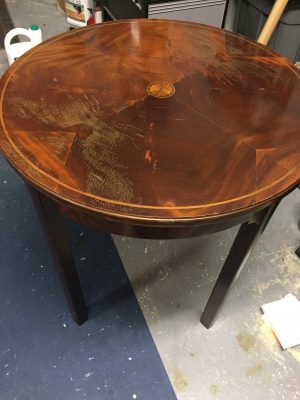
My husband is a trash picker! He literally took this old side table off the side of the road, which was meant for the garbage trucks, and brought it home for me. The top needed work but overall it was in pretty good shape, so I was happy he did that! You know what they say…”One man’s trash is another man’s treasure.” My mind started thinking of ideas immediately on how I could bring this Side Table From Trash to Treasure. Here it what I came up with and a tutorial and how I did it.

This post contains some affiliate links for your convenience which means if you make a purchase after clicking a link I will earn a small commission which helps keep my blog up and running but it won’t cost you a penny more!
Materials Used – Side Table from Trash to Treasurepaint brushes |
Step 1, Side Table From Trash to Treasure, Stripping the Paint…
The first thing I did was check to see if this table was worth any money. You hear stories about people buying items at yard sales, estate sales, etc. then finding out they are unique or designer items worth lots of money! Sadly, this was not the case. Dang!
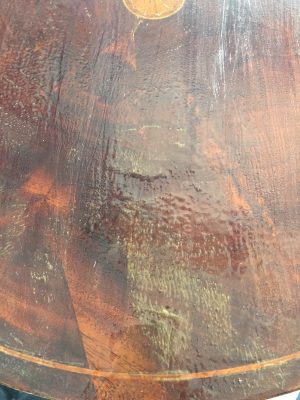
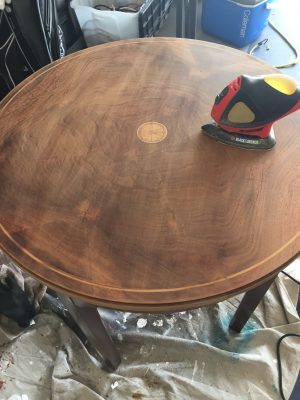
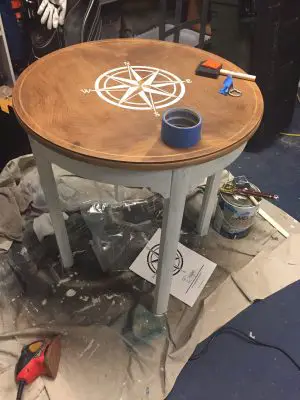
As you can see from the first photo below, the top of the table was in pretty bad shape. I could tell the wood was really pretty though, and would look good if I could just get rid of that top layer. The stain was cracking in a few spots, probably from water damage, which is probably why the people were throwing it away.
The first thing I did was to strip the paint using a paint stripper. I had some experience from when I revamped our old, dark wood dining room table. Rather than just sanding the top layer off, I found this paint stripper to be helpful before sanding. (Several readers have told me about this Citri-Strip product that is apparently much less toxic and works just as well. I have not used it myself, but will give it a try next time I need to strip a piece of furniture.) To use, you apply a thick coat using a regular paint brush, then you wait about 15-20 minutes before you attempt any scraping. (Please make sure to wear gloves and eye protection. This stuff is pretty toxic.) I was working in my very hot garage so the stripper was drying quicker than the recommended time. I was only waiting about 10 minutes. After the stripper soaks in, you use a scraper tool to remove the paint/stain and an empty can to discard it in. I used about 3 coats which seemed to do the trick. In the middle picture below you can see the stain bubbling up ready to be scraped off.
Once done you need to apply some Paint Stripper After Wash which essentially gets rid of any paint stripper from the piece, and stops the stripping process.
Step 2, Side Table From Trash to Treasure, Sanding…
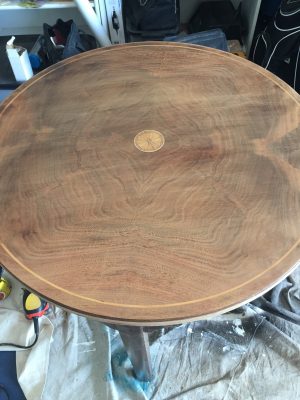
I sanded the rest of any remaining stain using my hand sander. Overall it looked pretty good! Once done sanding, make sure to clean up really well to get rid of any dust remnants. I used a damp rag but they sell tack cloths that work wonders too.
Step 3, Side Table From Trash to Treasure, Adding a Stencil…
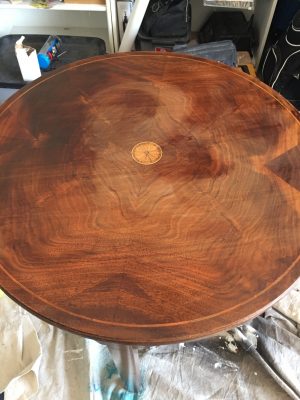
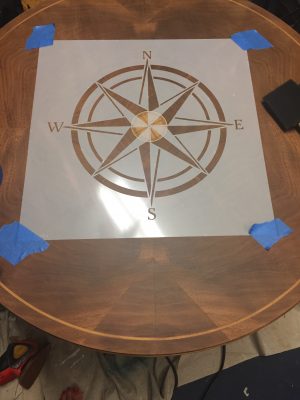
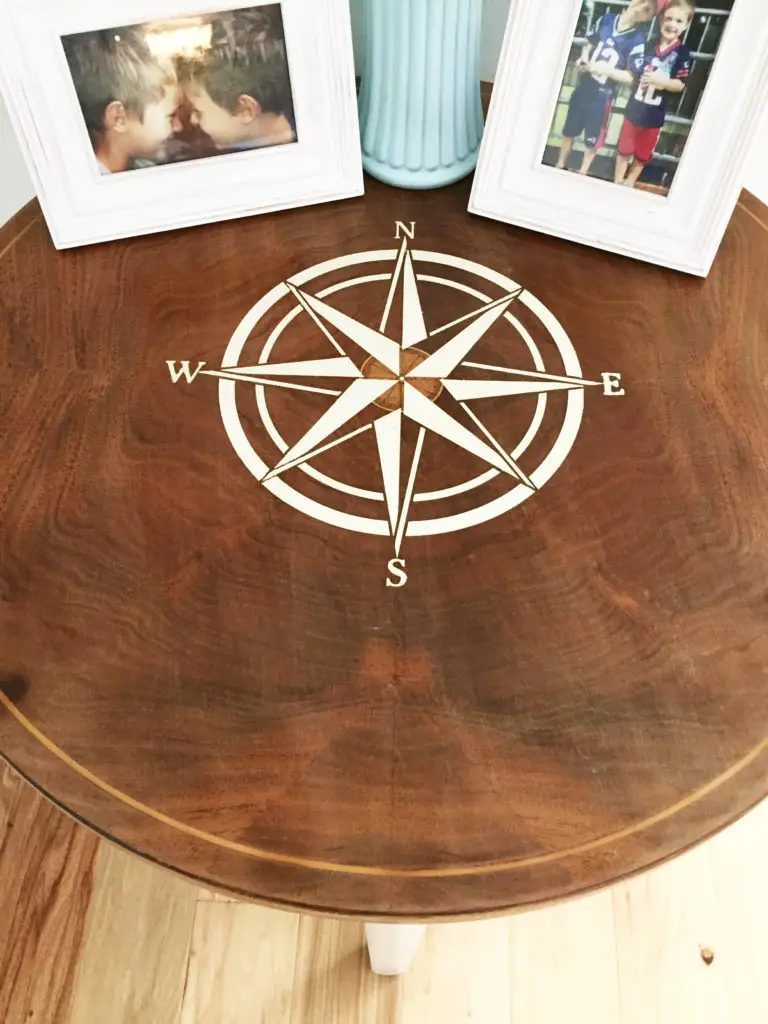
I went back and forth trying to decide what to do with the top. I figured this was a free piece of furniture that would have ended up in the landfill, so I was gonna try to make it something fun. If I screwed it up, oh well, right? The wood grain is really pretty but I thought a stencil of a compass rose on the top would look cool and would still allow the pretty wood grain to show through, so I decided to go for it. I found this one from amazon and thought it was the perfect size (12 inches). Painting the legs white, rather than deal with stripping them, seemed like the right call too. I did a similar treatment to these old bar stools and LOVE them.
I made sure to line up the stencil evenly using the circle in the middle of the table as a guide. Then I taped it to the top using painters tape and used a foam brush to paint/dab on the stencil. I used about 4 coats of paint and then let it dry before carefully taking the stencil off. I was happy to see that it came out really nice. Whew! I hadn’t screwed it up after all. Ya me! I did have to scrap off a few places where the paint had run through a bit, but overall it looked great!
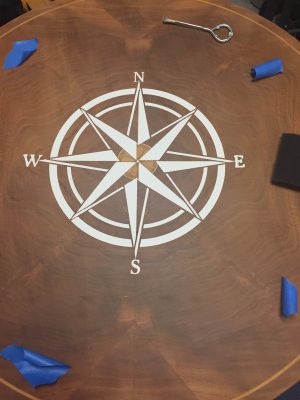
Step 4, Side Table From Trash to Treasure, Polyurethane…
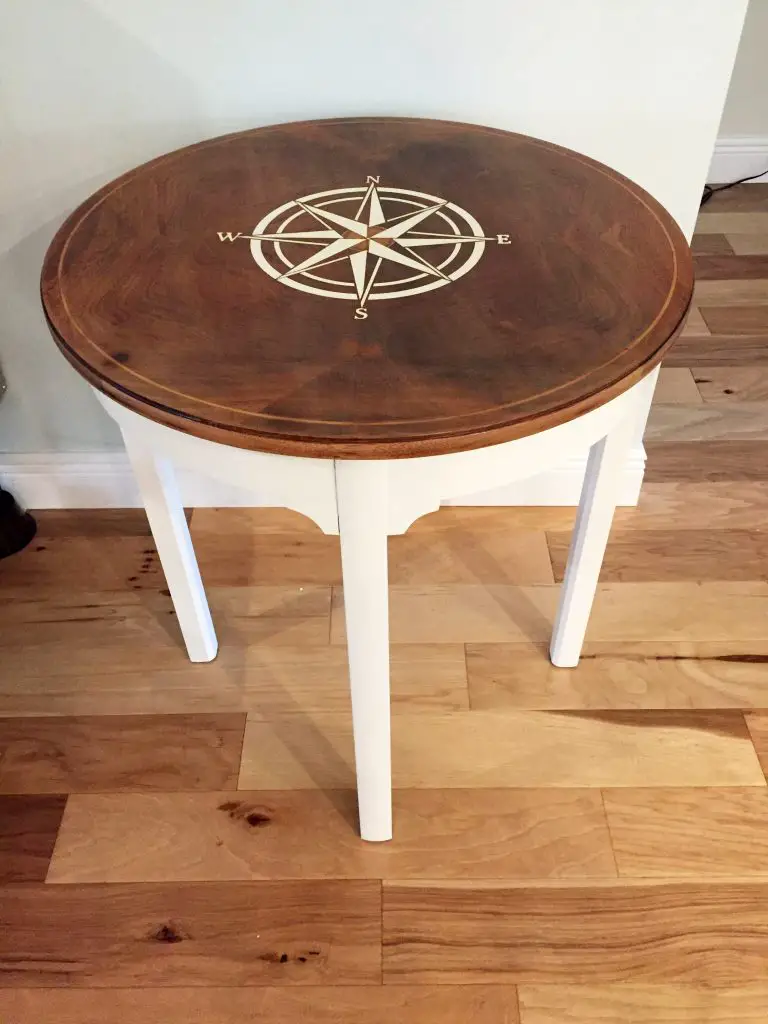
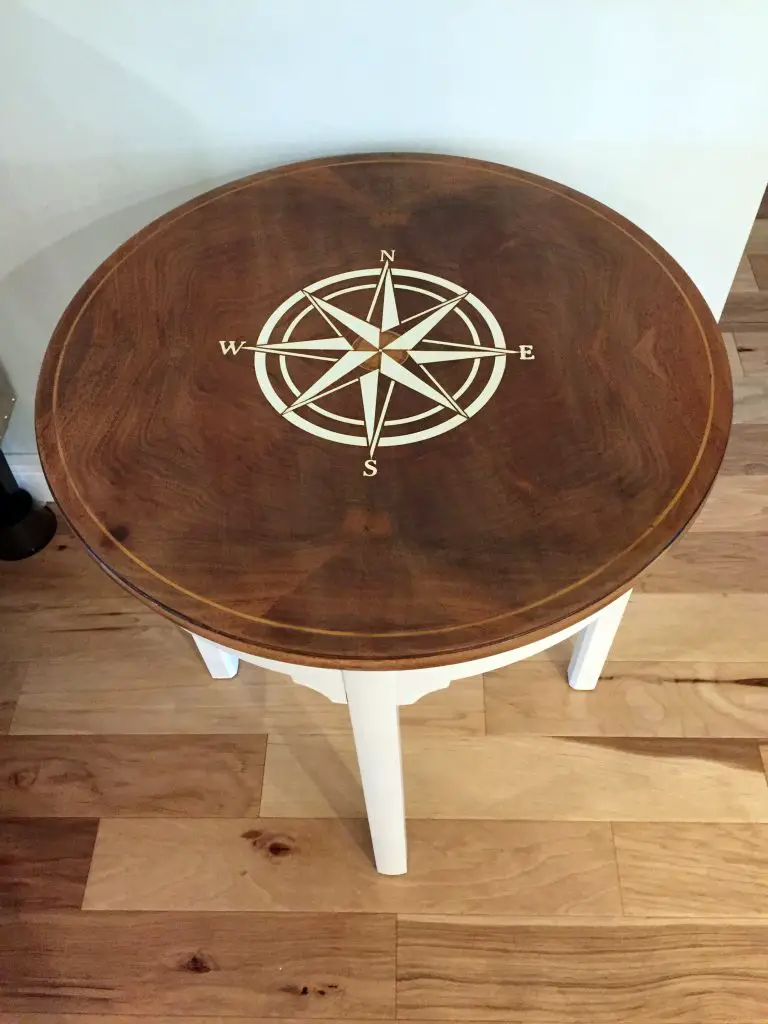
Once the stencil and legs were all painted and dried, I used 4 coats of polyurethane on the top, and the legs, to protect and seal it. I chose a semi-gloss.
And here is the final result. I love the way it came out. Not to shabby for someone else’s trash, and all it took was some elbow grease and some creativity! What do ya think?
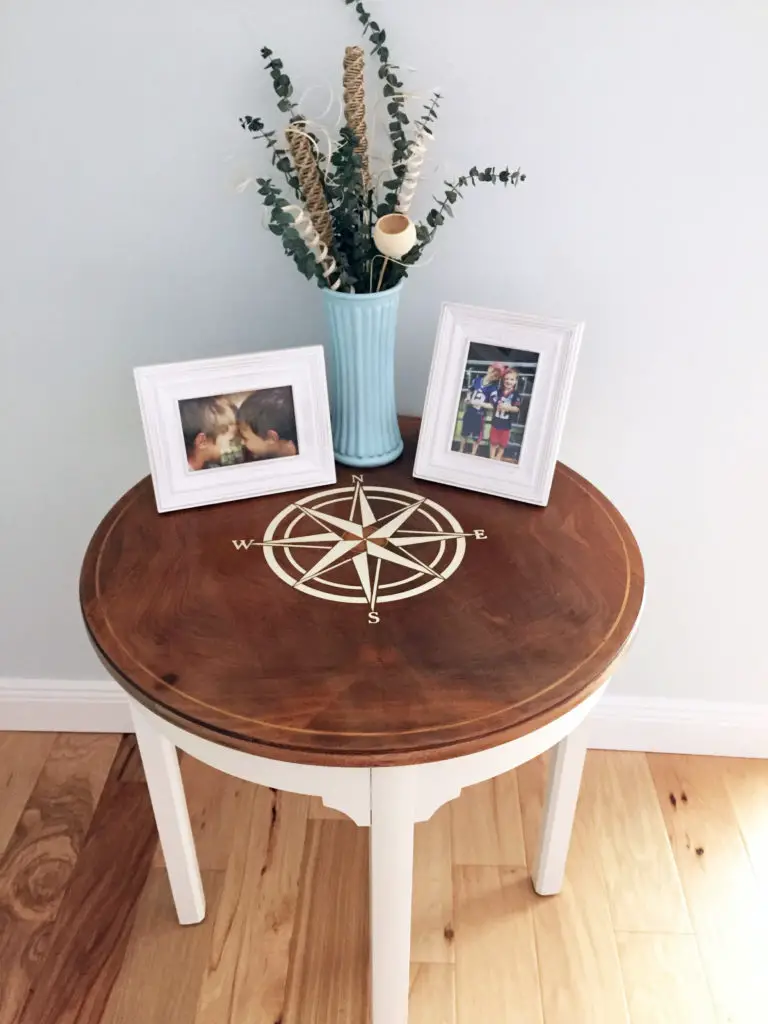
And one more before/after…

Pin this…


2 Comments
This is lovely. Good job.
Thank you!