
How to Refinish a Dark Wood Table
Step by Step – How to Refinish a Dark Wood Table…
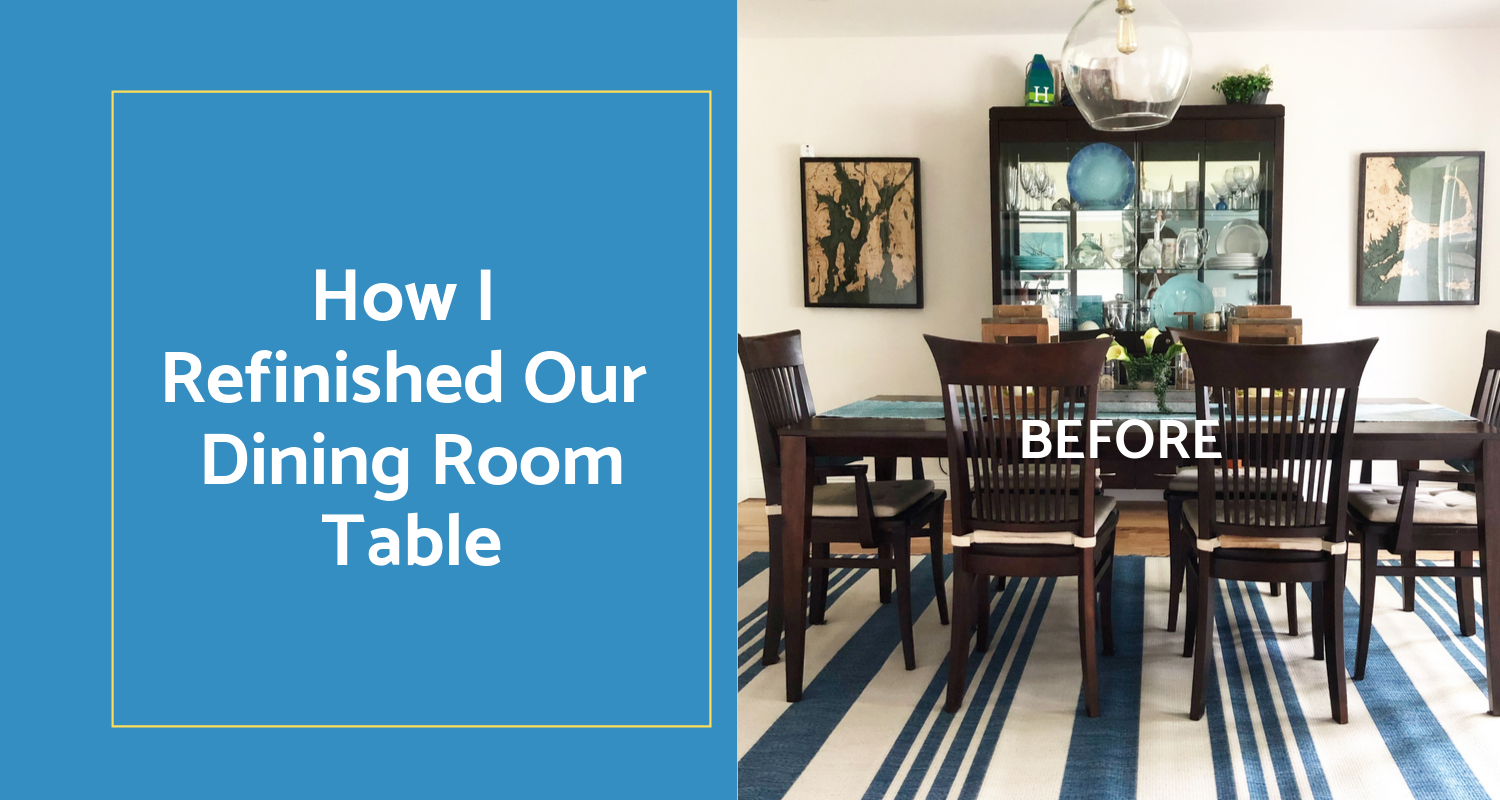
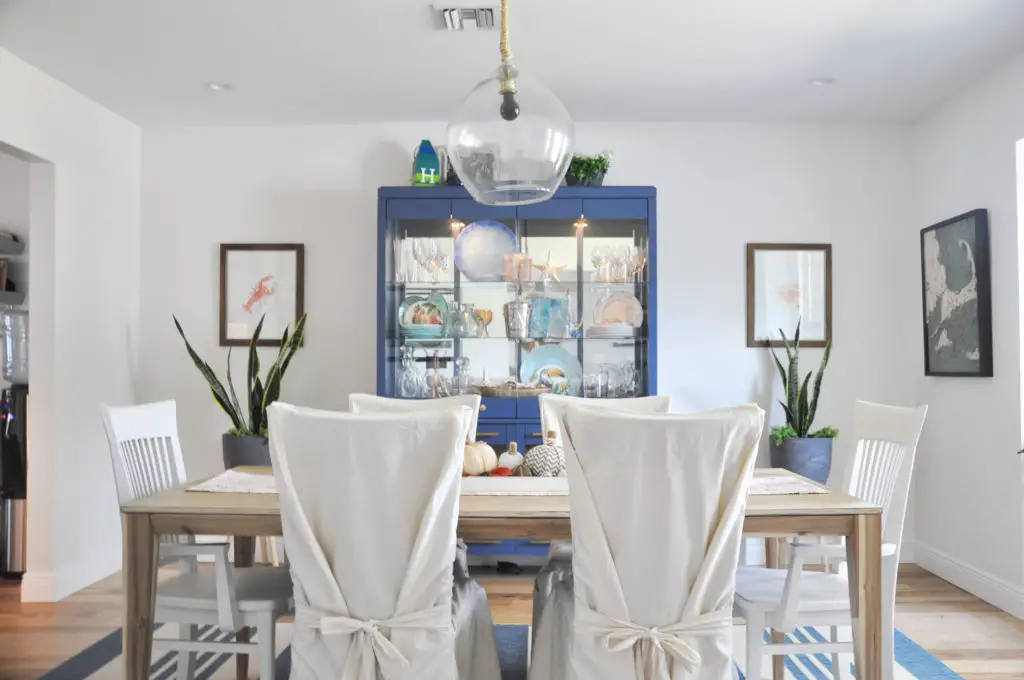
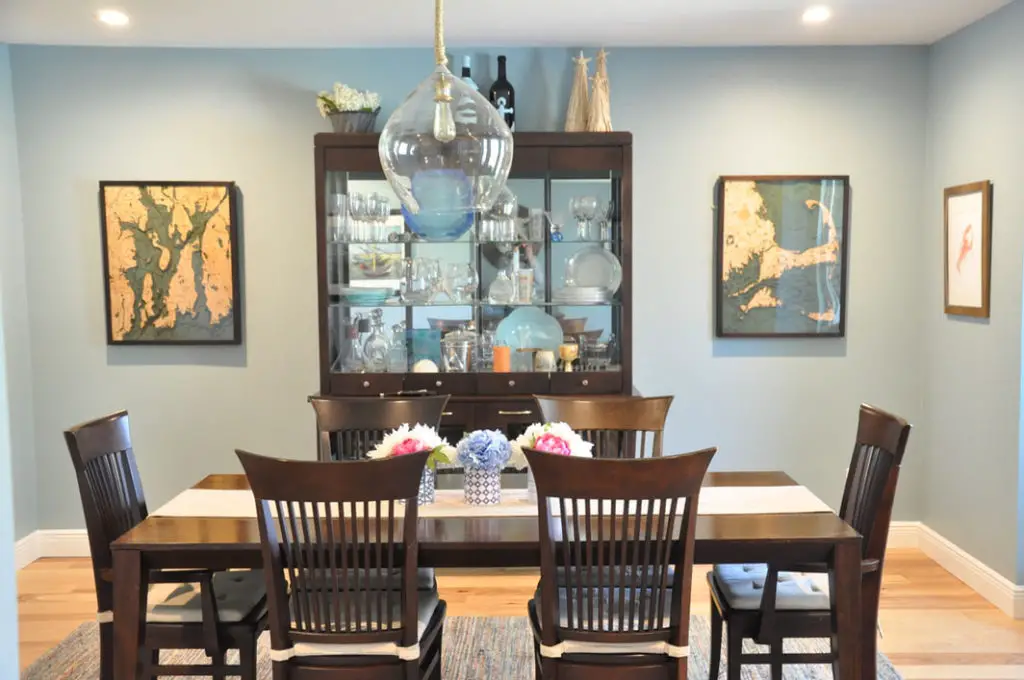
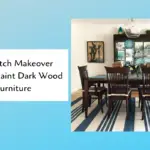
I loved this table, and it’s color, when we first bought it over 8 years ago, but it just didn’t look right in our home anymore. Especially after I painted the walls white and painted the hutch blue and this thrift store piece blue too. I wanted the table to be more Coastal looking. So, How to Refinish a Dark Wood Table? Read on to see…
This table is located in our dining room, which I admit we don’t use that often, but it is the first room you see when you enter our house. So, I really wanted to see if I could lighten it up. It took a lot of time and hard work, but I am so happy with the result. Here is a step by step on How to Refinish a Dark Wood Table.

This post contains some affiliate links for your convenience (which means if you make a purchase after clicking a link I will earn a small commission which helps keep my blog up and running but it won’t cost you a penny more)!
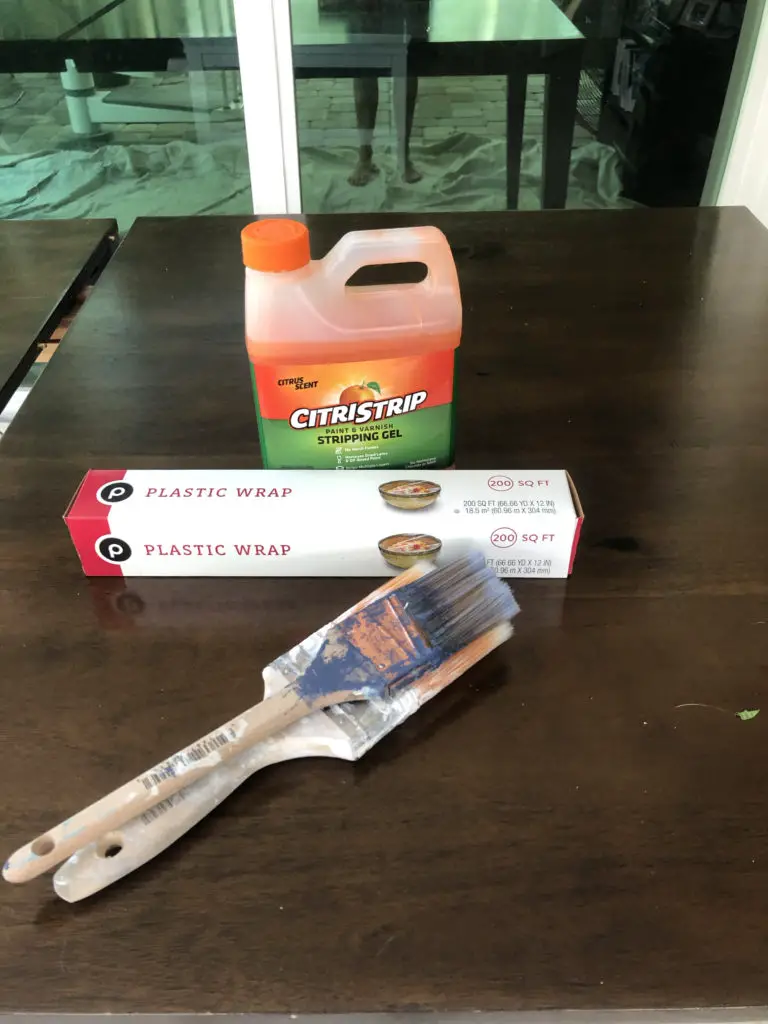
Materials Used for this Project…paint stripper I used Citristrip |
Step 1: How to Refinish a Dark Wood Table – Strip the paint…
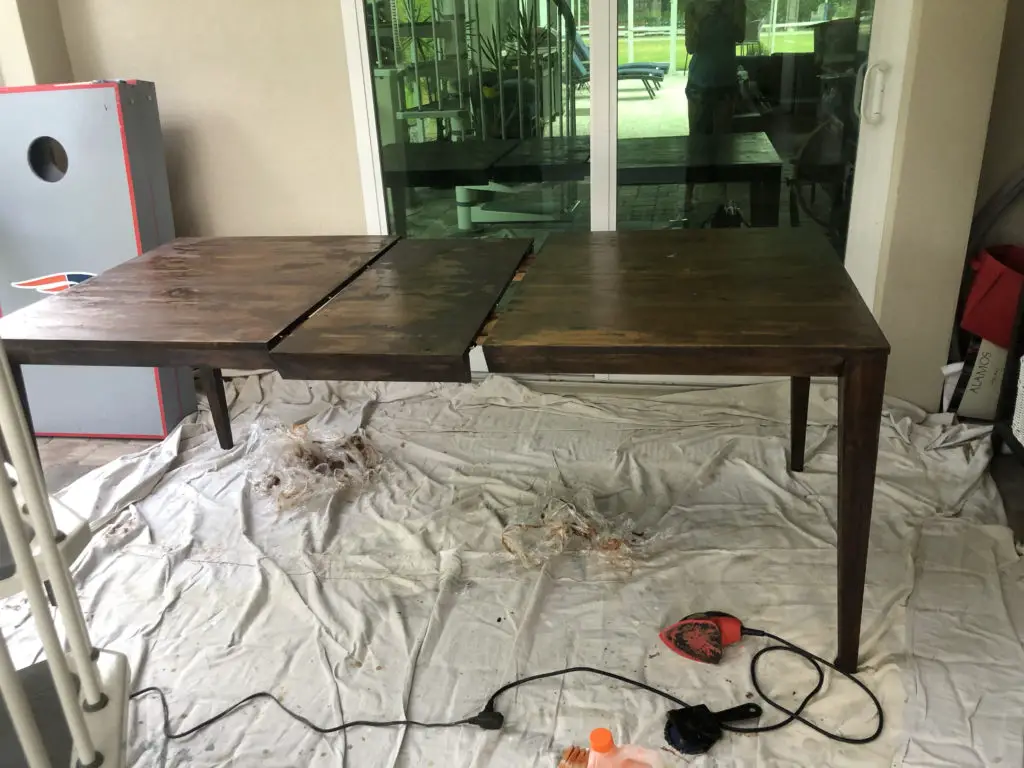
The first thing you need to do when refinishing a piece of furniture is strip off as much of the old paint as possible using a paint stripper. I used Citristrip which is less harsh smelling and more environmentally friendly than your traditional paint strippers. I tried a new technique on this piece. First, I applied a very thick coat of the stripper, then covered the entire table in plastic wrap. Then I let the paint stripper sit overnight to really let it soak in. Once the plastic was off I began to strip the paint using my scraper. I had the table outside and it was very hot and humid so some of the Citristrip dried up under the plastic wrap, but I was still able to strip off a good amount of the stain. I did have to reapply it and re-scrape several stubborn areas.
Make sure you are wearing safety googles and gloves when scraping the paint and discard the paint into a tin can. Once you are done stripping the paint off, you need to apply some Paint Stripper After Wash or Mineral Spirits. I used Klean-Strip since I had some in the garage. This product essentially removes any paint residue left from the stripping process. To use, follow the instructions on the back of the can and make sure you wear gloves and safety googles.

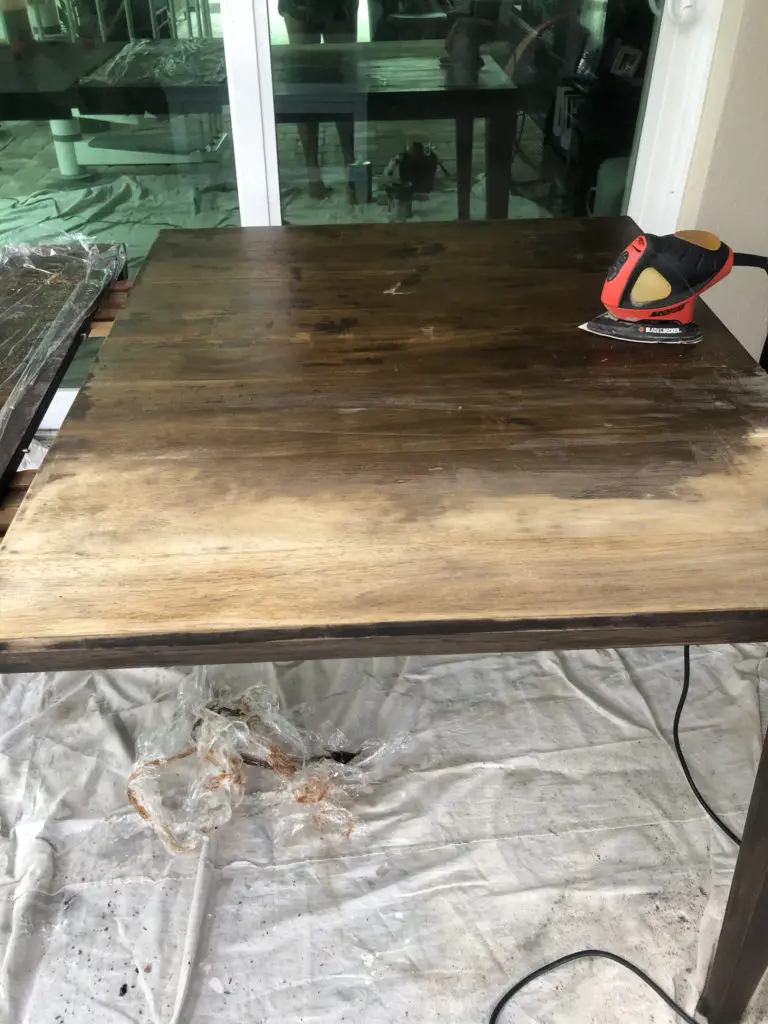
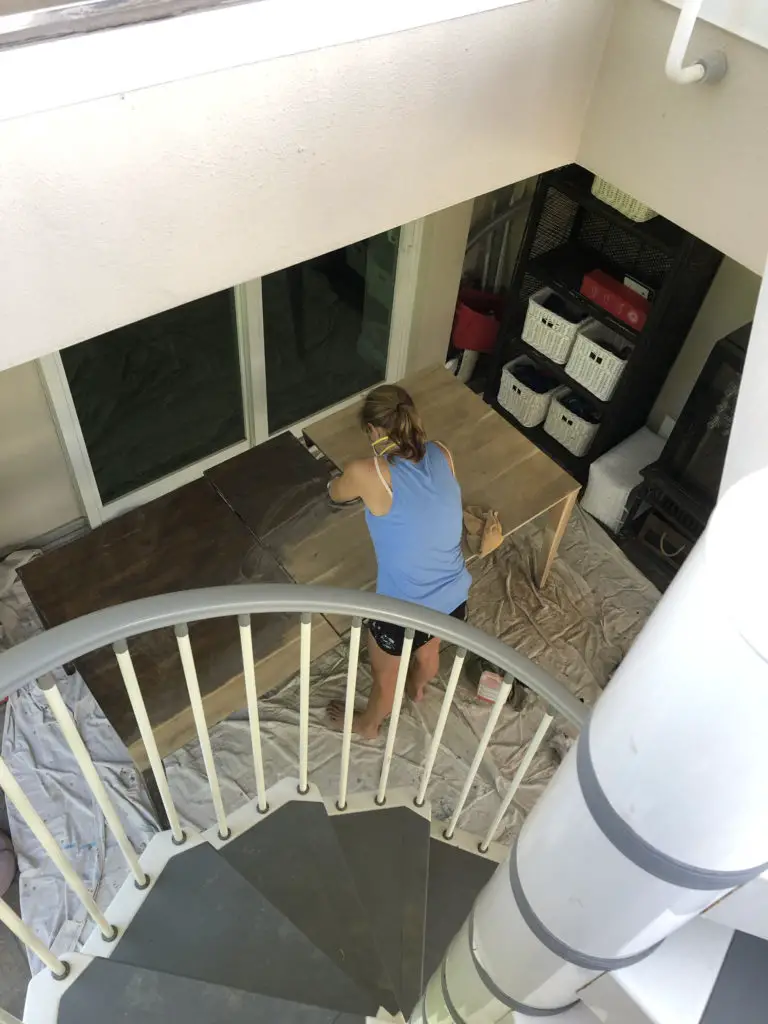
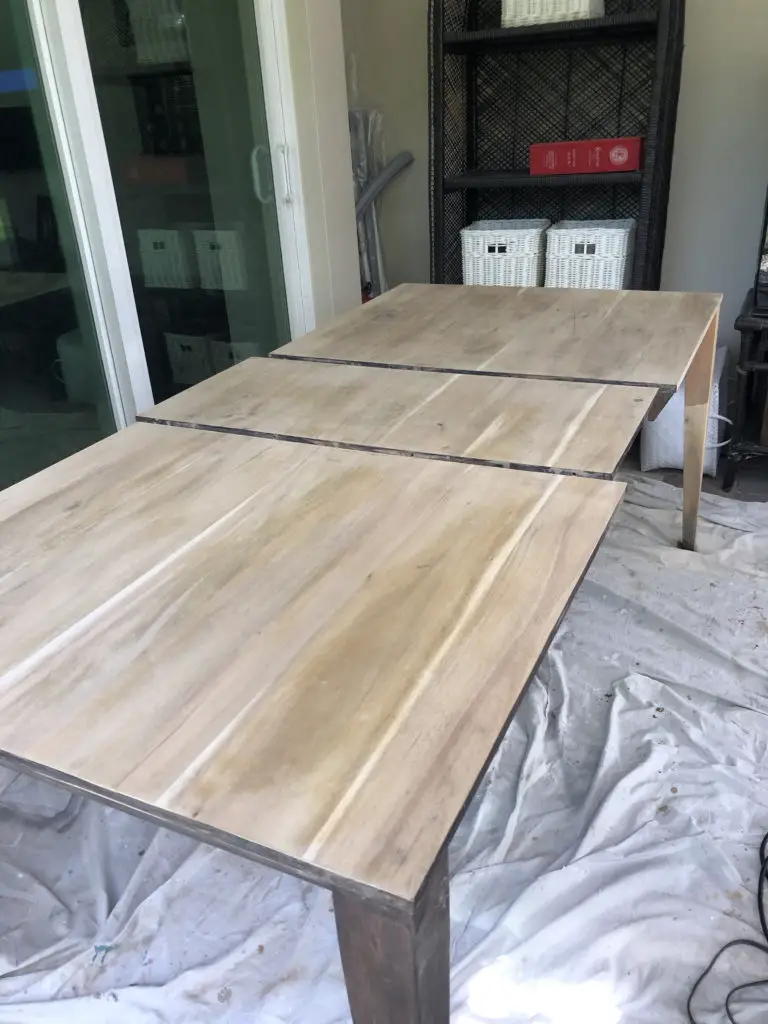
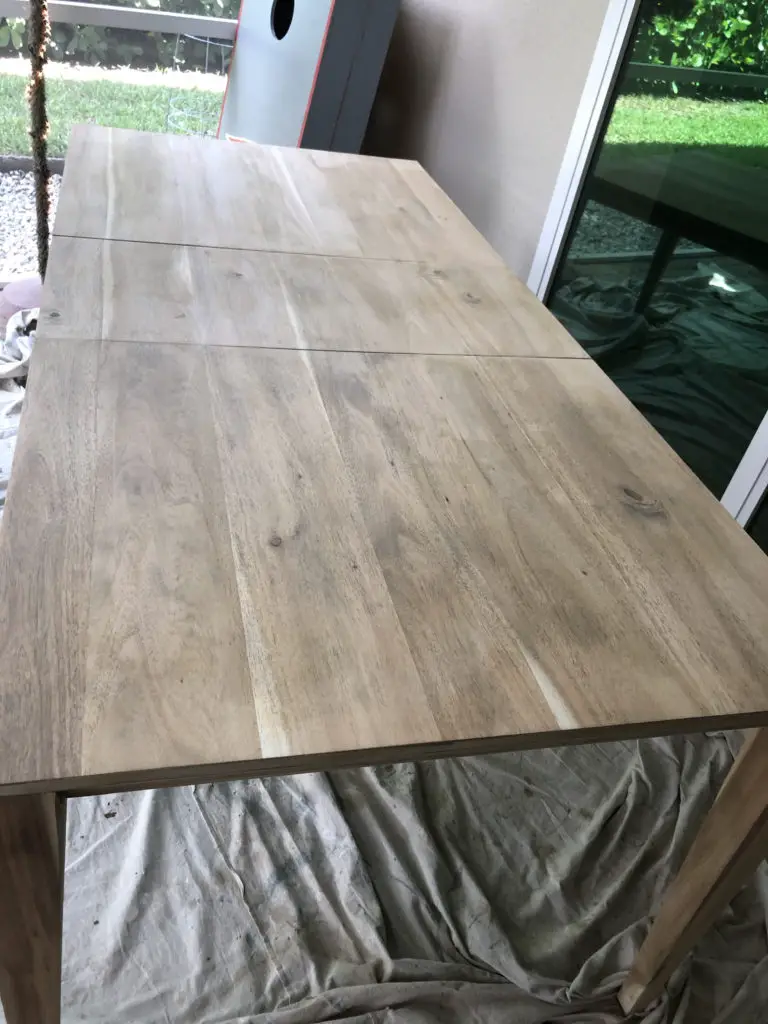
Step 2: Sanding…
Once again, please make sure you wear a mask and safety googles if you attempt this. You DO NOT want to get any dust in your nose or eyes. Thankfully, we have a hand sander which is a MUST when refinishing furniture and it is awesome. However, it is very messy and very noisy.
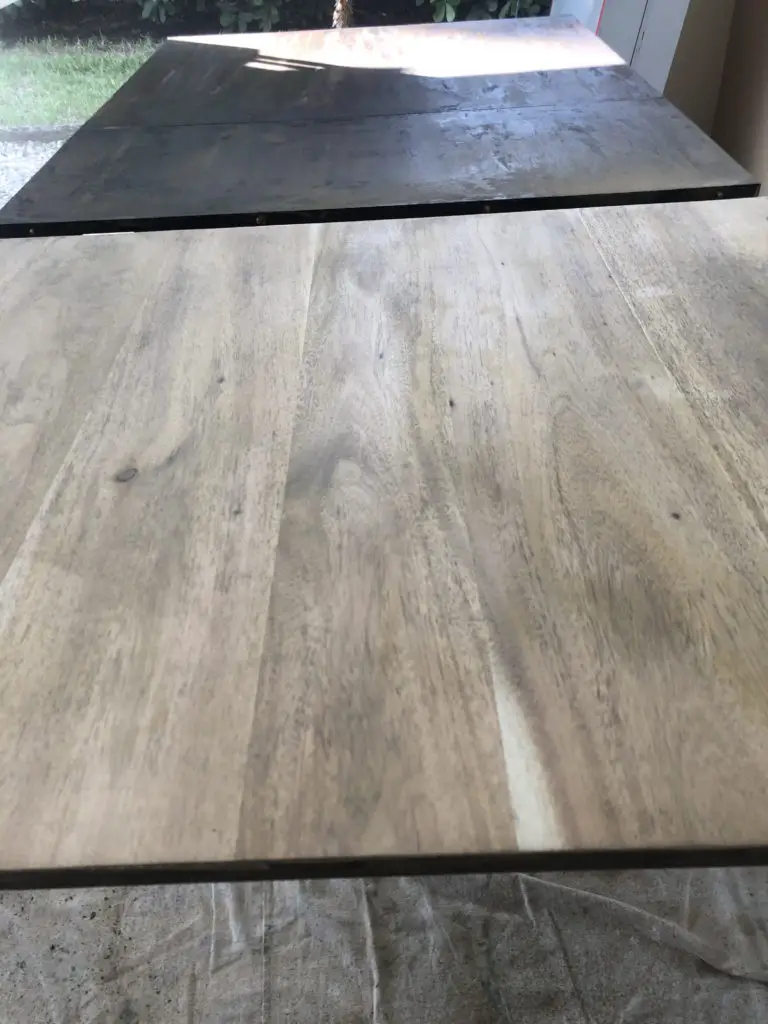
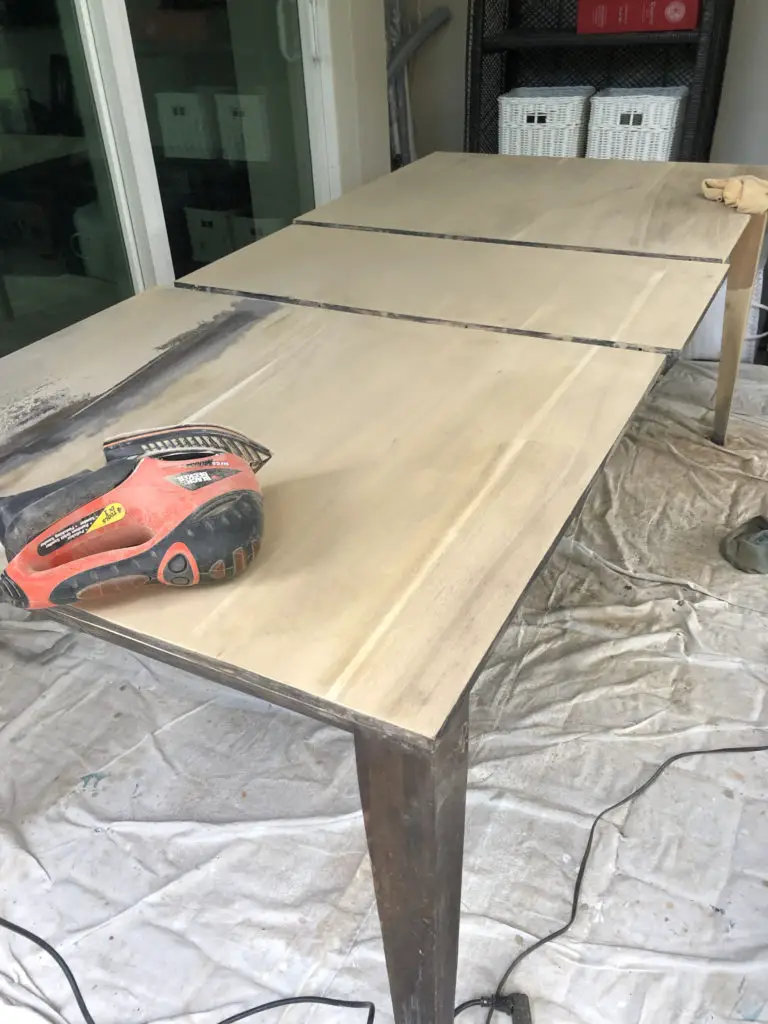
The sanding process took A LONG time. Approximately 4-5 hours total. It was hard work and the dust gets everywhere. But, it was worth it for me. I just love the way it started to look once that dark stain was gone. I was pleasantly surprised by the wood underneath. Here are some pictures of the stages of my marathon-long sanding session(s). I worked in one section at a time and used A LOT of sand paper. I used a few different sand paper grits when doing this, starting with 80 and then went up to 220 to finish it off.
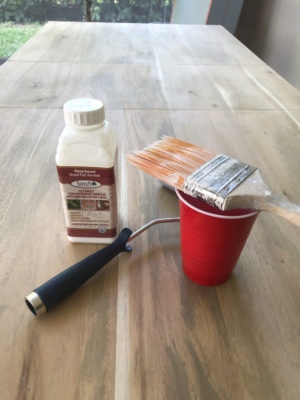
Step 3: Top Coat…
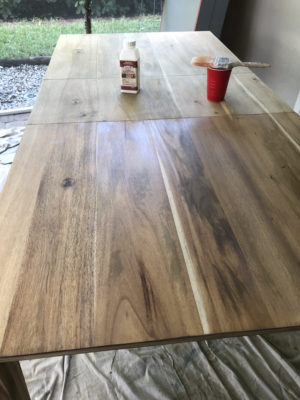
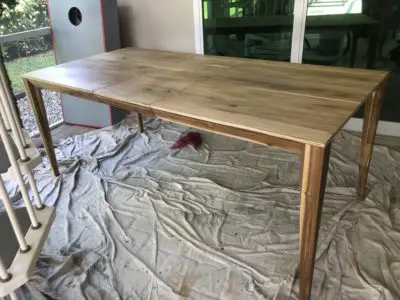
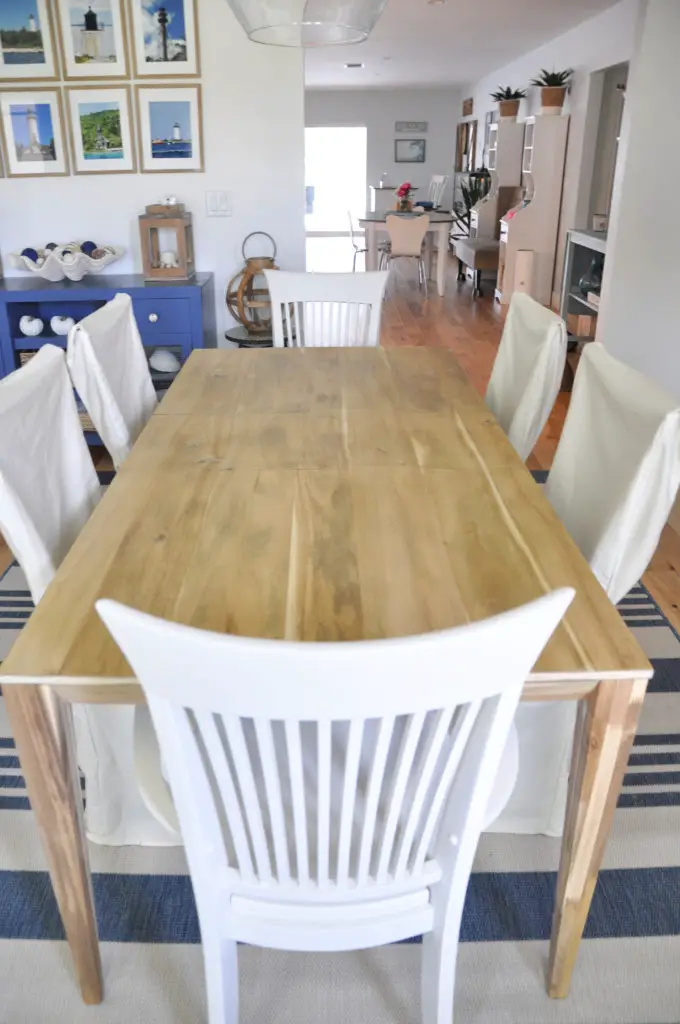
Once I was done sanding I had to decide if I wanted to stain the top or keep it as is. I loved how it looked as is, so decided to try and find a sealer that wouldn’t change the look of the wood or be too shiny. I could have used MinWax polyuerthane since I had some in my garage. It is a water based polyuerthane that I have used on most of my furniture refinishing projects, but I didn’t want to alter the look or color or make it too shiny. After some research I found this product called SamaN in Dead Flat Clear Coat on Amazon and was very happy with the result. According to the company, ‘SamaN stains protect your decorative surfaces and leave a non-reflective finish. SamaN Stains are safe for the earth, safe for people and safe for pets’. I liked the sound of that!
Before you begin applying the sealer, make sure to clean up all the dust. I used a rag to get rid of every last speck of dust. Here are some pictures of the stages of the sealer going on. Verdict, I LOVE IT. I used 3 coats of this using my small paint roller and paint brush.
And now to tackle the chairs…
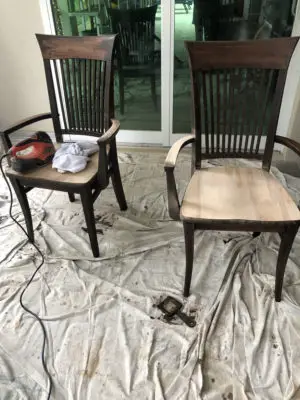
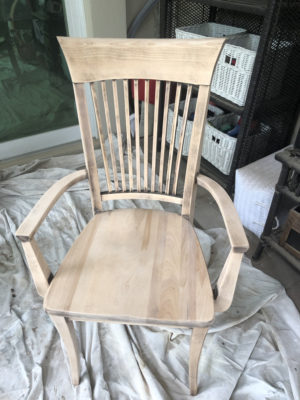
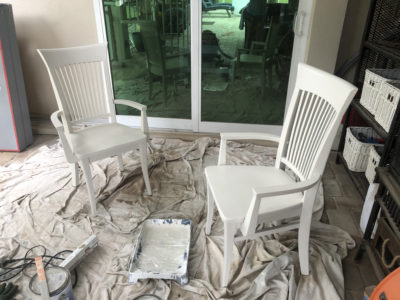
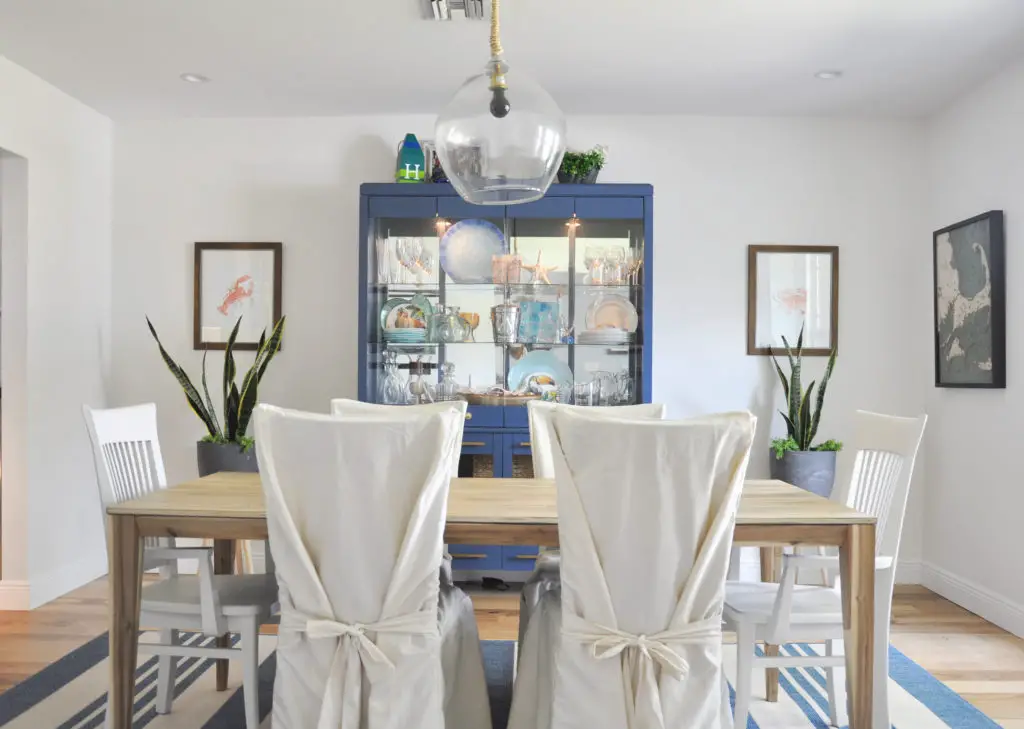
I ordered these amazing slipcovers from Wayfair for the dining chairs, but the 2 end chairs have arms and I couldn’t find covers that would fit. Therefore, I thought I’d try to sand the 2 end chairs to match the table. I started at Step 1 with the paint stripper and went from there. But, let me tell ya, this was NOT an easy feat! I stripped as much paint as possible then literally sanded each chair for 2 plus hours! There were just too many nooks and crannies and those damn slats were so hard to get too. Sooooo, I finally gave up and painted them an off white color to match the slipcovers I ordered for the other 4 chairs. Whew! Much better!
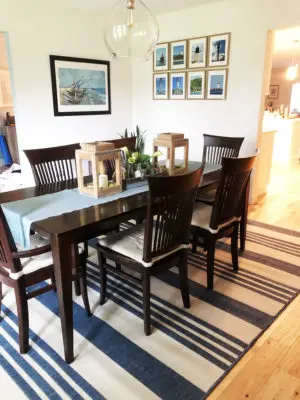
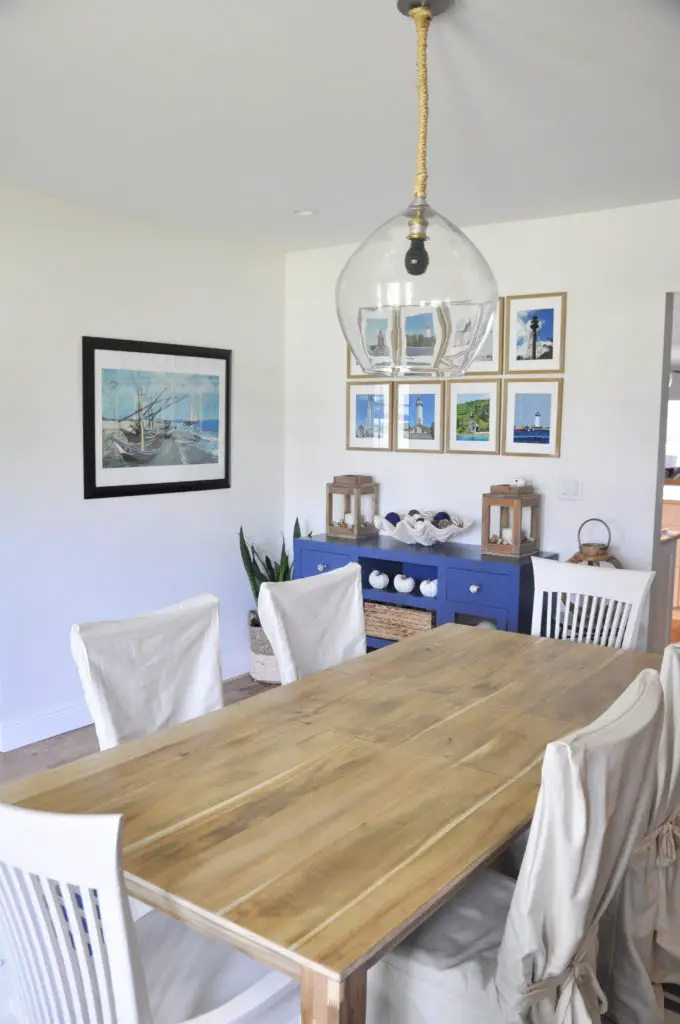
And TA-DA! Here is the final look. What do you think?
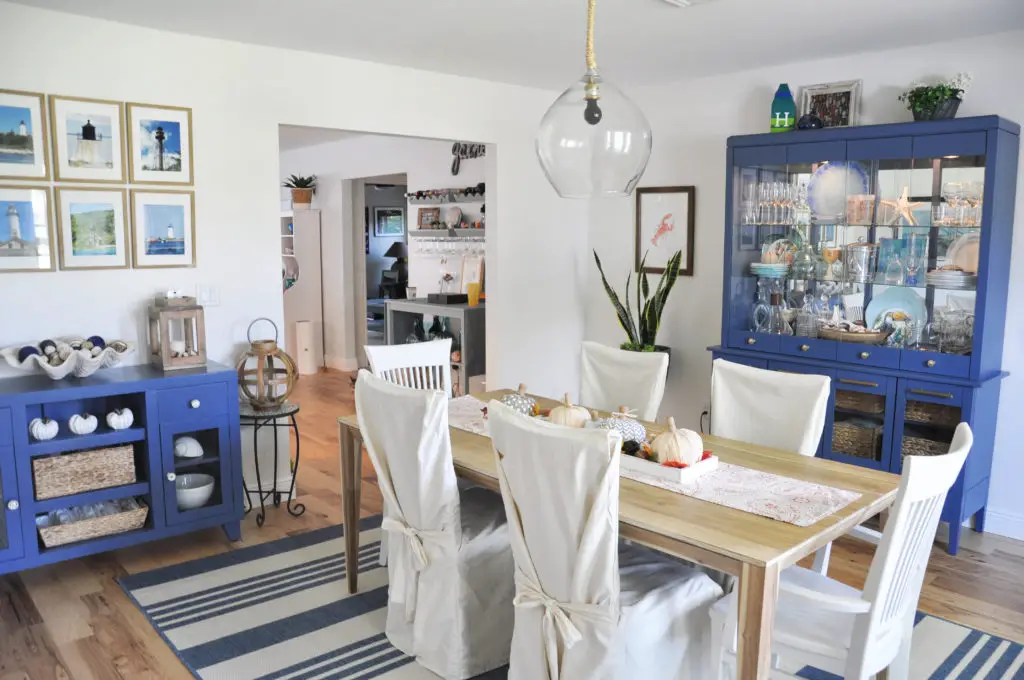
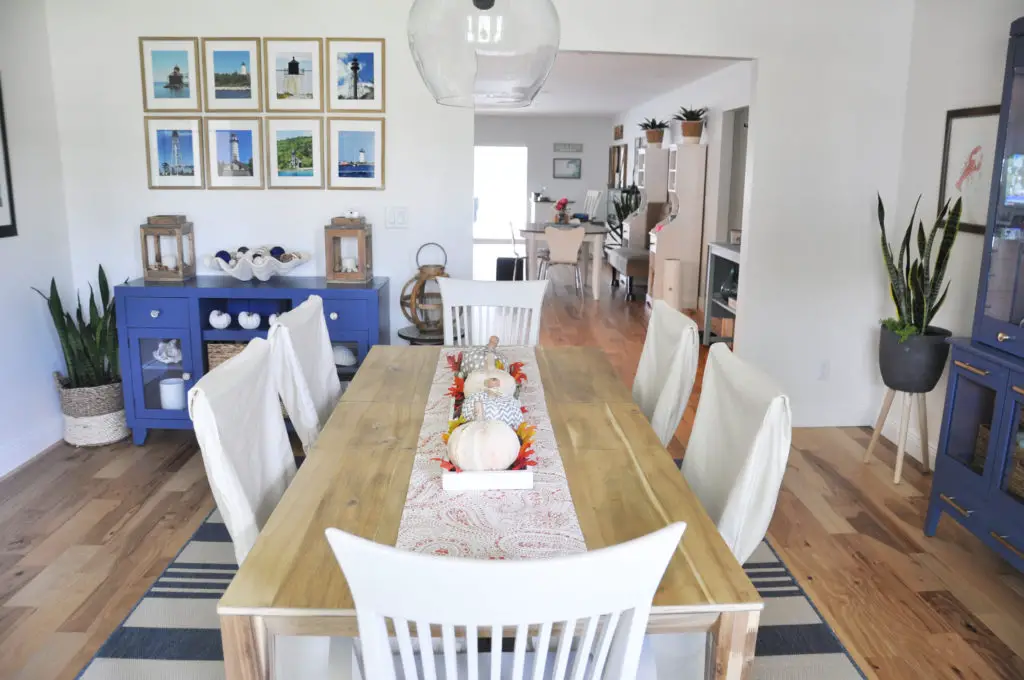
And here is Before and After.
Pin for Later…

Shop This Room…
 |
Brushed Brass Knobs |  |
Brushed Brass Handles |
 |
Striped Rug |  |
Picture Frames |
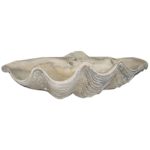 |
Giant Clam Shell |  |
Slipcovers |
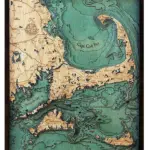 |
Nautical Map | 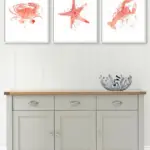 |
Sealife Artwork |
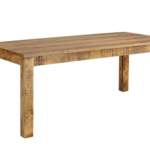 |
Similar Table |  |
Nautical Knobs |


10 Comments
It is stunning! I know very well about them damn slats on chairs ughhh! Such a pain! But it was worth it in the end, it is beautiful!
Yes, such a pain! I gave up!!! But the table came out good. LOL I am glad you like it too.
I love it! I really love the color palette in your dining room now. That blue is stunning! Bannon turned me onto your blog! She is my Husbands Cousin 😀 I would love feedback from you on my blog. I just started it a few months ago. I did a table too! and a dining room! you can find me at http://www.fakeittillyamakeit.com I’d love to monetize it but for now I”m just trying to find my niche….
Thank you. Bannon has told me about you too!! Your blog looks so good!!! Love it. It takes a while and lots of work to get a blog off the ground, but keep at it. It is a lot of fun and really motivates you to get projects done around the house.
My husband and I refinished an old table and chairs for our grandkids. We did the top, swapped the pedestal for a nicer shaped one and redid it and two chairs. We had two benches built and painted and distressed them to match. By the time we finished, I really wanted to keep it. It was a lot of work for two old people (80 and 67) but it came out great and the kids were so happy to get it. I’d send photos but couldn’t see a way to do that.
Good for you guys! It is a lot of time and hard work, but very rewarding when it is done. I’d love to see it. You can Email pics to [email protected] if you’d like.
bellissimo! Quanta luminosità in più, bellissimi colori!
Grazie! I am so glad you like it.
Well, you did a good job, successful work, but I have to say, I liked it all better before. The room seemed to be more personable before, the room looked more anchored and less ghostly with all that white.
Thanks! I just felt like the room was very dark before with the dark blue walls. The white really brightens it up.