
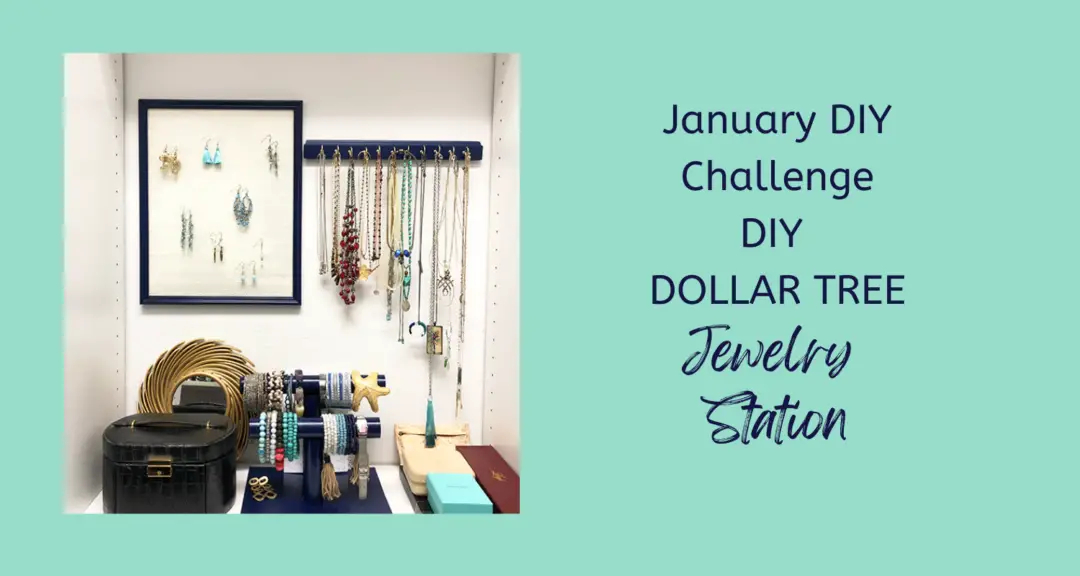
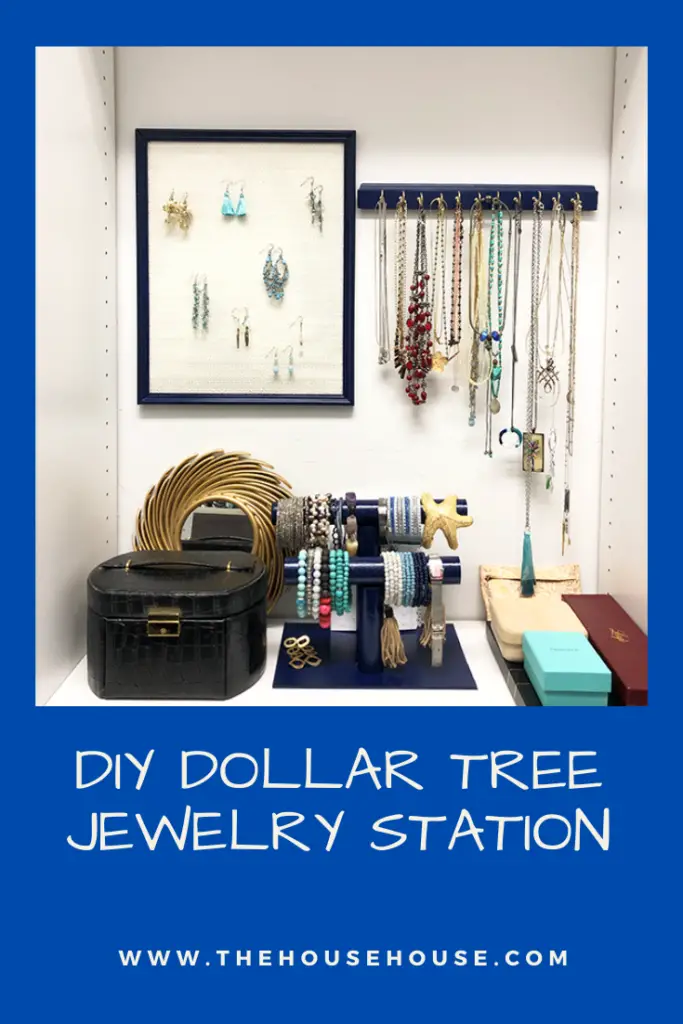
DIY Dollar Tree Jewelry Station
Welcome to our monthly DIY Challenge. This month is all about Organizing! Do you get the urge to purge and organize at the beginning of every new year? I do. I usually tackle some big project, like my desk, or pantry and I’ve been talking about organizing my master closet for like 2 or 3 years now! It was about dang time I did something about it. I’ve also been wanting to make some sort of jewelry organization, or station, for said closet. I headed to Dollar Tree (and my own garage) to find some supplies. Here is what I bought, and what I found and how I made my DIY Dollar Tree Jewelry Station.
Please check out what organizing projects the other bloggers came up with this month at the bottom of this post. You can see all my past DIY Challenge projects here.

Getting Started….
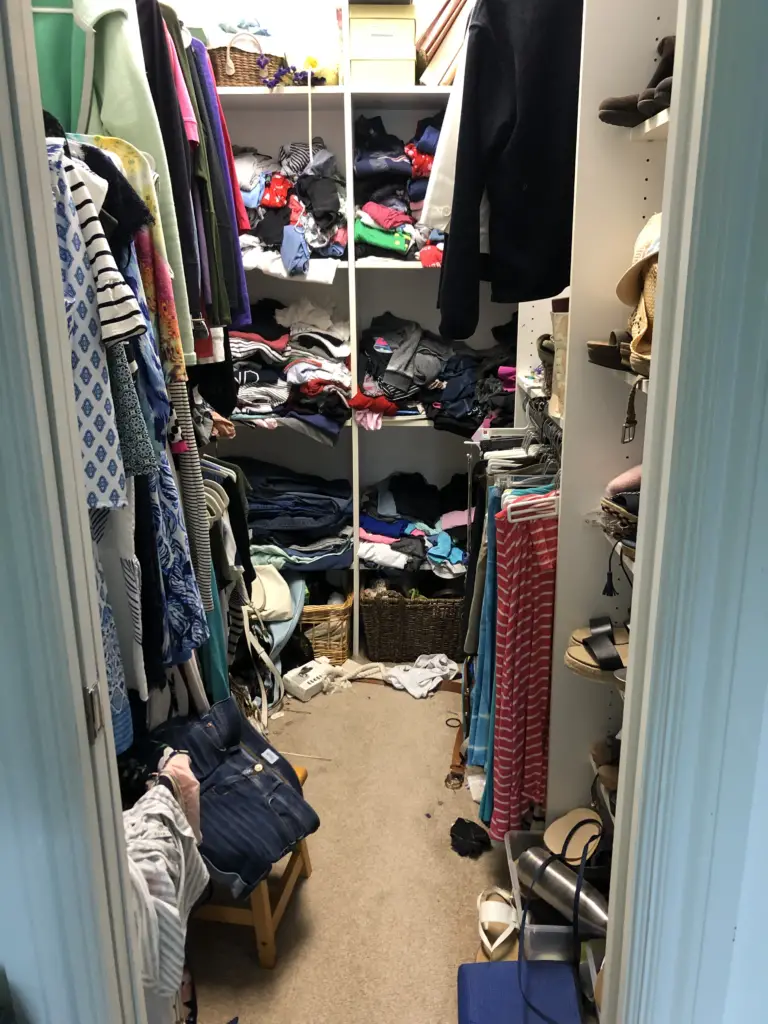
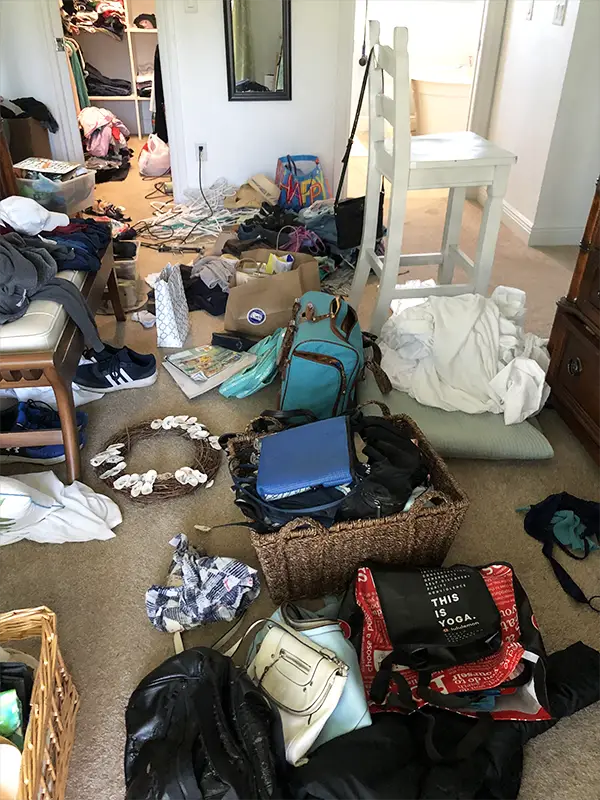
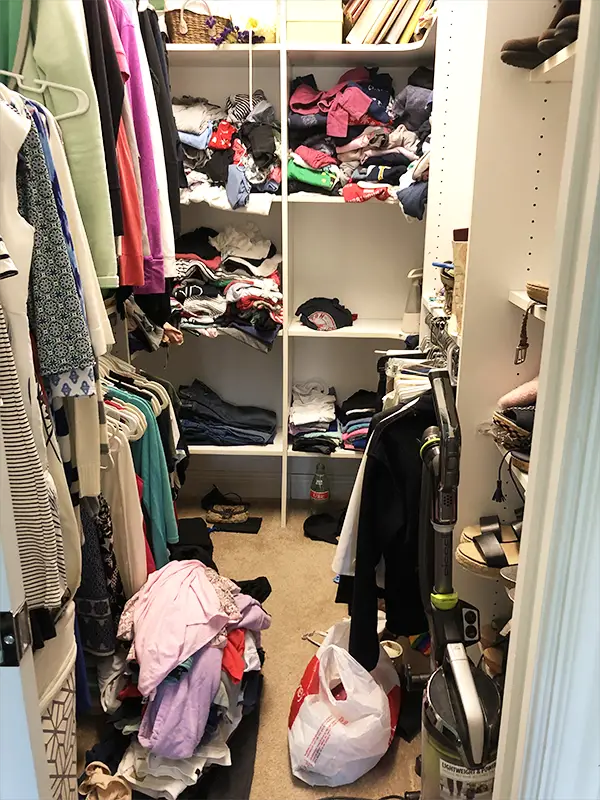
First things first. I had to organize my closet before I could do any DIY’s. Isn’t it such an awesome feeling to accomplish an organizing project? It took me almost all day to clean my closet. I ended up with 6 bags of clothes to donate to the local homeless shelter. 6 bags! WOW. What a good feeling. I sure hope someone can benefit from these clothes and shoes that I don’t wear anymore. I also have another 2 bags I plan to take to the consignment shop to see if I can make a few bucks on some of my nicer things.
Here is how it looked, before, during and after…
I am lucky enough to have my own walk in closet. When we were renovating this home, we added a whole second level to our house including 3 bedrooms, a playroom and 2 bathrooms. We had plenty of say in what we wanted. One thing my husband and I agreed on was that we wanted separate closets. It is not the biggest closet in the world, but I’m not complaining. I LOVE having my own closet, but my goodness can I be a slob sometimes.
Look at this before picture…..eekkkk!
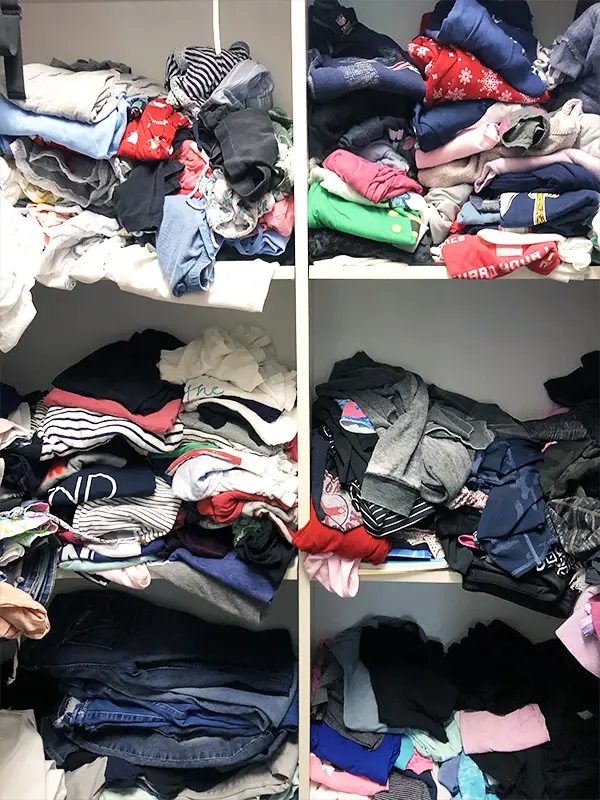
During….
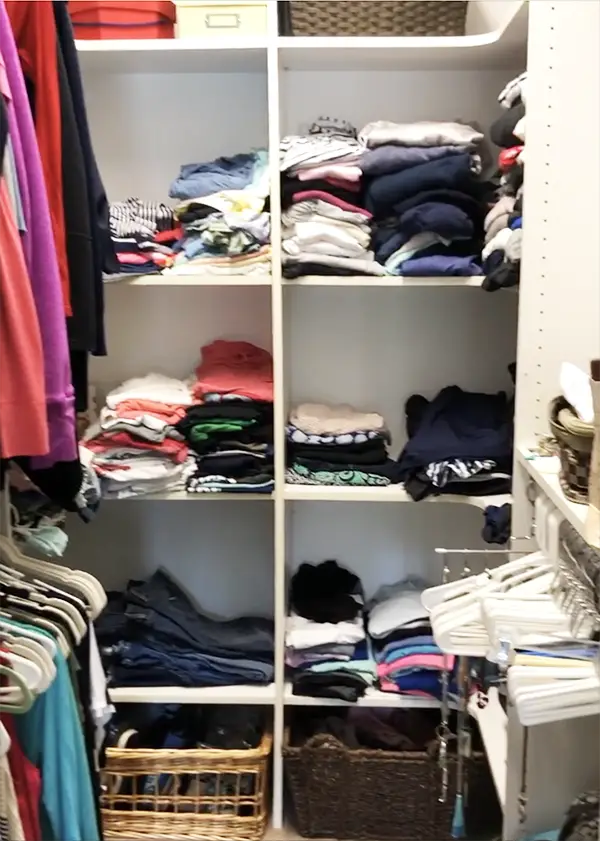
After…
Now, to my DIY…
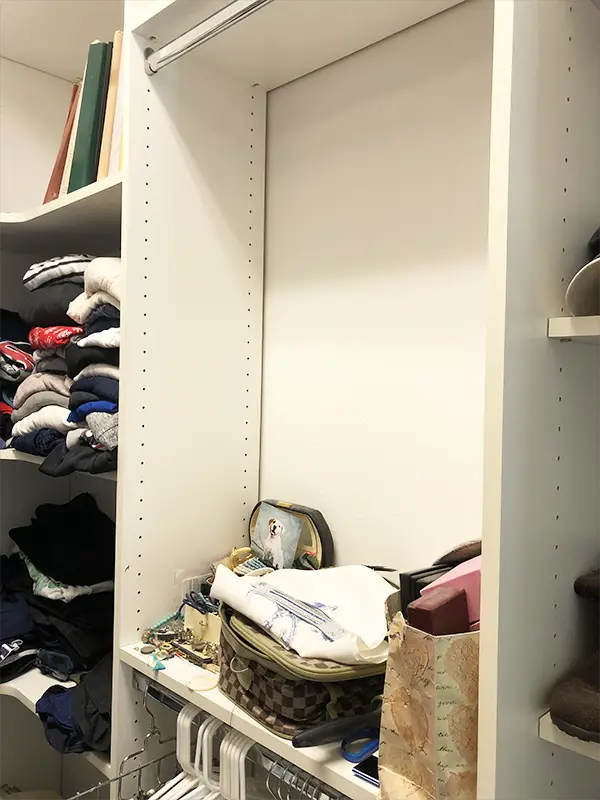
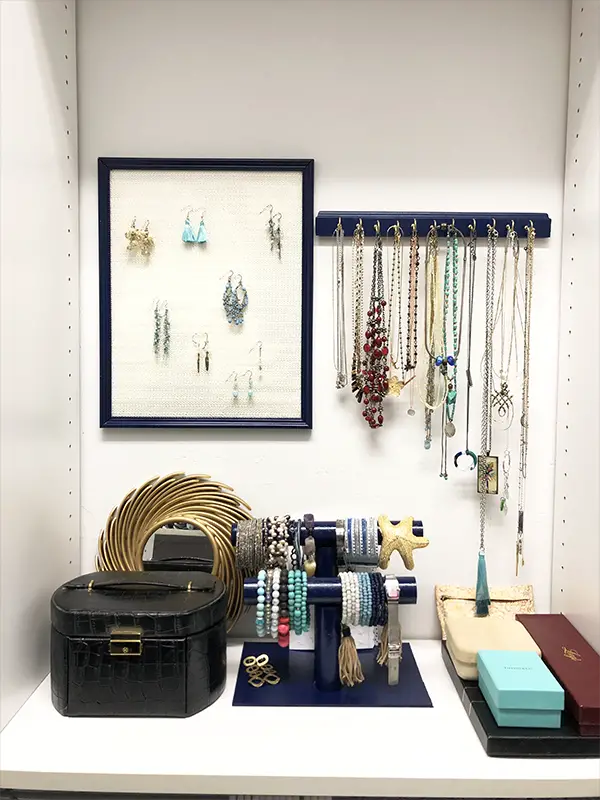
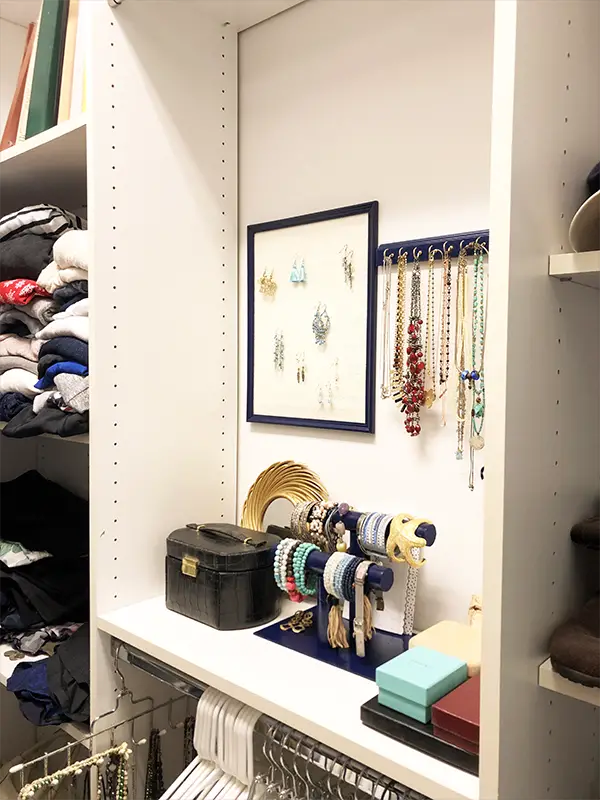
Here is the area I’ve been wanting to do some sort of jewelry DIY storage. I knew I wanted to have something for earrings, something for bracelets and something for all my necklaces. Here is what I ended up doing.

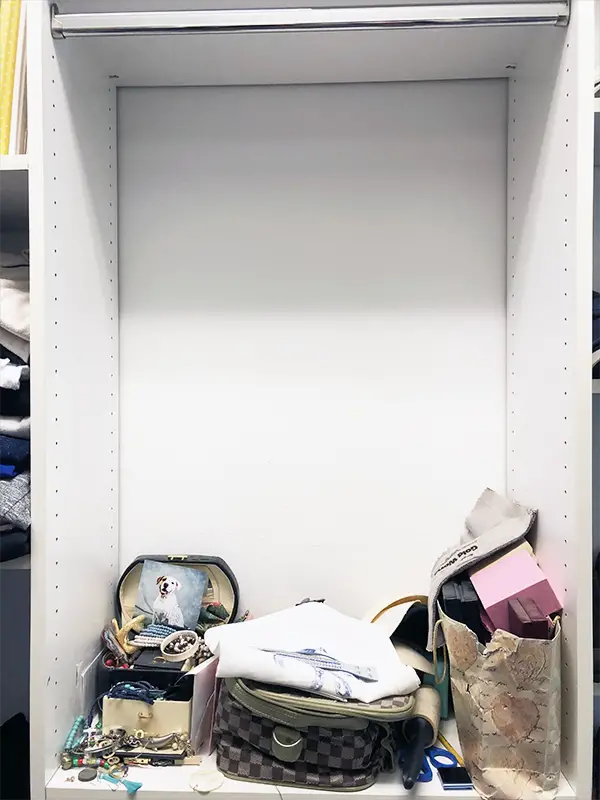
Jewelry Area – Before Before
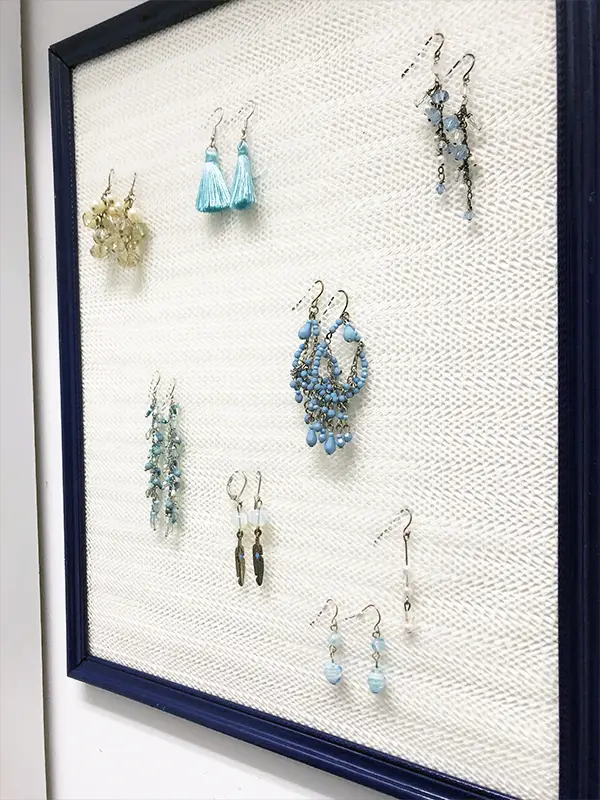
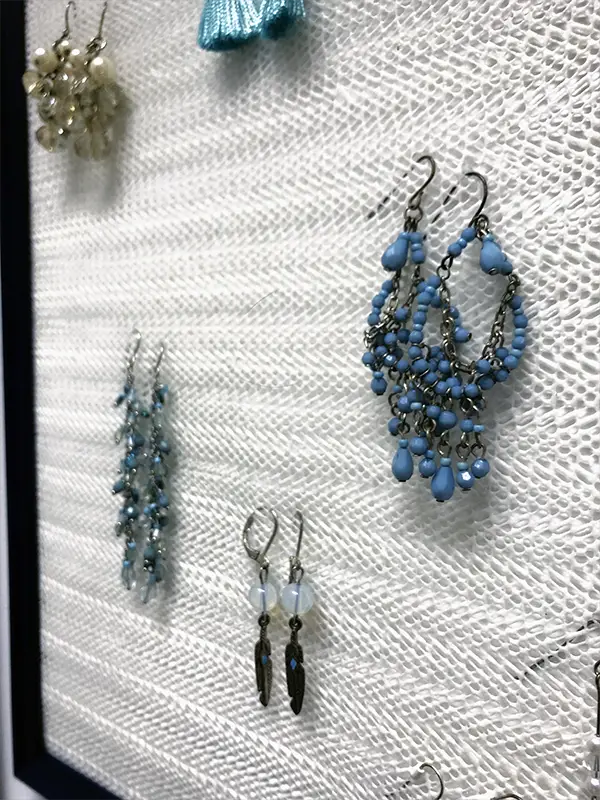
The Earring Area…
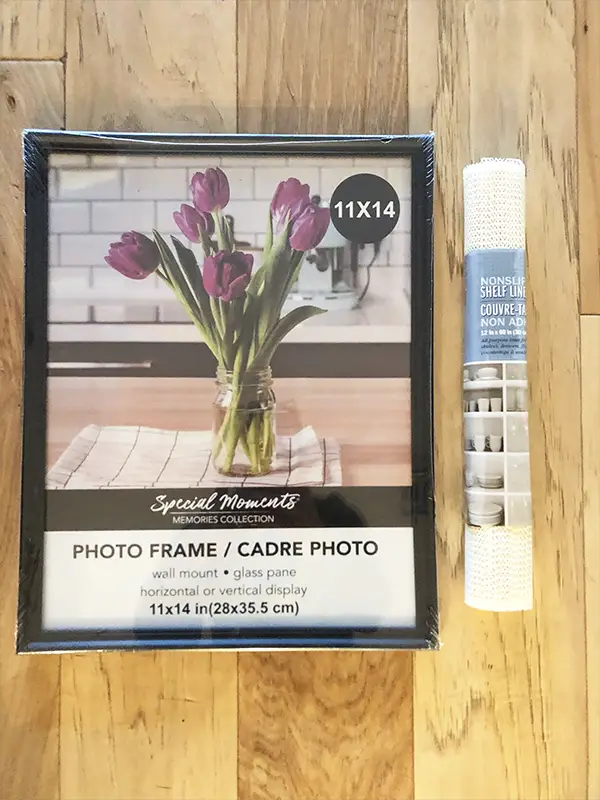
I purchased an 11x 14 inch black frame from Dollar Tree, and a roll of shelf liner.
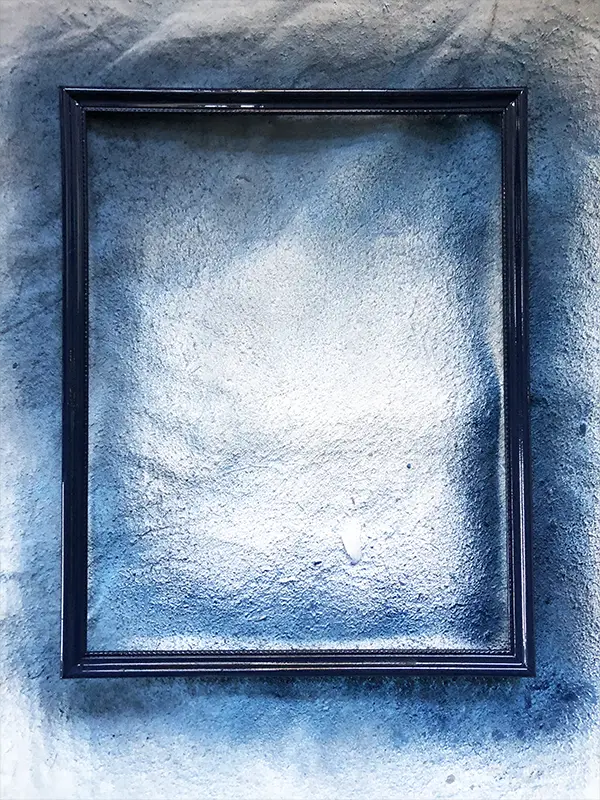
I could have left well enough alone and kept the frame black, but that would be too easy. So, I painted it navy blue. I already had the spray paint on hand, so why not???
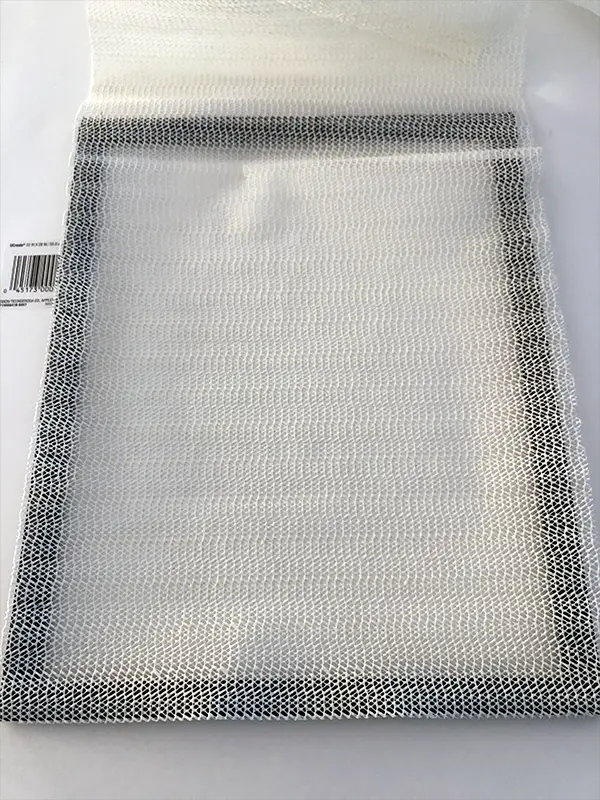
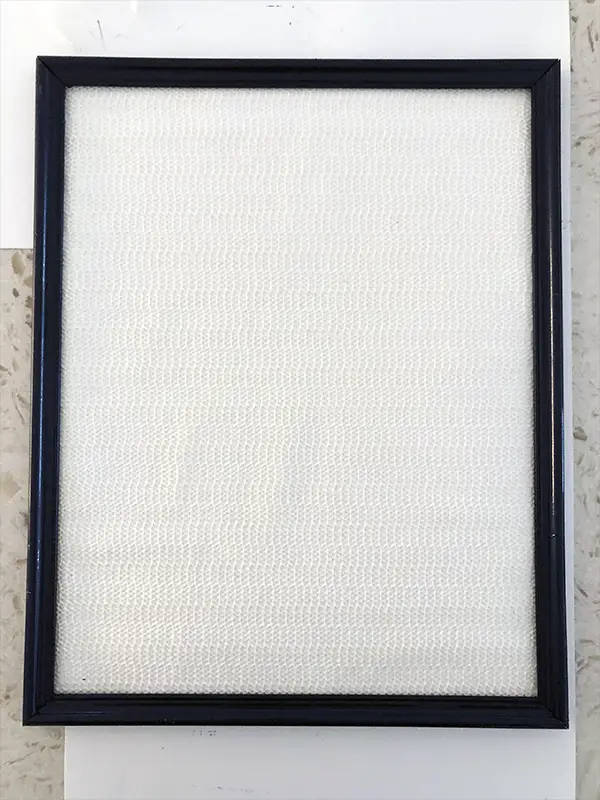
Once the paint was dry I brought it inside and added the shelf liner.
First, I flipped the frame over, and cut a piece of the liner to size. I left a little extra so that it wasn’t too small and falling through the frame. Next, I cut a piece of poster board down to size and added that to the back of the frame. Lastly, I added the back that came with the frame. The earrings will be able to hang nicely from the holes in the liner.
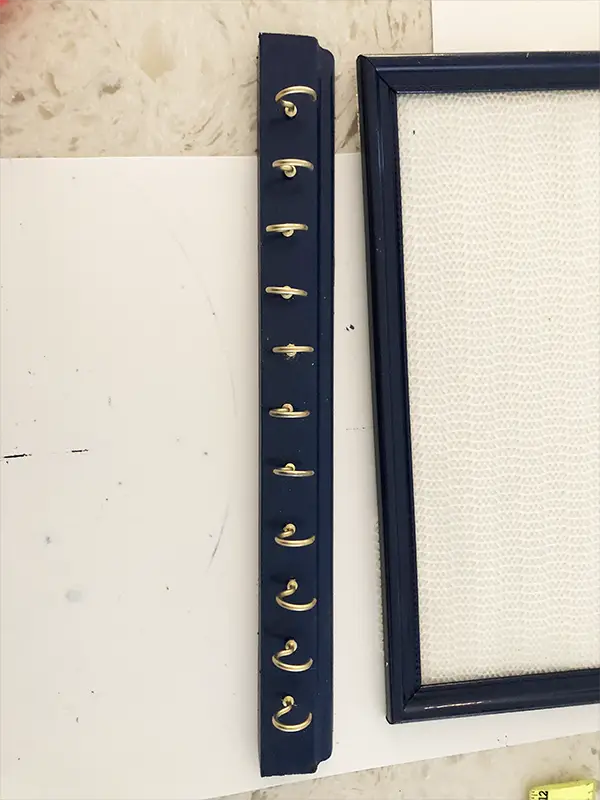
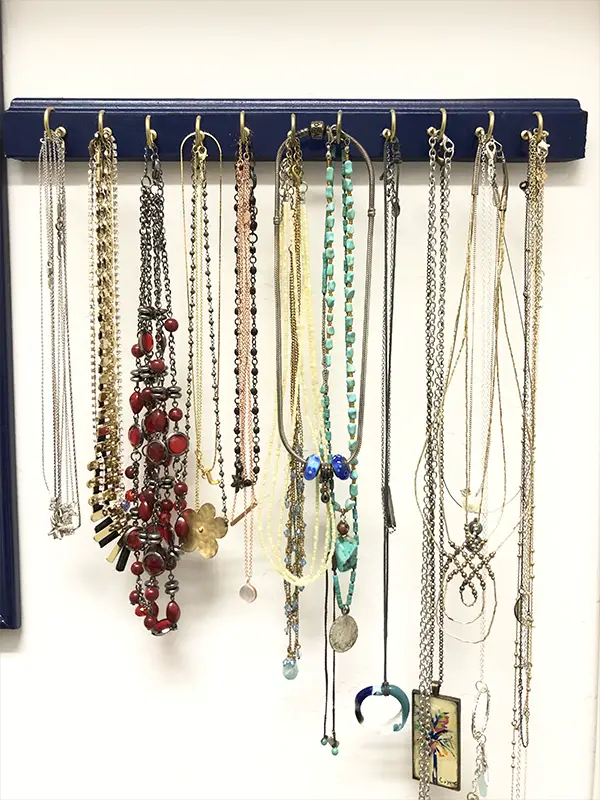
For the Necklace Holder…
I found a piece of scrap wood in our garage and some hooks.
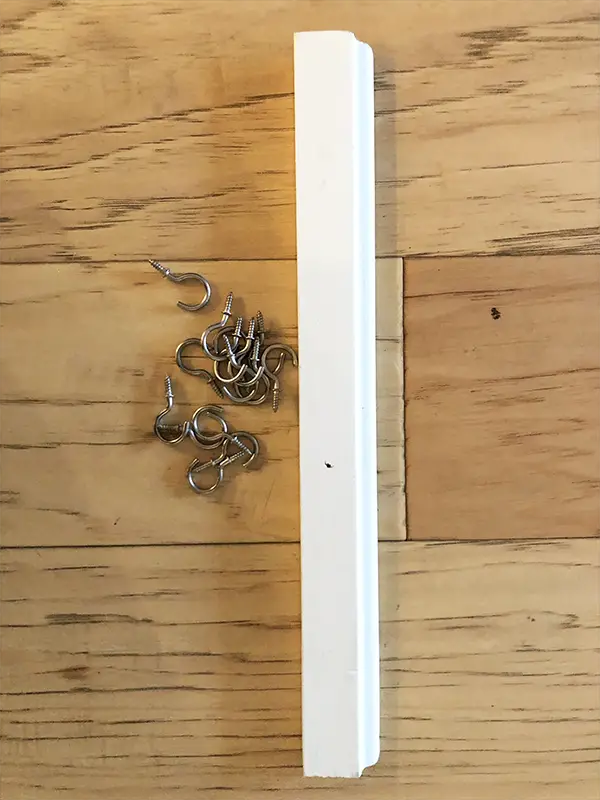
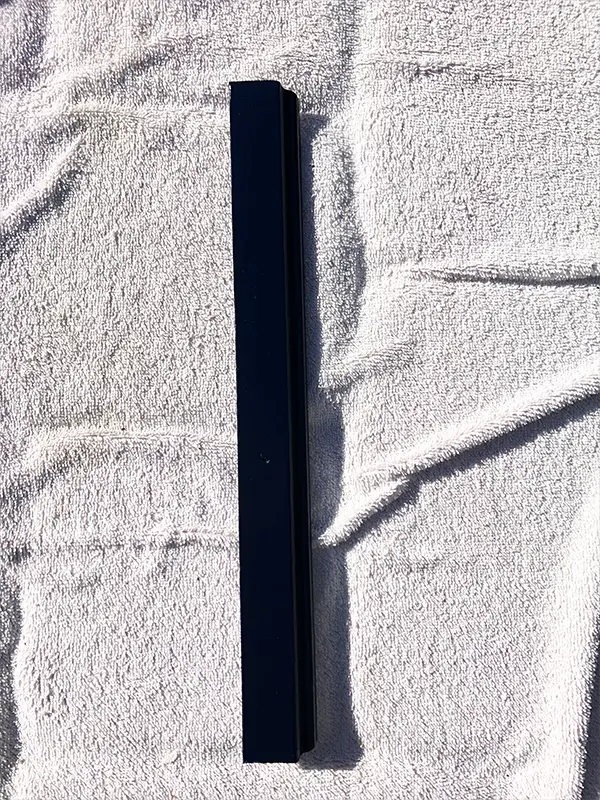
Once again, I spray painted them. The wood, navy, and the hooks, gold. Both of which I had on hand. The gold was just about gone so I figured I’d use it up. Luckily I had just enough.
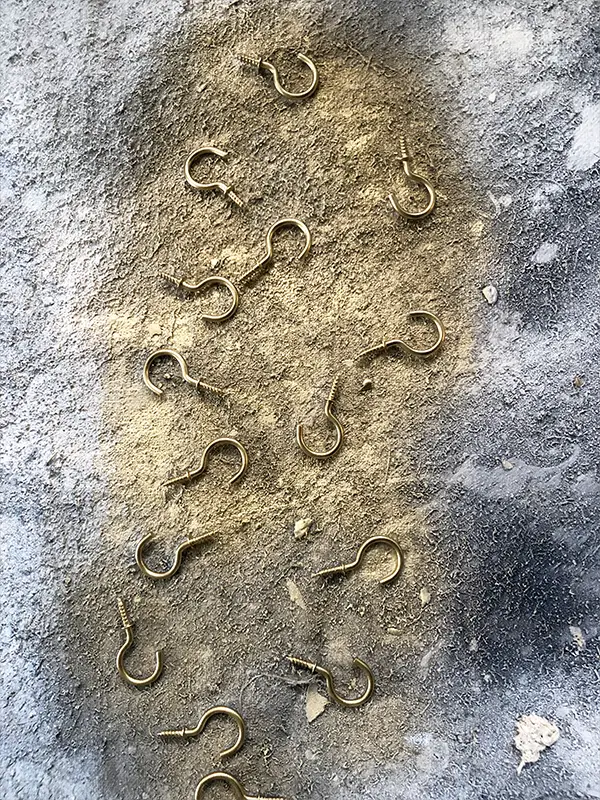
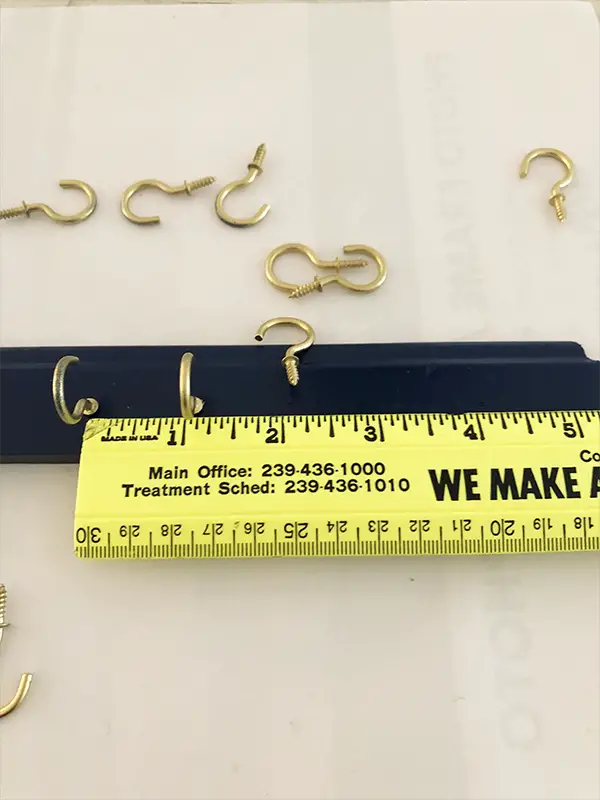
Once the paint dried, I began putting the hooks into the wood piece. I spaced them about an inch apart and then just screwed them in. I used my dremel tool to start a small hole making it a little easier to screw the hooks in. It isn’t completely perfect, but that is okay with me.
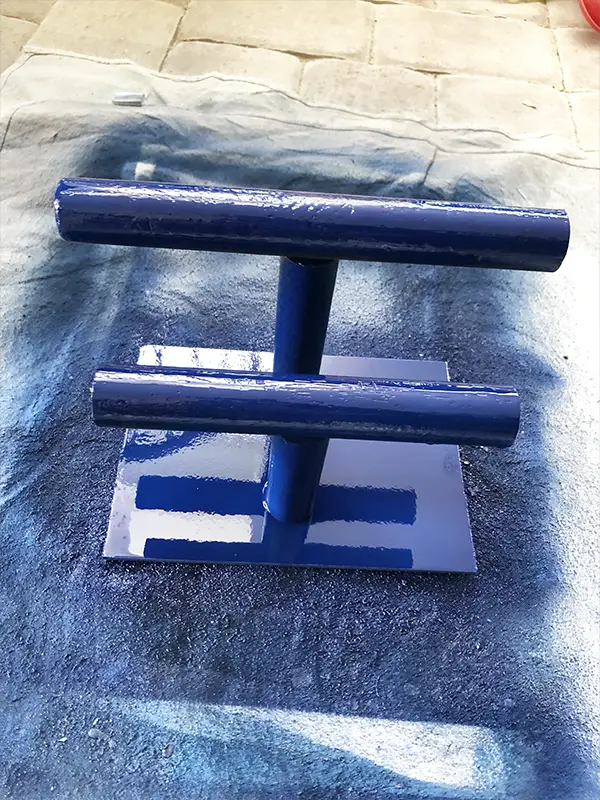
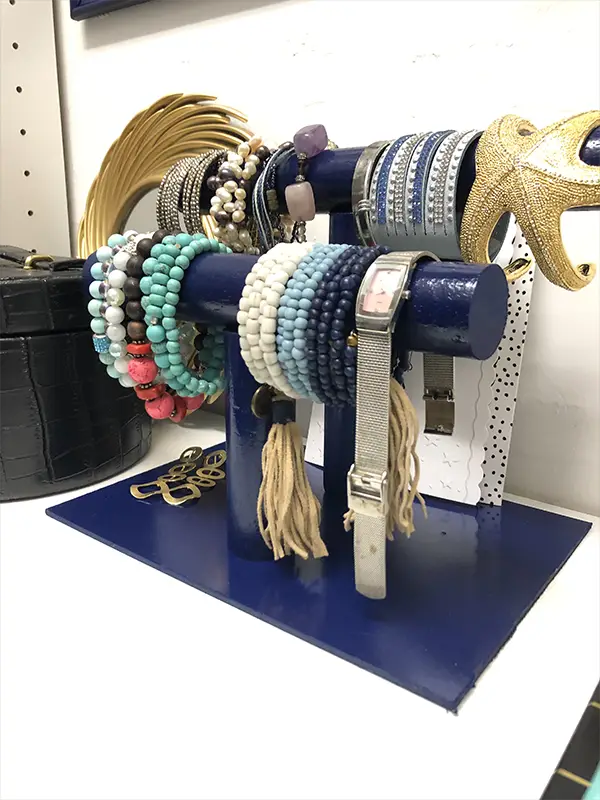
For the Bracelet Holder…
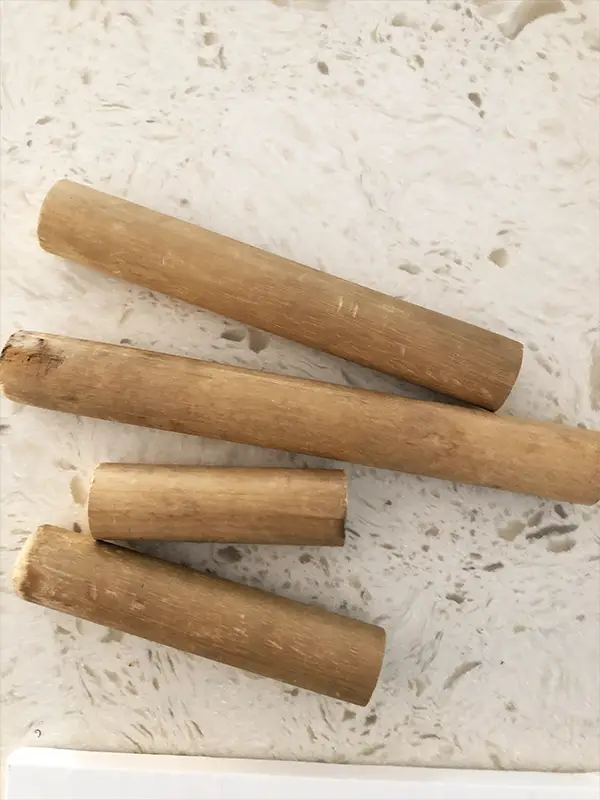
I purchased the canvas frame from Dollar Tree (but didn’t end up using it, I’ll explain below). Luckily I found the large dowels in our scrap wood pile in the garage.
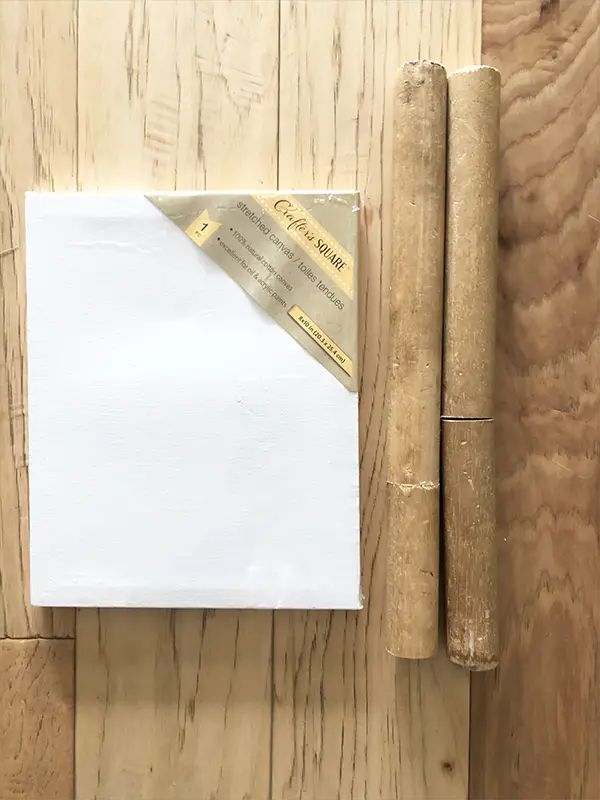
I cut the dowels so one was longer than the other. Then, I tried gluing them to the canvas, but it just wasn’t sturdy enough for the heavy dowels. Back to our scrap wood pile I went. Thankfully, I found the perfect piece and I was able to glue them, using E6000, and they stayed put.
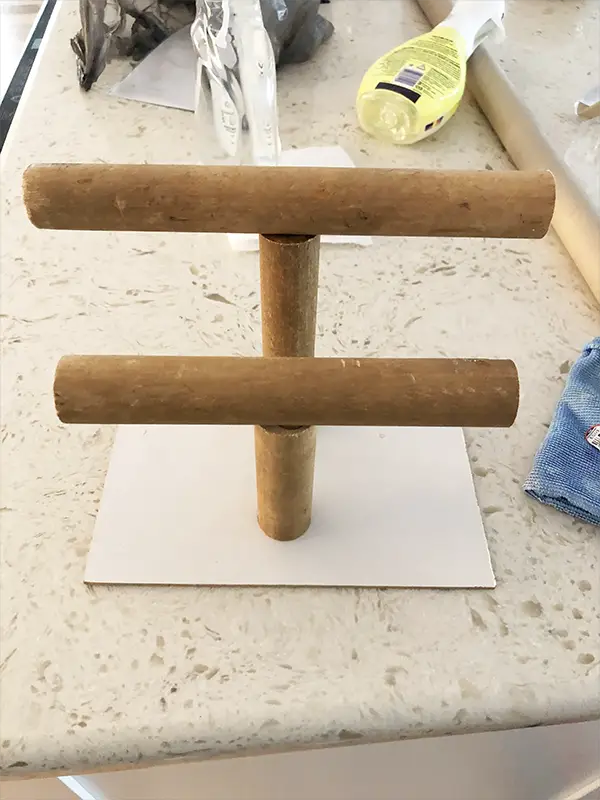
Once the glue dried I painted this navy blue too.
The Final Outcome…
Here is how they look all together. I hung them using Command hook double sided tape.
Doesn’t it look much better than the mess that was there before. This was pretty easy and very inexpensive to put together. Sure I could have gone out and bought some cute jewelry holders, but what fun would that be? LOL
One more Before and After…
Jewelry Area – Before Jewelry Area – After
PIN FOR LATER…
Now, please check out the other bloggers projects!
Carol from Blue Sky at Home
Michelle from Blessings by Me

6 Comments
Jodi, what a great idea. By customizing, you got the exact jewelry station you needed. It does look so organized and neat. I love that you mostly used things you already have. THanks for hosting.
Thank you so much! This was so fun to make.
I love all the DIYs you shared. I am working on a plan in our master closet and just purchased almost the same items you shared. I love how your space turned out with all your items. Thanks for sharing.
Thanks, Terrie! Glad you like how these turned out.
I love all of these! And your closet looks so nice and organized! I seriously would have never thought to use the shelf liner to hold earrings. I’ve pinned this so I can remember to make that later! Awesome ideas!
Thank you! Glad you like them.