
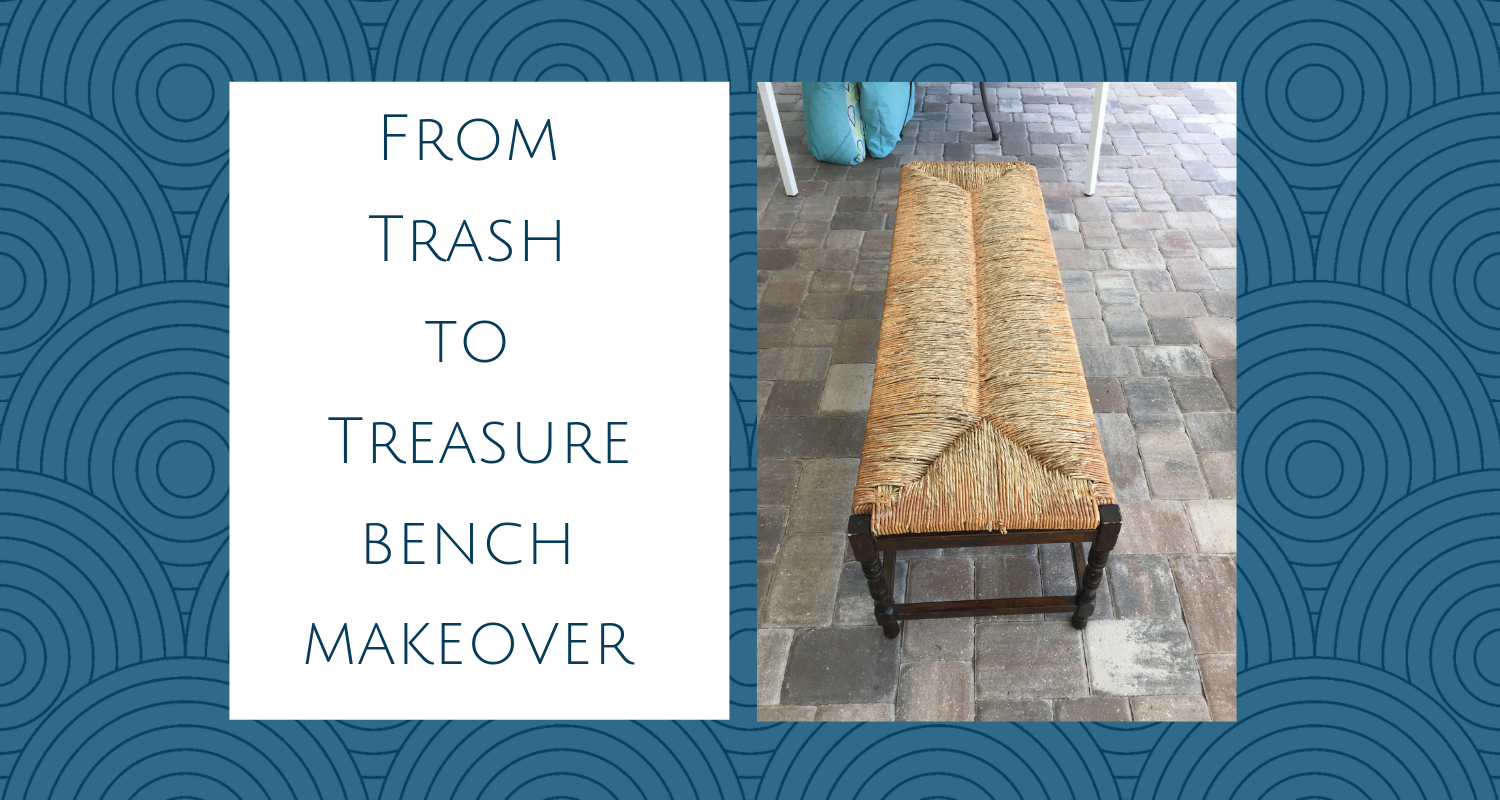
Bench Makeover
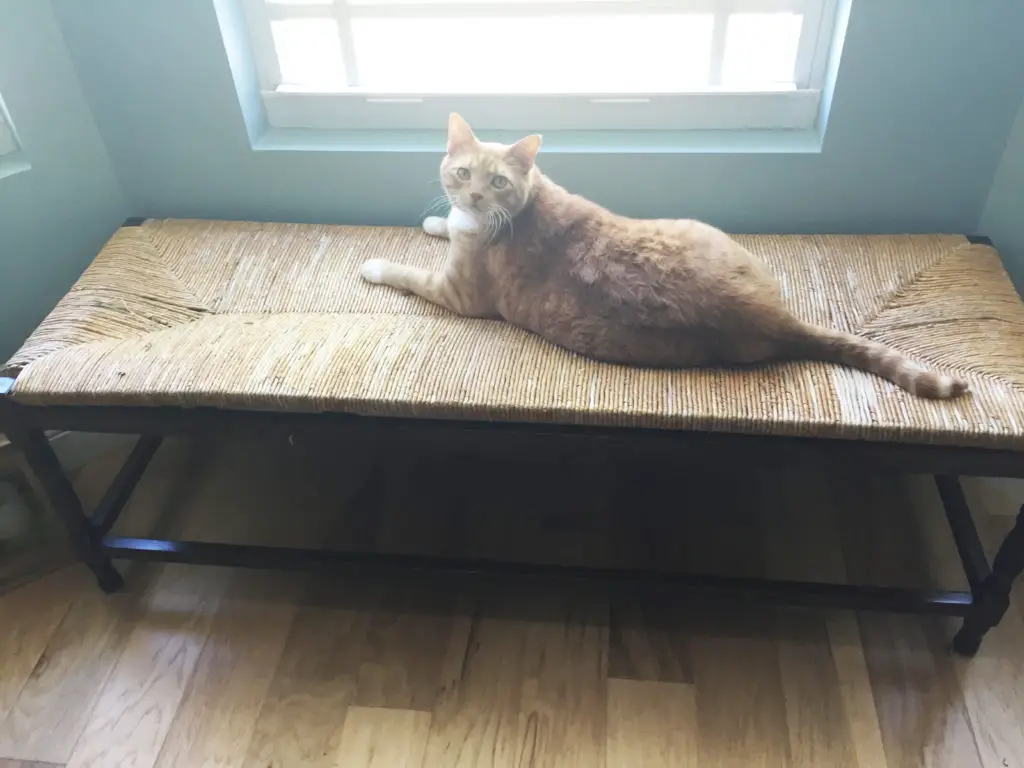
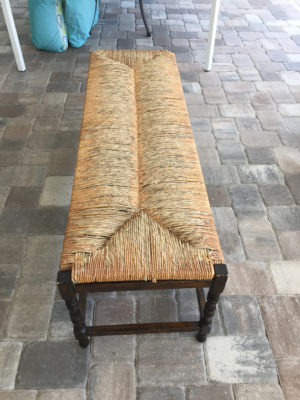
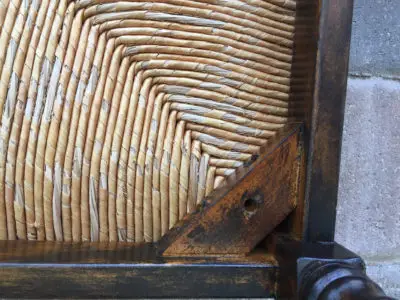
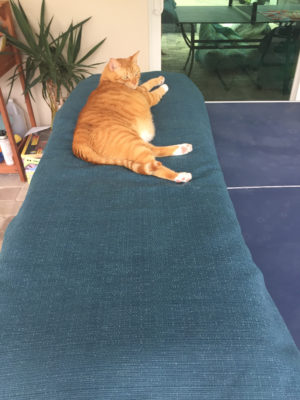
A friend of mine was about to put this old bench in the trash, but before doing so she asked me if I might want it for a project. Um, hello, duh! Yes please! Y’all know I love a good project. The top was pretty beat up, as you can see, but I liked the shape and size of it. I knew I could fix it up somehow. When I brought it home I stuck it in the dining room (until I was able to work on it), and my husband pushed it up against the bay window and it fit perfectly. It was meant to be! AND, my big fat cat loved it from the start!
Here is what I did and the steps I took for this makeover.
Materials Used – Bench from Trash to TreasurePaint Paint Brush Fabric |
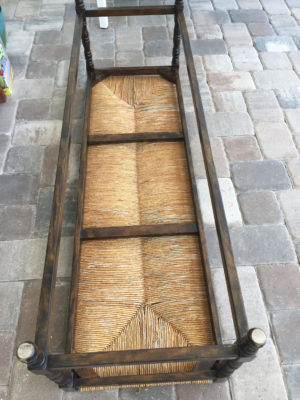
Step 1 – Take off the Top
The first thing I did was unscrew and take off the top. This top has seen better days, as you can see, so I planned to replace it. I just flipped the bench over and took out the 4 screws holding it together.
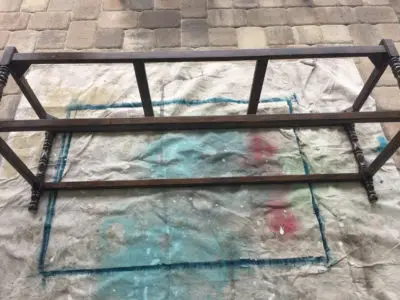
Step 2 – Sand
The next thing I did was lightly sand the piece. It was pretty scuffed up so I tried to smooth out those areas as best as I could.
Step 3 – Make a New Top
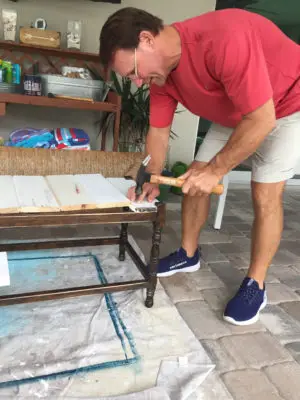
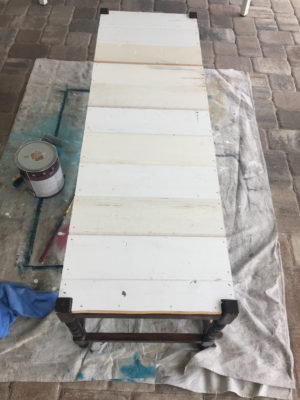
My husband and I ‘rescued’ a bunch of these plank boards from the trash back when our outdoor lanai ceiling was being replaced. We knew we’d use them for something and we were right cause they made the perfect bench top! We found as many planks as we could that would fit, and then he cut them all down to size using his saw.
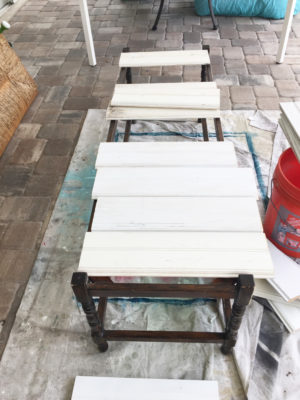
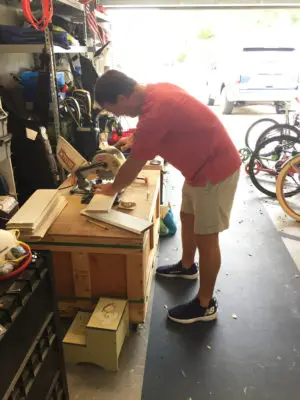
Then he nailed them to the bench.
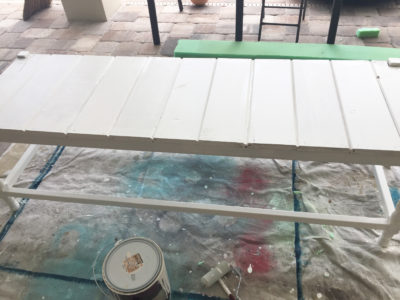
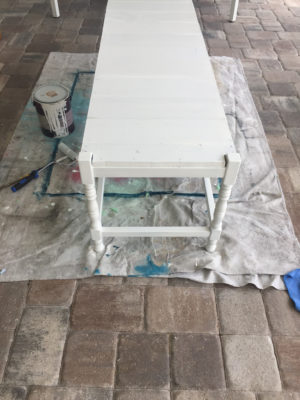
Step 4 – Paint
I went back and forth with what color to paint this and ended up deciding on plain old white. I knew I had some left over in the garage from my One Room Challenge bathroom makeover, so I used that.
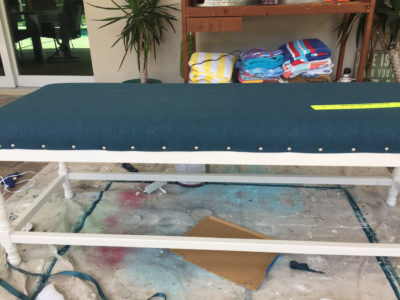
Step 5 – Making a Cushion for the Top
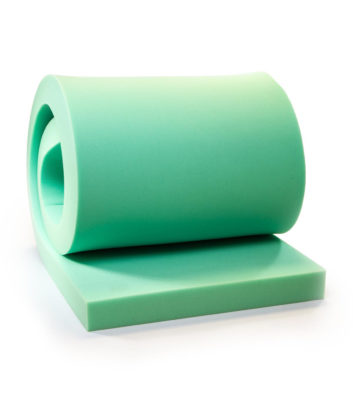
After I painted, I contemplated just leaving the bench as is. It looked pretty good with just a new top! But, I had this old piece of foam in the garage from an old bench top I made years ago. I figured I might as well use that and make an upholstered top, or else it’d end up in the landfill. Plus, this stuff can be expensive! Off to Joann Fabric I went to pick out some fabric. I was planning on trying to find a fun print, but found this pretty bluish/greenish colored upholstery fabric (on major sale) so I played it safe and went with that. I also picked up some batting while I was there. Why does this cat always find places I don’t want him to be?
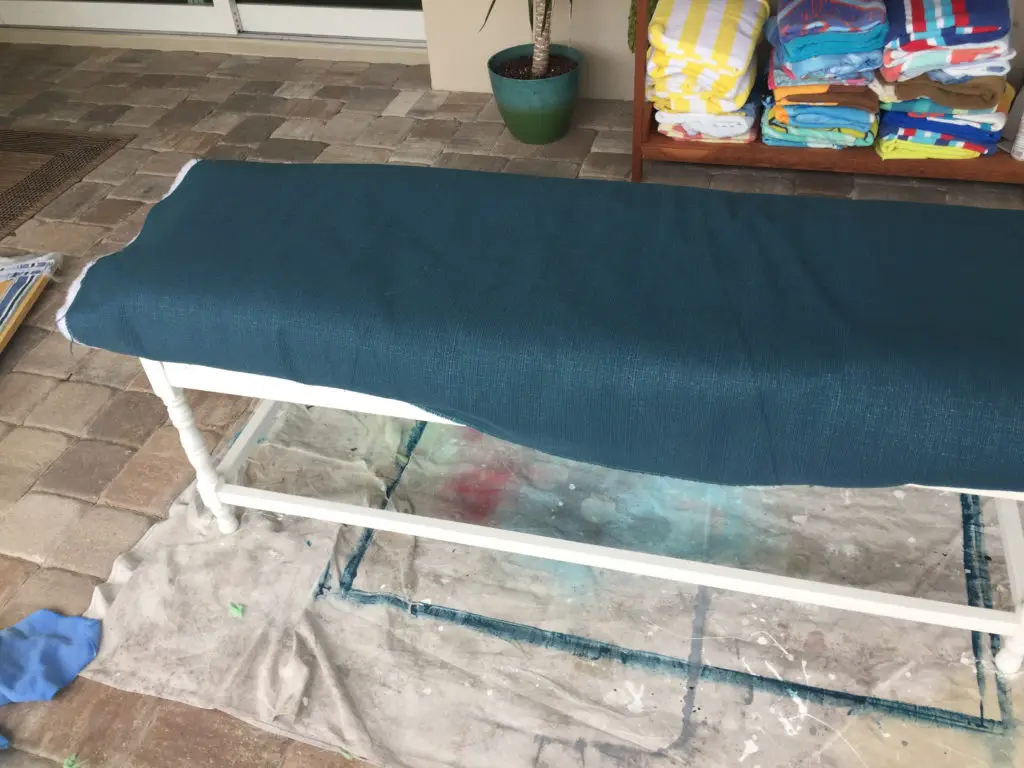
Once I started to fit the fabric on the bench I realized I short changed how much I needed by a few inches on each side. OOPS! Dang it! I was originally planning on fitting the fabric all the way under the sides all the way around so no white was showing, but that plan was squashed due to my bad math skills. LOL! I had plenty of fabric on the long end of the bench, it was the short ends that I needed more. 🙁 What a dummy!
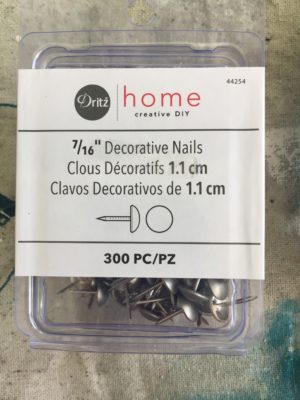
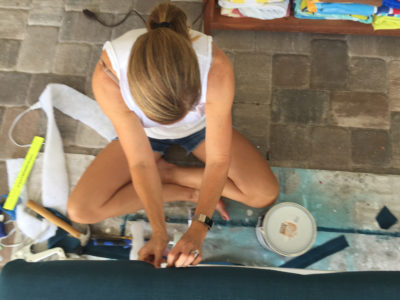
After brainstorming a bit to figure out how I could make this work it occurred to me that I could use upholstery nails to attach the fabric to the wood, so it was back to Joann’s to find some. I wasn’t sure how many I’d need so bought a pack of 300 (and ended up with lots left over!).
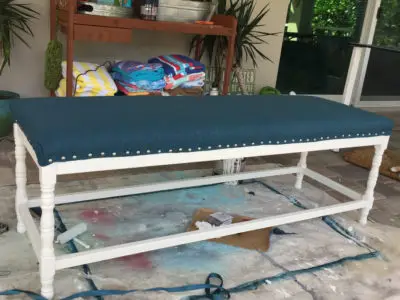
This process was a huge pain in the neck. Literally! My neck and back were killing me by the end! LOL! I started by folding the fabric under and then putting 3 nails on the long side. I placed one nail in the middle and one on each end, making sure I measured first so the middle nail was centered. Then I worked my way in by dividing the space in half and then in half again until I was happy with how it looked. It definitely isn’t perfect but not bad for my first time doing this.
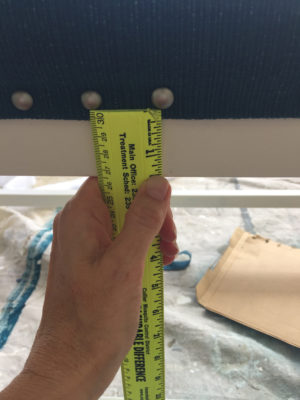
As the nails got closer together I used a ruler to measure where each nail would be placed. When it came time to do the edges, I folded the fabric over and then stapled it to the wood to secure it in place. Then I folded the fabric over the staple to hid it.
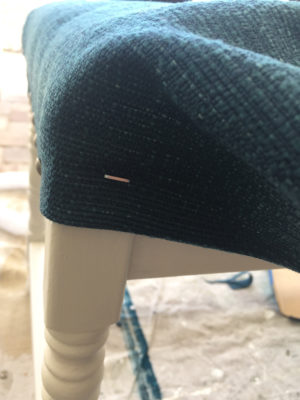
This whole process took me several hours, as I had to take out and move a nail here and there cause they weren’t lining up right. Here is one side completed. Not perfect, but not to bad! I continued nailing them all around the entire piece until I was happy with the spacing.
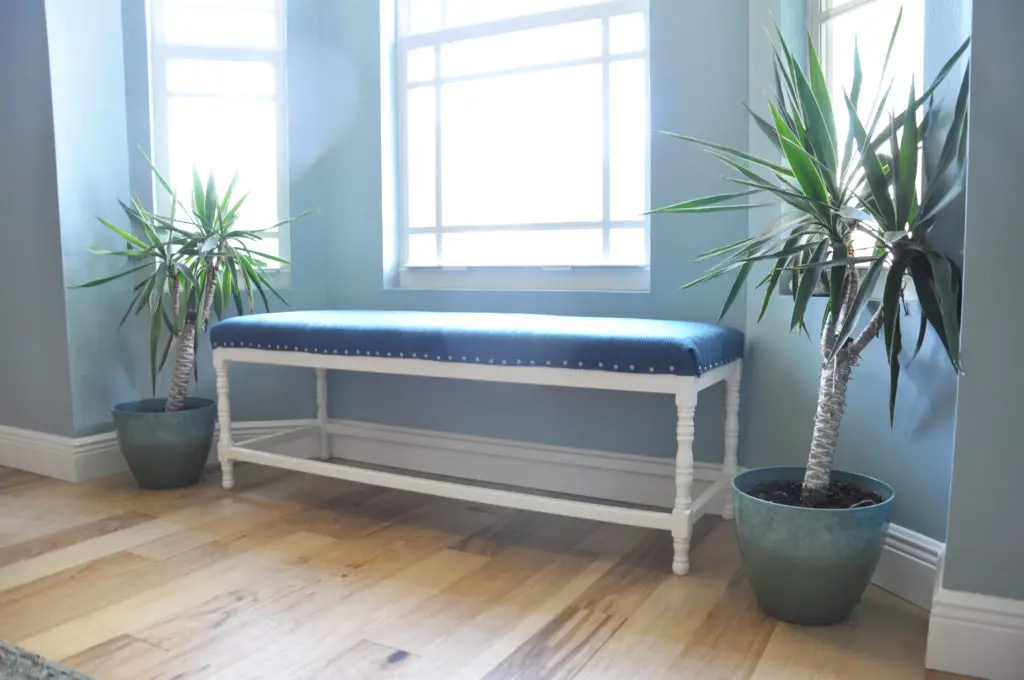
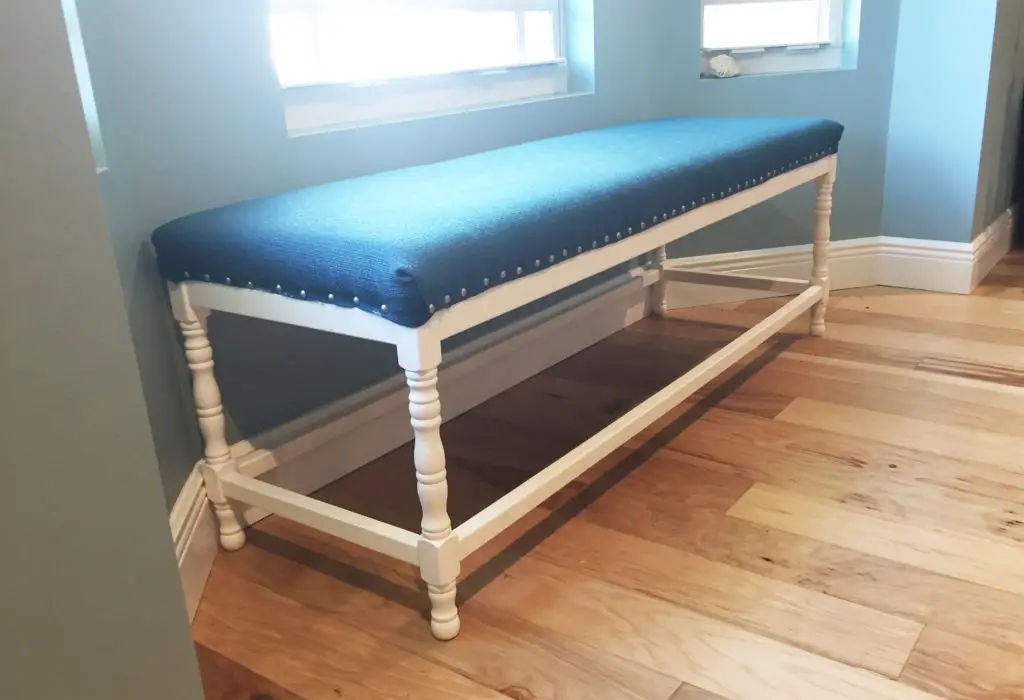
And here is the finished piece in my house.
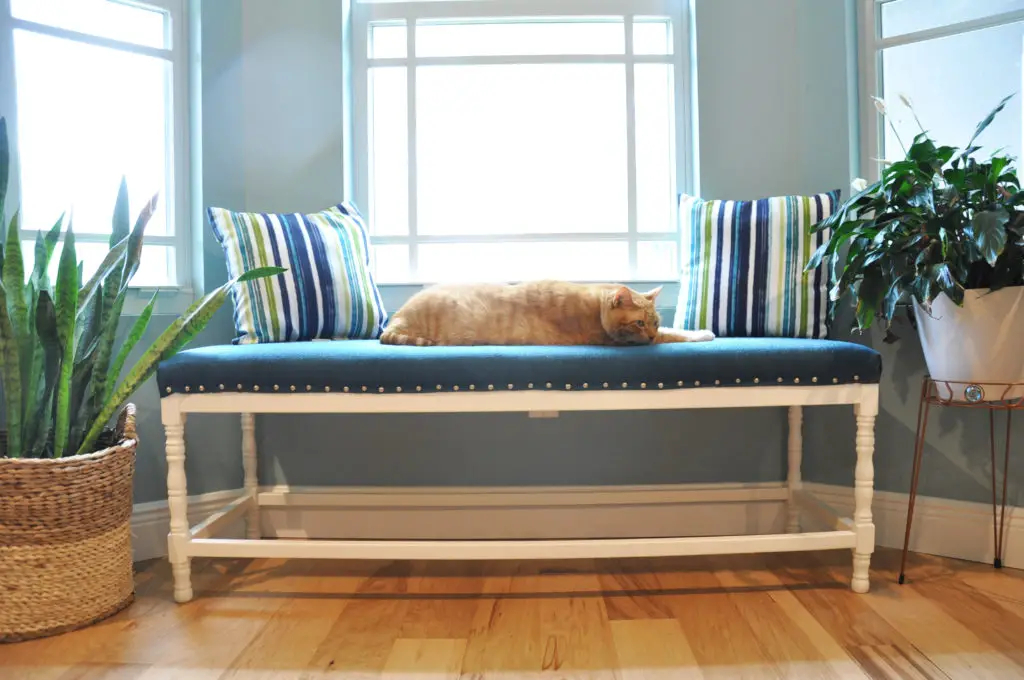
I played around with some pillows and plants to style it a bit and as you can see the cat just made himself comfy and I worked around him. Big ole cat!
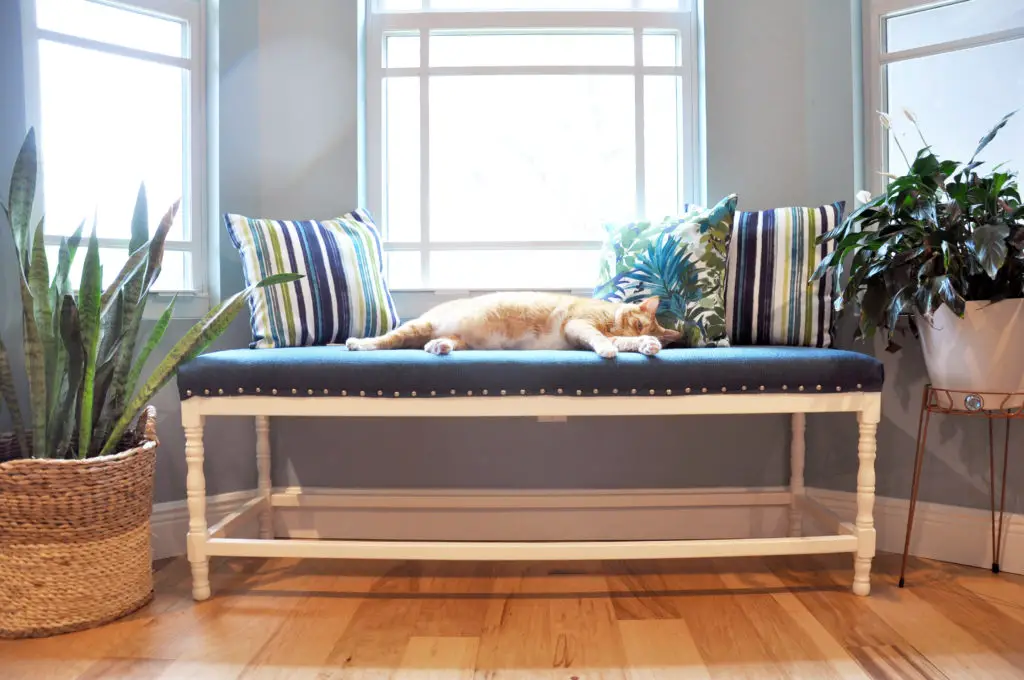
And here is one more BEFORE and AFTER…
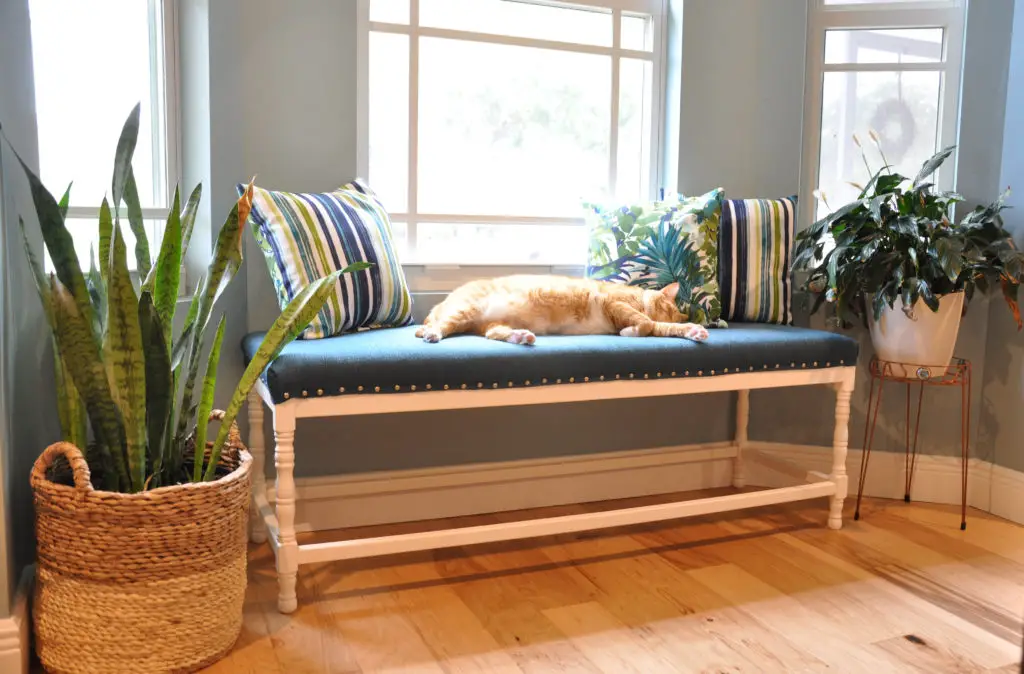
Overall, not bad for a piece that was about to go in the trash! What do you think?


2 Comments
Love it! It looks great in the window and the cat loves it, so all good!
Thank you! Yup, I’ve essentially made a cat bed! lol