
End Table Coastal Makeover
Hey there! I’m showing you another furniture re-do! I hope you enjoy it.
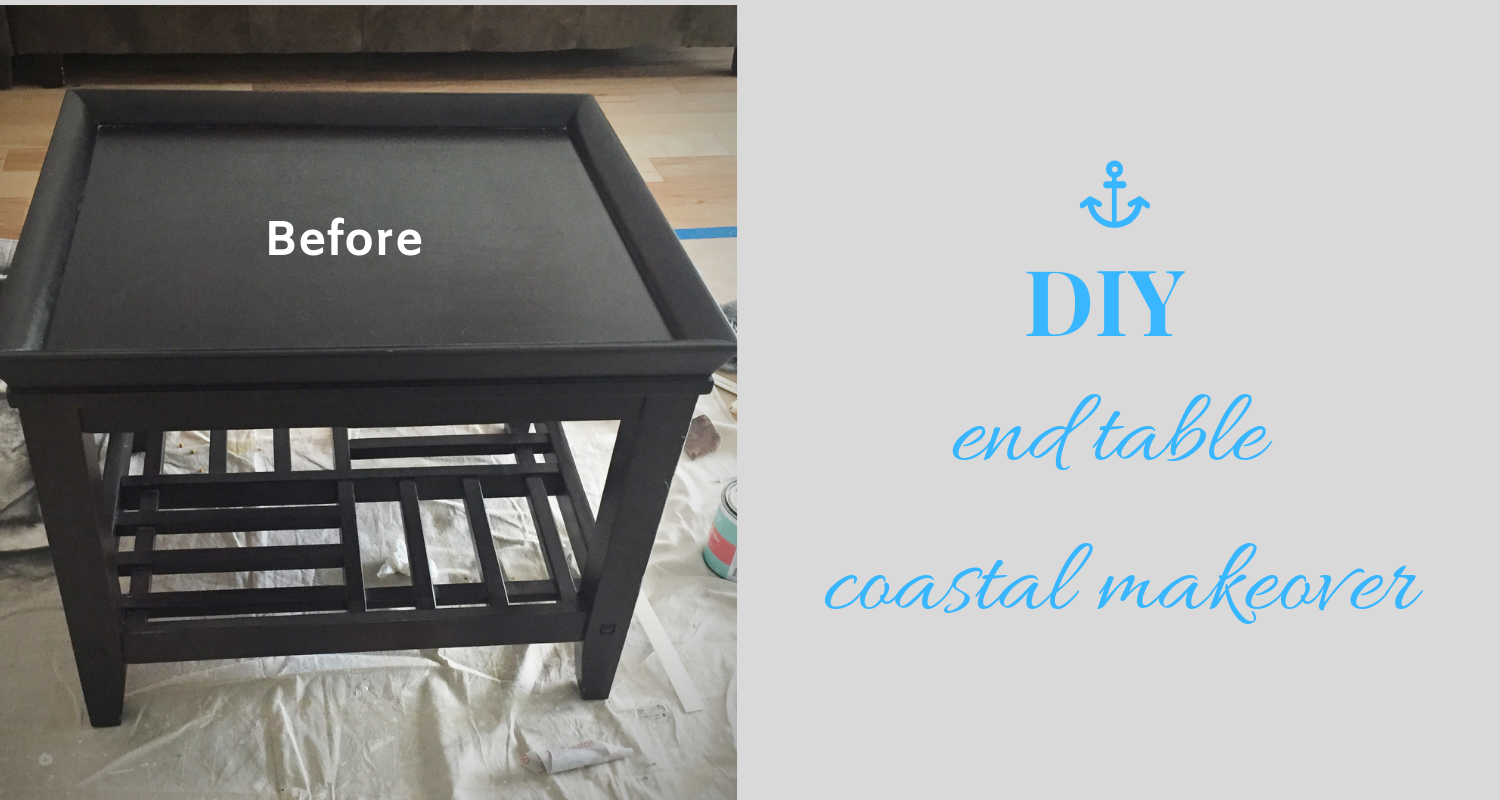
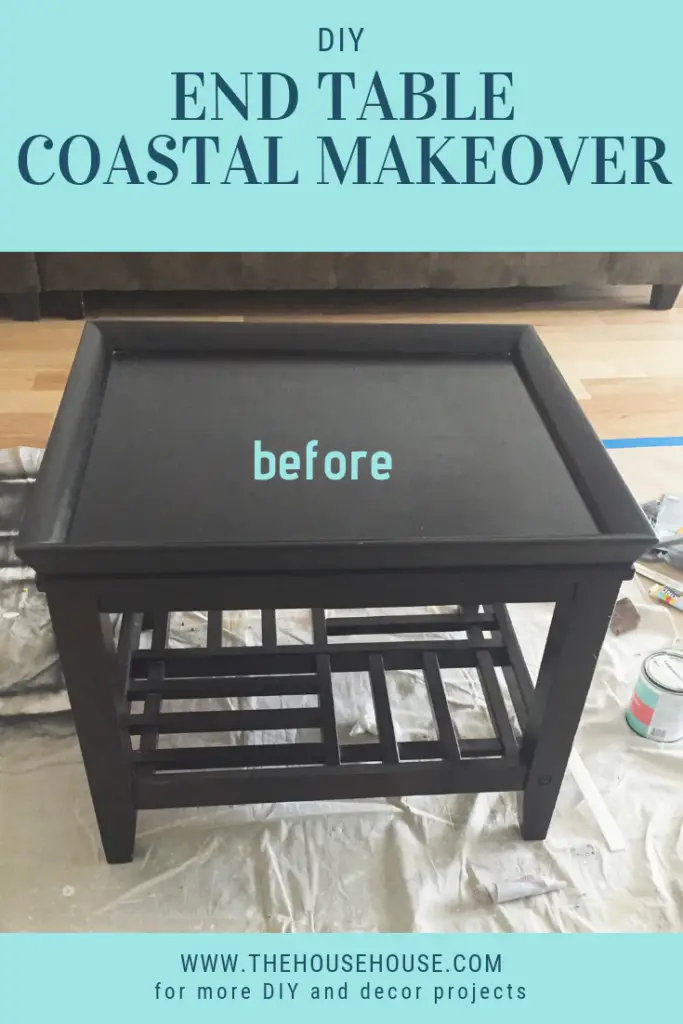
We’ve had this end table (and the matching coffee table) for YEARS. They used to be a chocolate brown color. When we moved into the House house 3 years ago, the color just didn’t look right with the coastal vibe I was going for, so I chalk painted them both white. The paint was starting to look a little dingy and I wanted to spruce them up a bit and add some interest. Today I am focusing on the end table only. Here is what I did to change it’s look.
Materials Used for this Project…Nautical Map of Bahamas wrapping paper |
Step 1…
Here is how the table looked when we bought it 15 years ago. It looks black in this picture but it was actually chocolate brown.
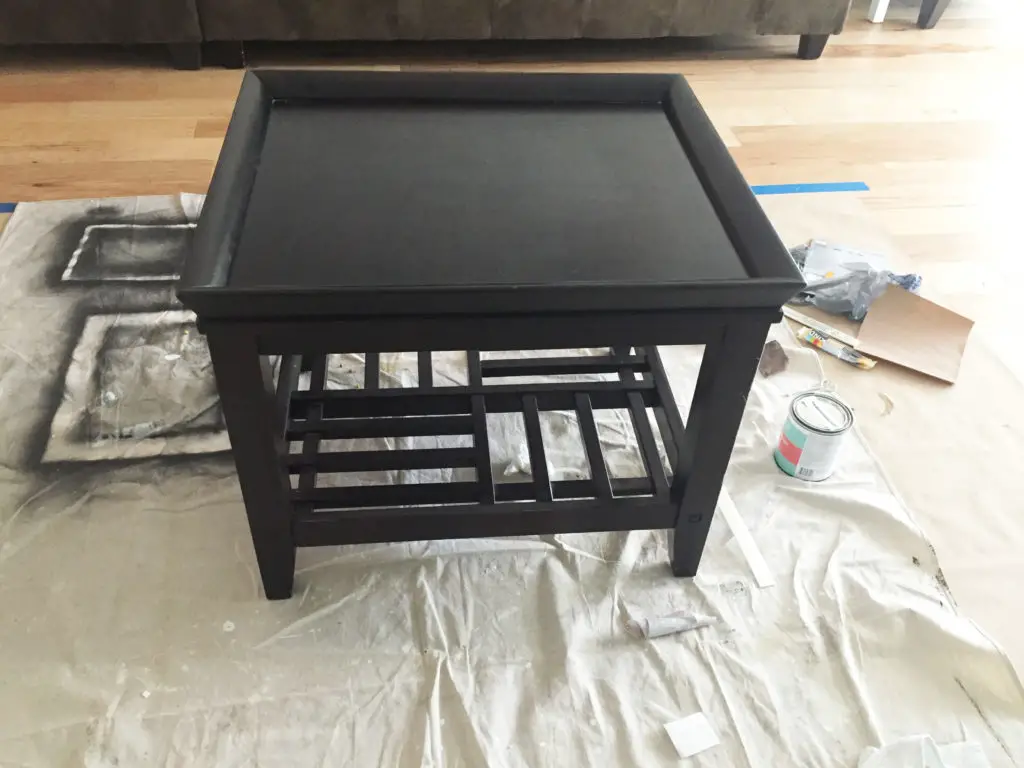
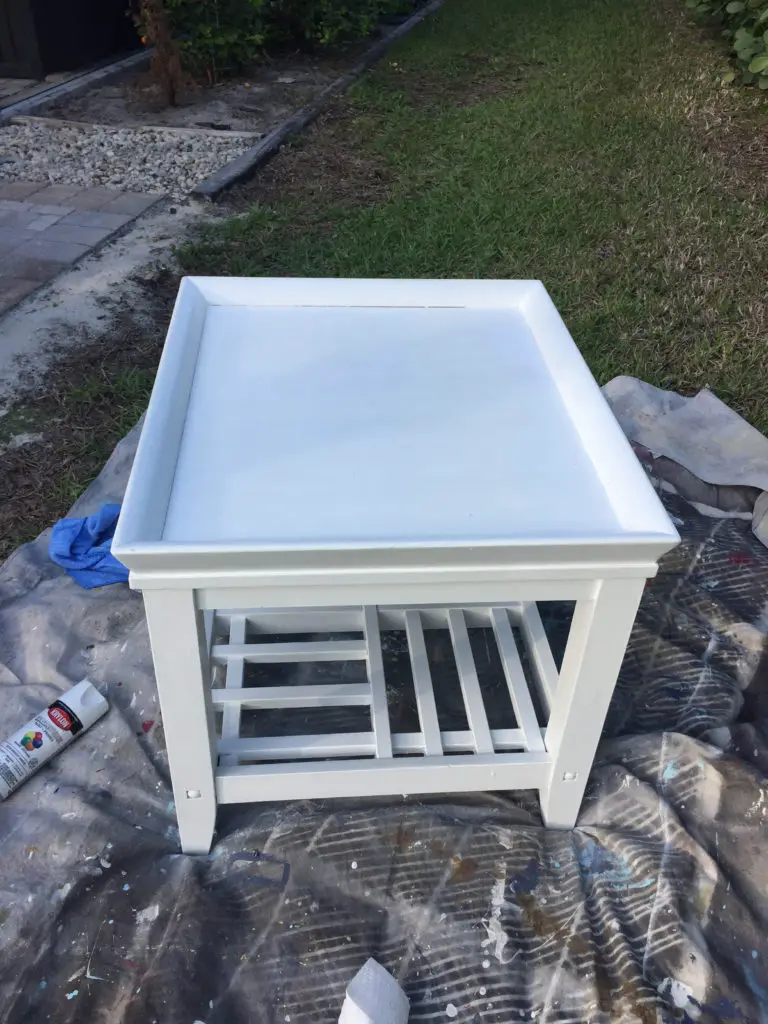
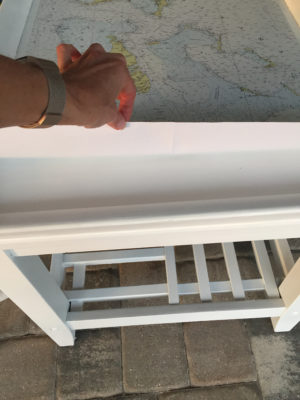
Since this table had already been painted white, using chalk paint, it just needed some touching up. The first thing I did was bring the table outside to my ‘workshop’, aka my yard. I used a whole can of this spray paint to spruce up the white. I love using this paint because it has a built in primer.
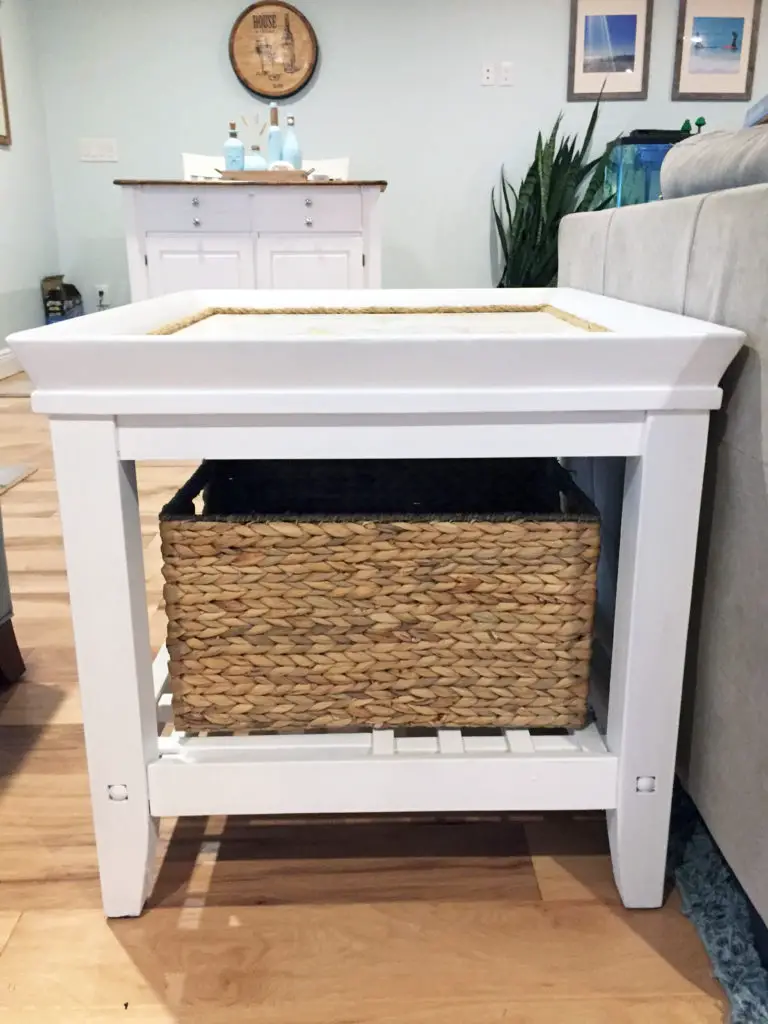
Ta daaaaa…..Here it is after I spray painted it.
Step 2…
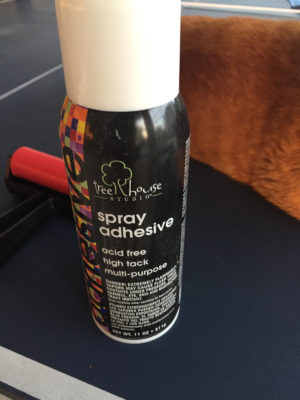
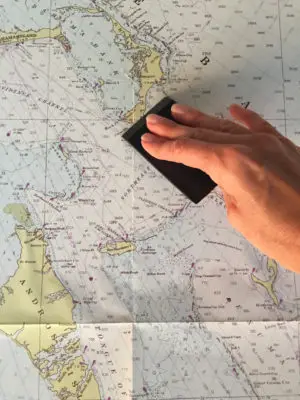
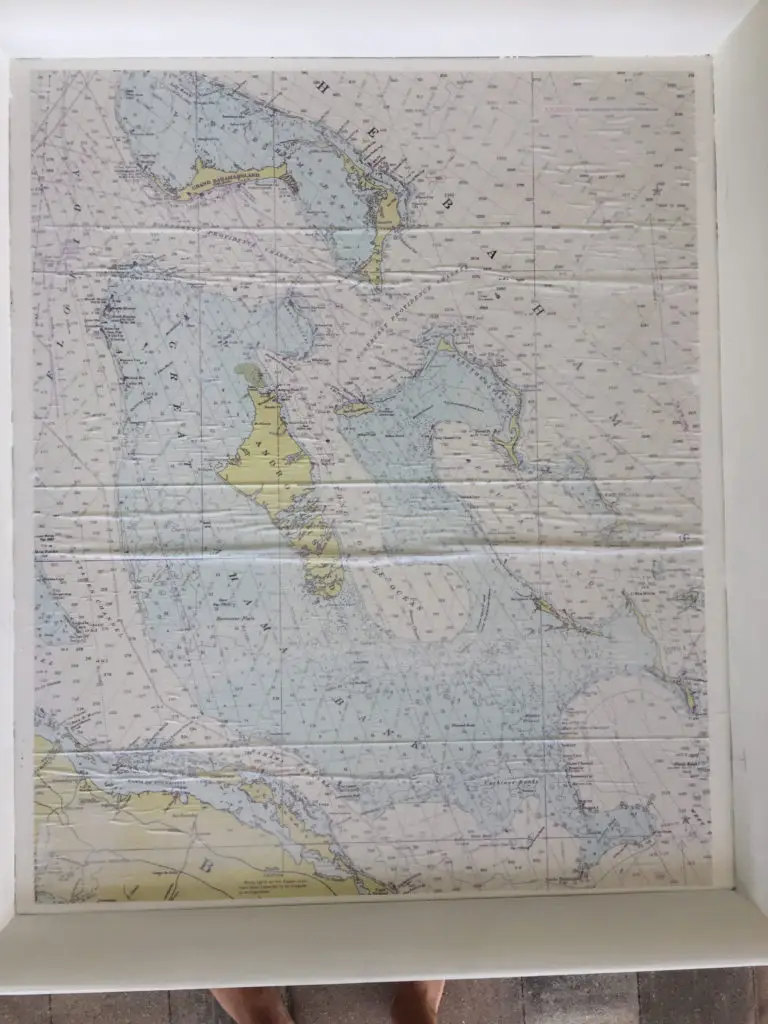
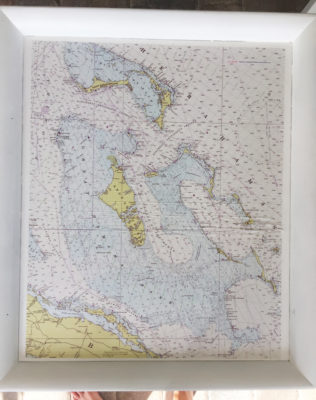
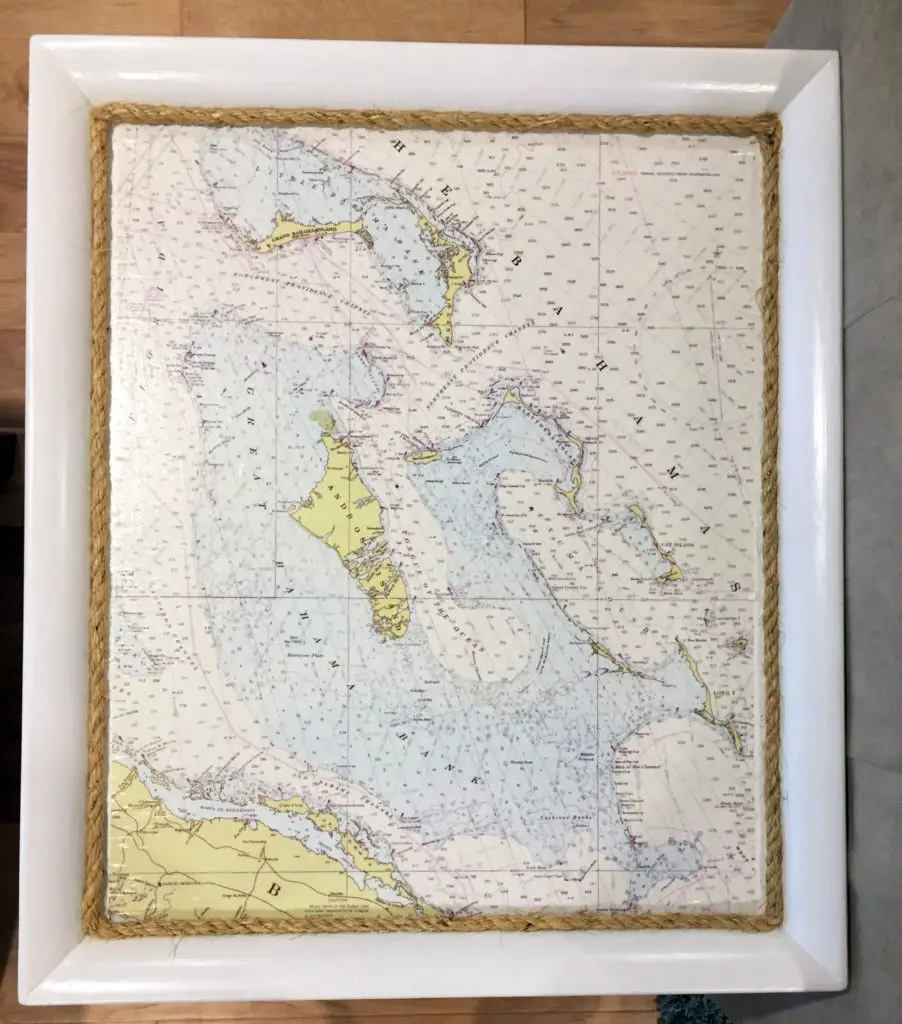
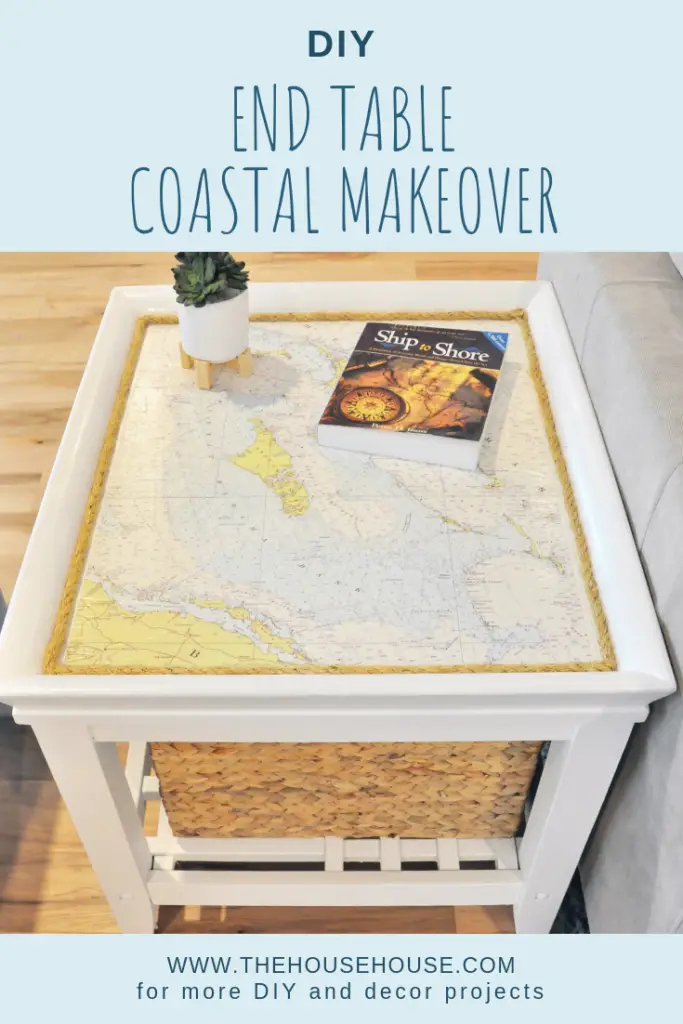
I purchased this Bahamas nautical map wrapping paper on Amazon to apply to the top of the table. It came with 5 sheets of paper. It is a nice thick quality, and I plan to use the left over for other projects. To adhere it to the top of the table, I cut a piece down to size, and used this spray adhesive (pic below) to glue it to the top. I flipped the paper over, layed it on my tarp, and sprayed the top 1/4 of the paper. Then I lined it up on the table, and glued it down using a smoothing tool to get rid of any bubbles. Then I continued flipping the remaining paper up, spraying a little at a time, until the whole piece was glued to the table. Afterwards, I continued using the smoothing tool to make sure all the bubbles were gone from the piece and then I left it to dry overnight. It looked awesome!

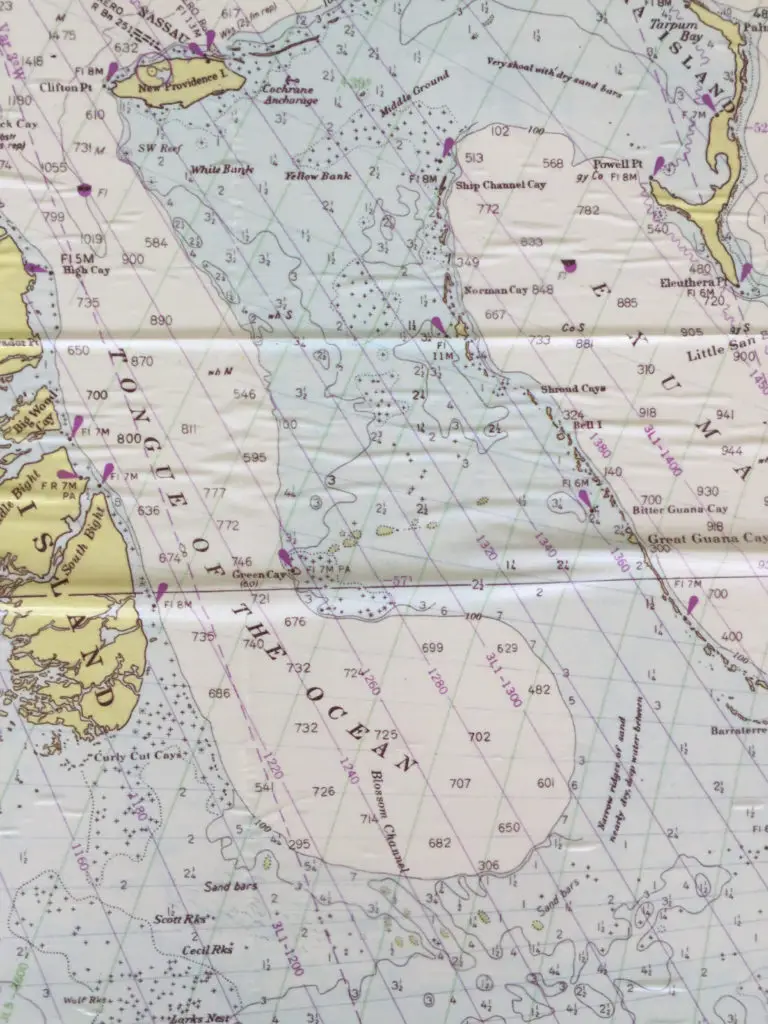
However, the next morning there were lots of bubbles that came out of nowhere and I got a little freaked out. But, I remembered this same thing happening when I added a map to this piece a few years ago. To try to get rid of the bubbles, I applied 3 coats of Mod Podge to the top and keep smoothing out the bubbles as best I could in between coats. I used a rolling pin, and the smoothing tool. I even popped a few with a pin. Some of them were stubborn! I kept thinking, OMG what did I do, this looks terrible. Anyway, after it sat and dried, most of the bubbles magically disappeared! Phew!!! It is not perfect, but it looks WAY better.
Here is the progression of bubbles…
Step 3…
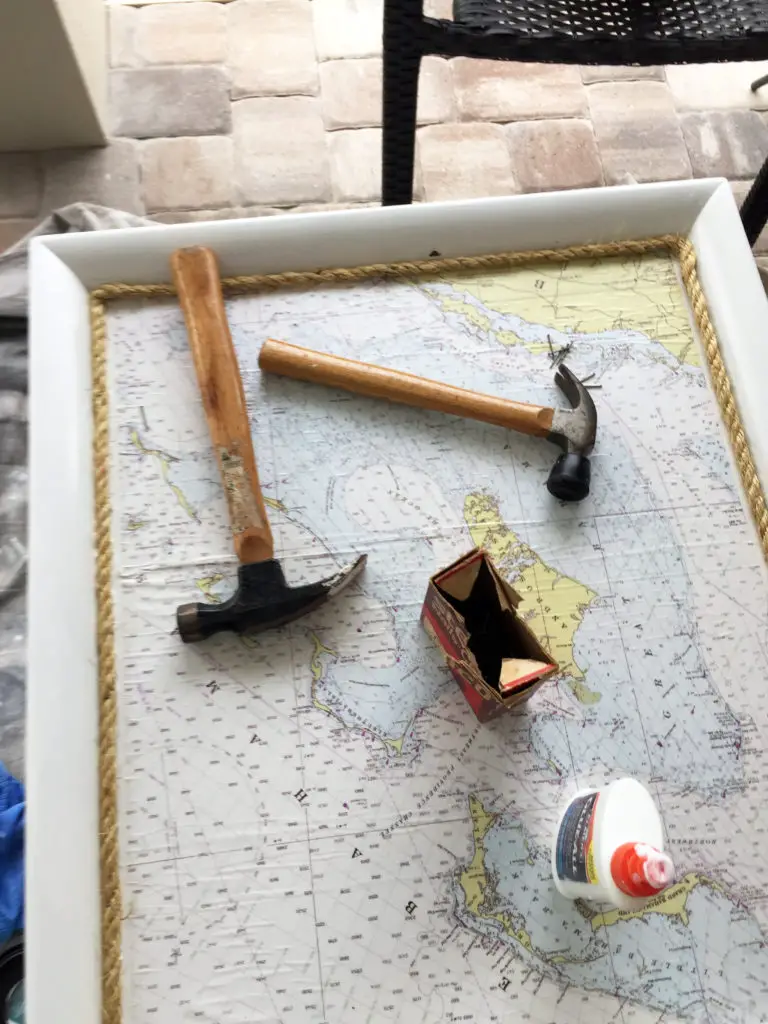
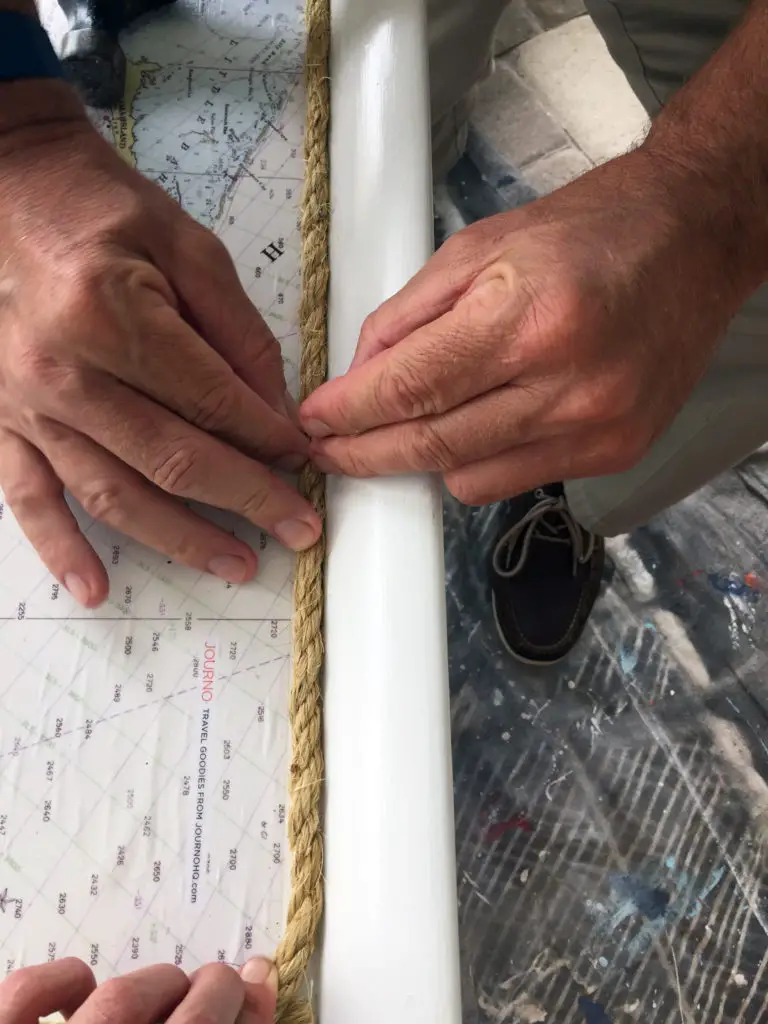
To complete the nautical look I added a rope around the edge of the map. I used elmers all purpose glue to adhere the rope to the table. After I put the glue on, I held it in place while my husband nailed in some Brad Nails to make sure it was really secure.
Step 4…
Lastly, I applied 2 coats of this MinWax polyuerthane to the entire piece to protect the surface.
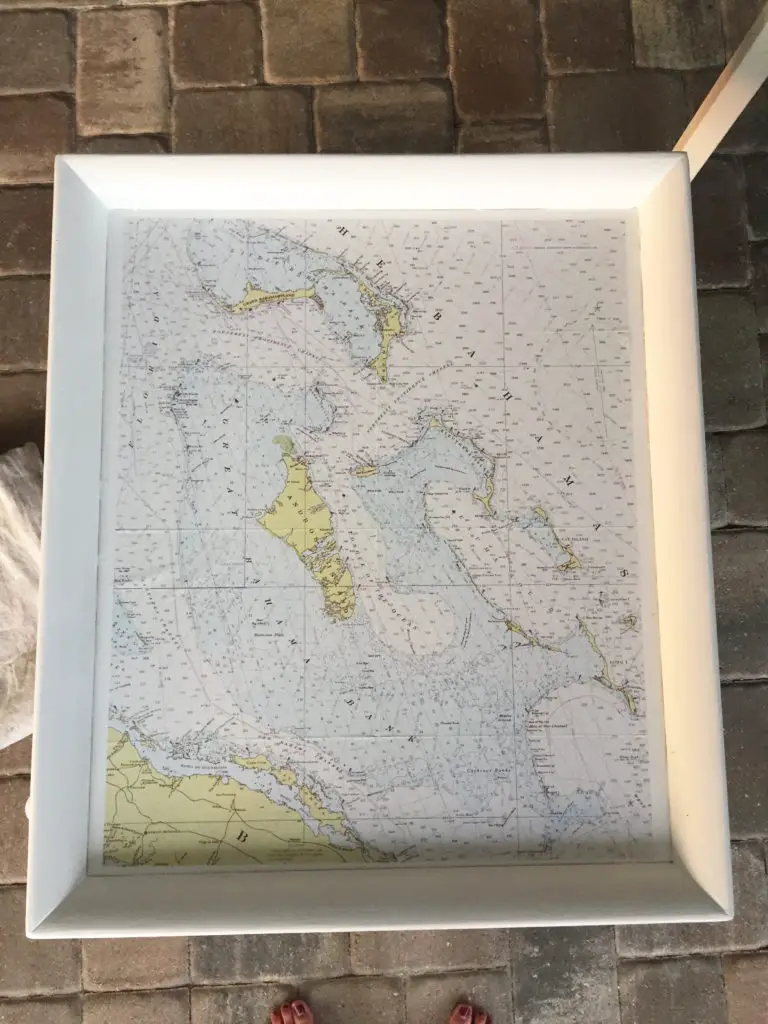
Annnnnnddddd, here is the finished product.
I was thinking about selling it, but it looks so much better this way so I may keep it instead.
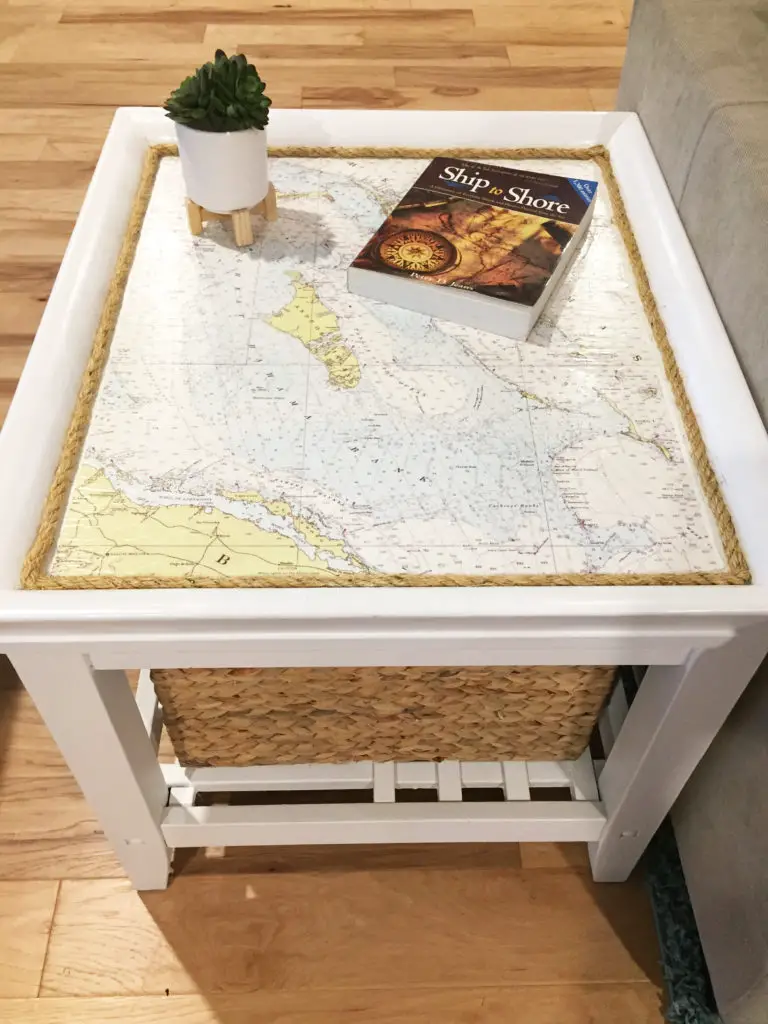
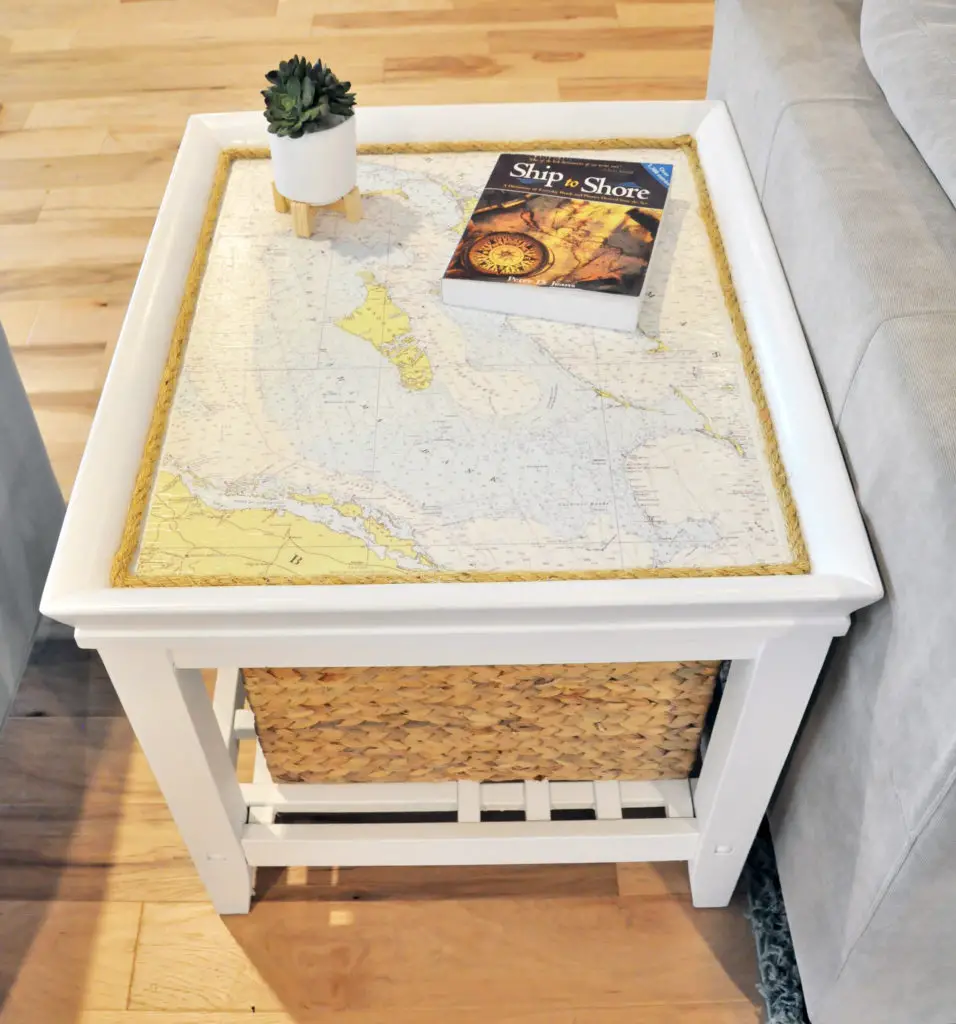
Not sure how you feel about coastal decor, but I am digging how it came out.
Pin this for Later…
12 Comments
I love this makeover using a map and totally changing the look of the table.
Thank you so much! I am so glad you like it.
This looks fabulous. Also from reading this I feel that I could do it. Great article!
Thanks Christine! I am so glad you like it! I am glad you like my instructions too. If I can do it, anyone can. LOL
Gorgeous transformation!
Thank you!
This looks fabulous. I am thinking of changes my decor to a more “Beachy” look. Love this idea!
Fun! I hope you give it a try!
Love this! The rope border is such a cute detail.
http://www.paperandvine.com
Thank you so much!
Great new look! I have end tables with top glass inserts. Would it work gluing the map to the glass? Would it be better to glue the map under the glass or on top of the glass?
Since the tables are white and the map light, would polyacrylic work better? I used polyurethane on white stained end tables and they yellowed. They look more cream now than white.
Thank you for sharing your talent. The table looks great!
I find the polycrylic works better and there is less yellowing. As for the maps….hmmmm, not sure which one would be better. I like the idea of putting them under the glass but think they might be better on top. Not sure about that one.