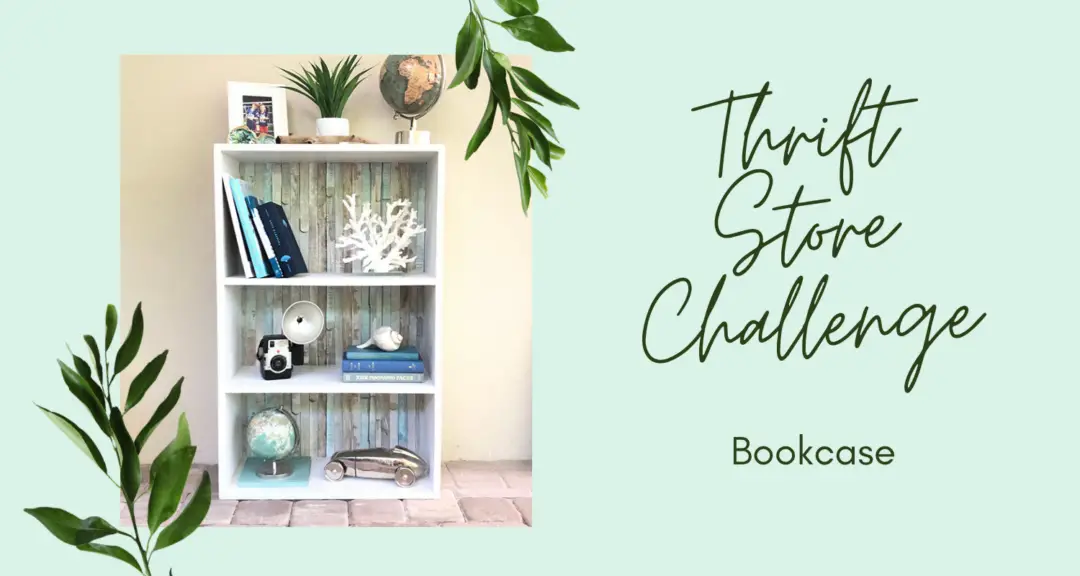
Thrift Store Challenge – Bookcase
It is Thrift Store Challenge time! Each month I join a group of super creative, fun, thrift store lovin’ ladies for this fun challenge, and each month these ladies rock it. So be sure to check out what they have found at the bottom of this post. You can check out all my past thrift store makeovers here and all my trash to treasure projects here.
If you are new here, the rules for the challenge are as follows – purchase something from a thrift shop, garage sale, etc. OR revamp/upcycle a piece(s) we already own that no longer works in our home, OR that we found at the curb waiting for the garbage trucks.
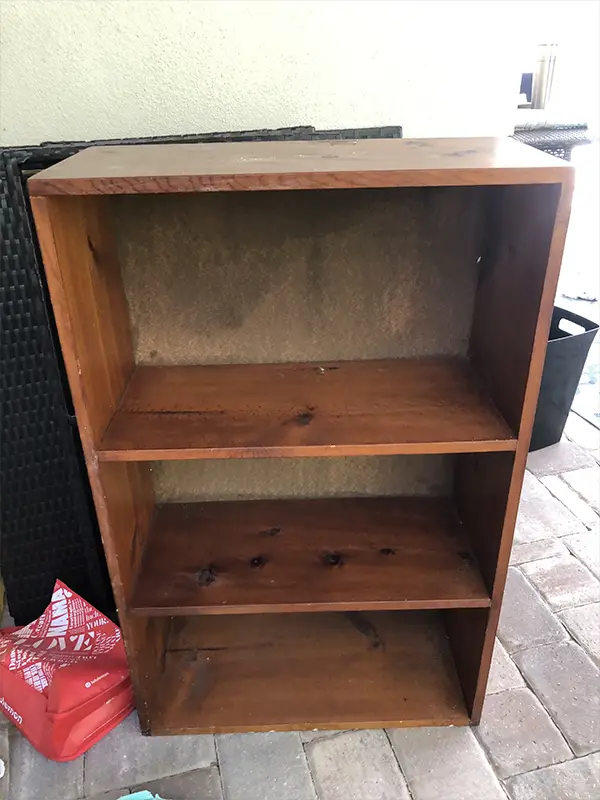
My project this month is yet ANOTHER curbside find. My husband is always bringing me home treasures he finds on trash night in our neighborhood. Thanks, honey. His latest find was this solid wood bookcase. It was pretty beat up and had some water damage on one side, but was otherwise in decent shape, and was SOLID wood. I knew I could fix it up. Here is what I did…
This post contains some affiliate links for your convenience which means if you make a purchase after clicking a link I will earn a small commission which helps keep my blog up and running but it won’t cost you a penny more!
| Materials Used for this Project… |
|---|
| Chalk Paint – White Peel and Stick Decorative Paper in Beach Wood Minwax Water Based Polycrylic |
Step 1, Clean and Paint…
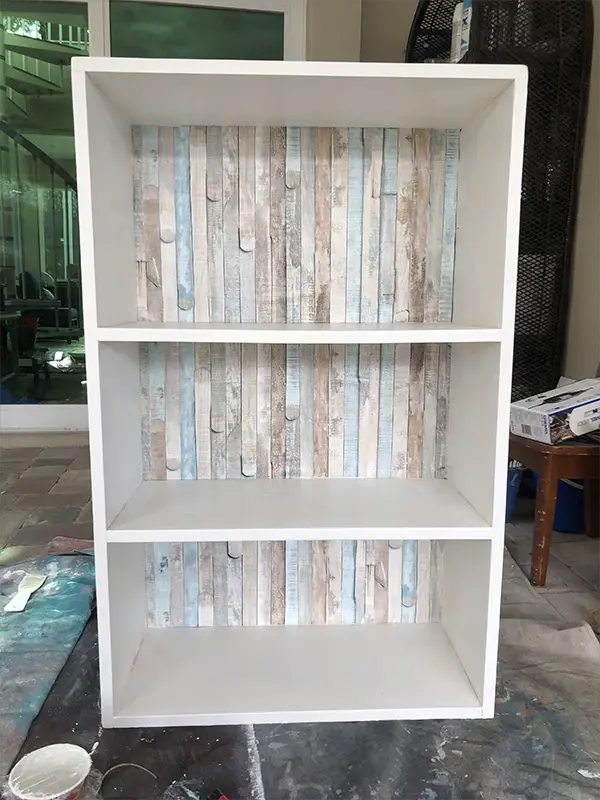
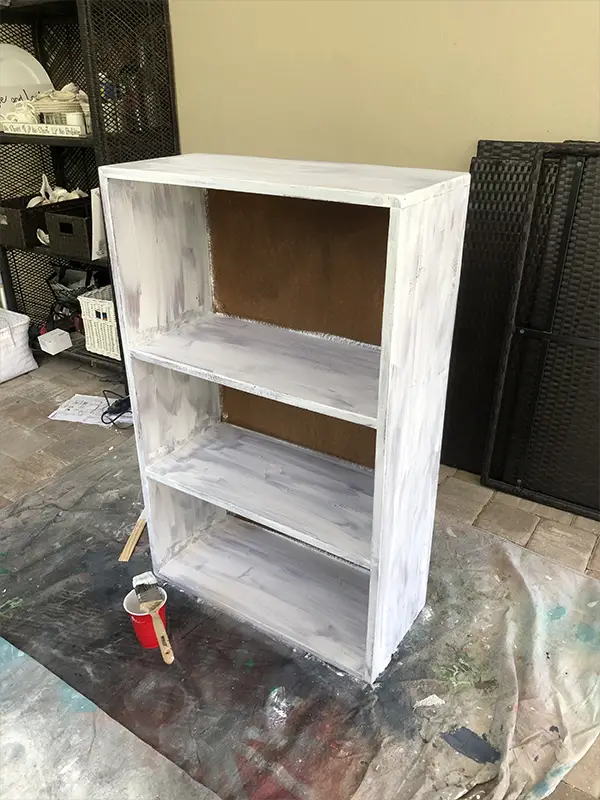
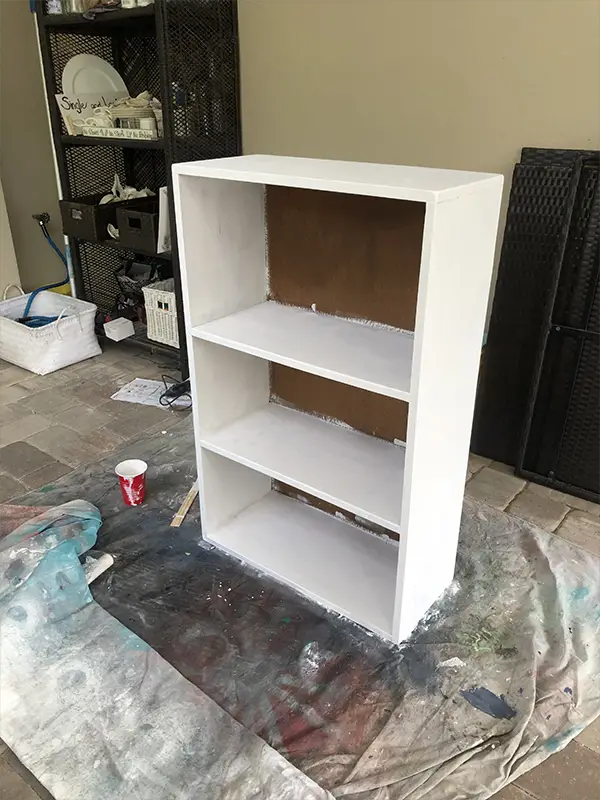
First I started by cleaning up the piece. It was dusty and needed a good wipe down. Then I painted it.
I used chalk paint that I mixed myself using this recipe that I found online, or can purchase chalk paint at many hardware stores and online.
1/3 cup plaster of Paris
1/3 cup water
mix these 2 ingredients together first
then add 1 cup of paint
and stir until smooth and mixed thoroughly.
For those who don’t know, chalk paint is awesome. It allows you to paint most furniture without having to sand first.
One coat of paint 2 or 3 coats of paint
Step 2, Apply Peel and Stick
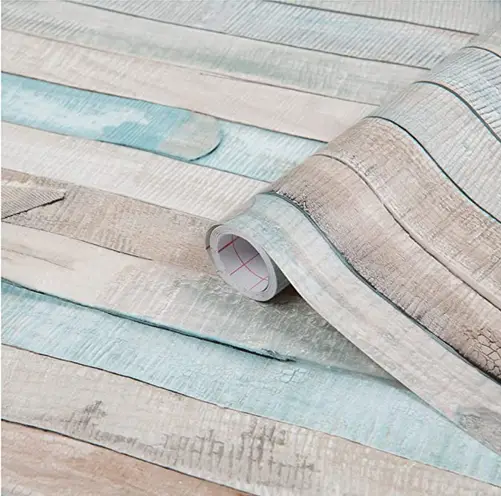
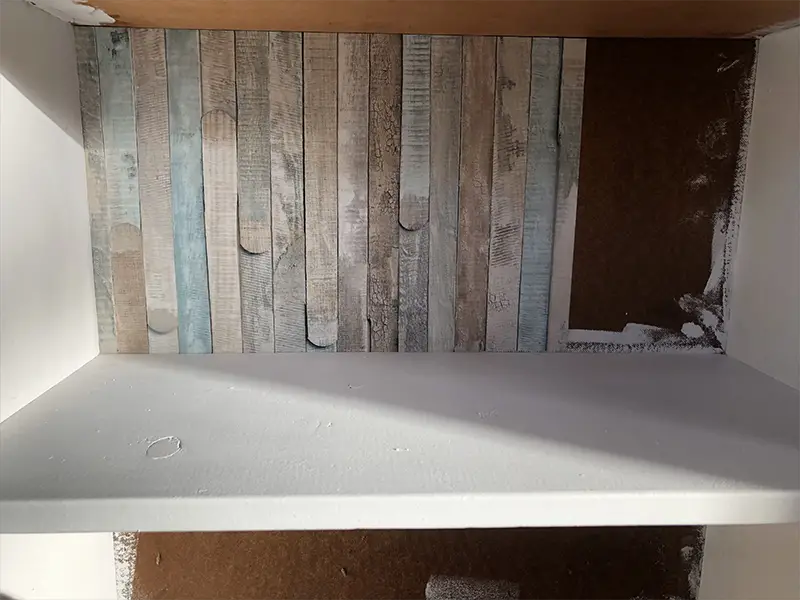
I had this fun peel and stick paper that I bought from Amazon a while back that was waiting for the right project. This was it. To apply it I simply measured, cut, peeled off the back and stuck right to the back of the shelf. I was a little nervous about this step, but it was really VERY easy.
Step 3, Apply Top Coat…
I always use MinWax Polycrylic as my top coat. It is water based and dries fast. I used 2 coats on this piece.
Step 4, Styling…
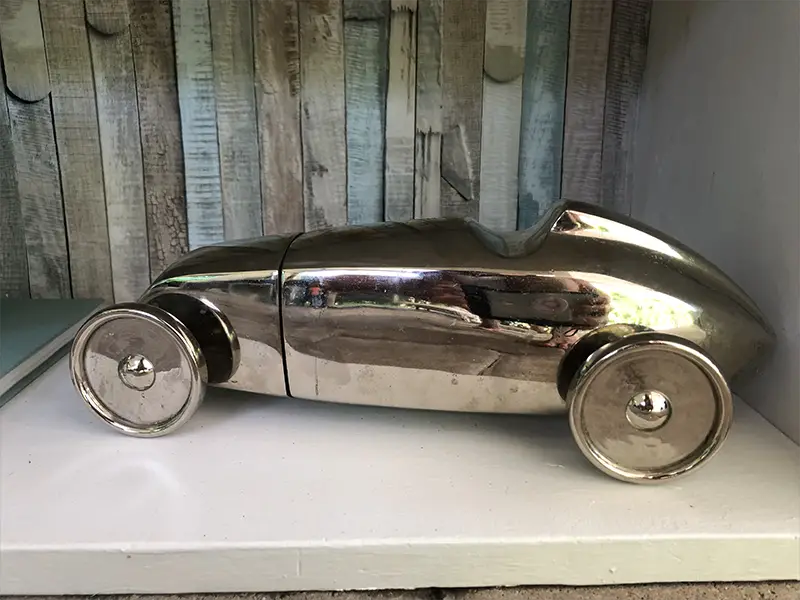
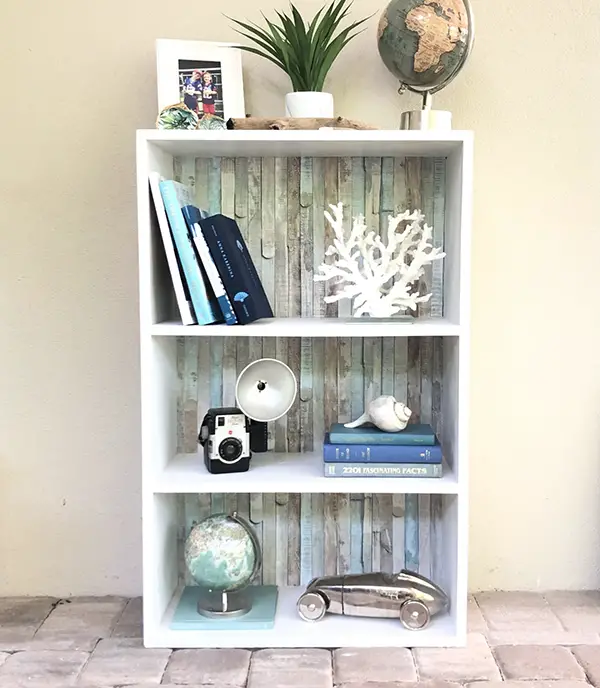
I filled up my new bookcase using many of my other awesome thrift store finds, my newest find being this adorable antique car I scored for only $5.99!!! How cute is this thing?
Here is the final product. Cute, right???
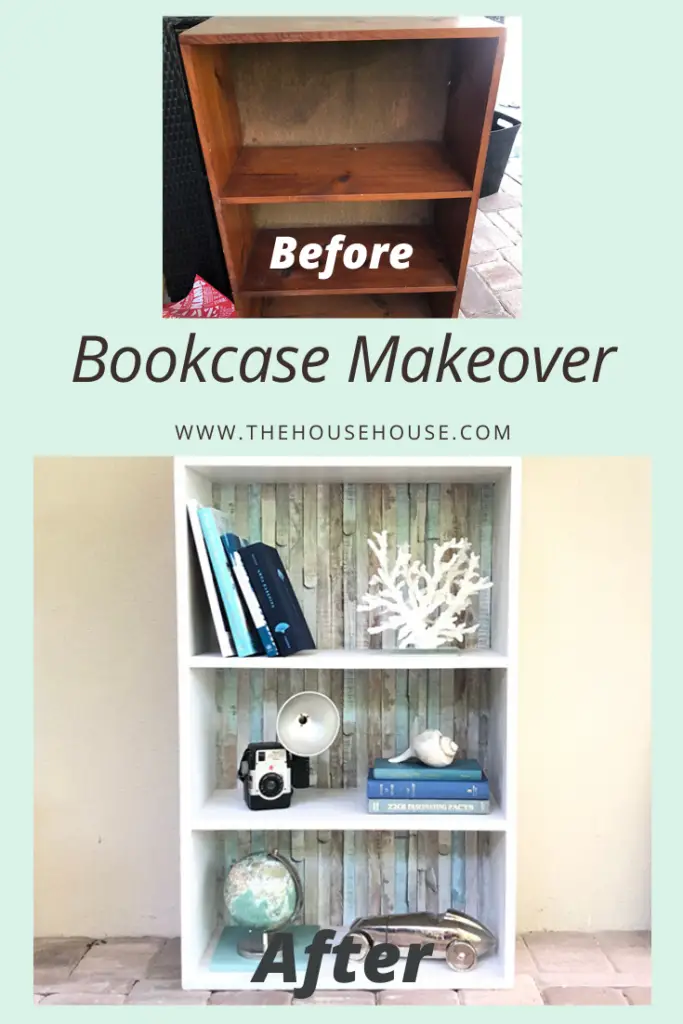
PIN FOR LATER…
Check out all my blogging buddies fun finds this month…
Emily from Le Cultivateur
Cindy from Cloches and Lavender
Danya from A Vintage Flare Farmhouse
Mariah from Worcester Run



12 Comments
Jodi, this bookshelf turned out so cute!!! I absolutely love the wallpaper that you used! Brilliant!!!
-Emily
Thank you so much, Emily!
This bookcase turned out so well, Jodi. I love the addition of the paper to the back of it. It gives so much character and pizazz!
Thanks, Tara. I have had this wallpaper for quite some time just waiting for the perfect project.
Jodi your thrift store find looks so pretty after you revamped it. Love the paper you placed in the back. Works perfect with your home’s decor. Great job styling the book case as well.
Thanks so much!
Jodi,
The paper you used for the back us beautiful! It adds so much to this piece.
We never find pieces at the curb until recently. Both gems.
Cindy
Thanks, Cindy! Isn’t it fun finding treasures?
It looks fabulous Jodi! Where so you get the plaster of Paris? I bet that saves a bunch mixing your own milk paint!
My friend gave me some but I think she got it at Home Depot.
Such a transformation and that little thrifted car is perfect!! You did an awesome job!
Isn’t that adorable? Only $5.99! Can’t beat that!