
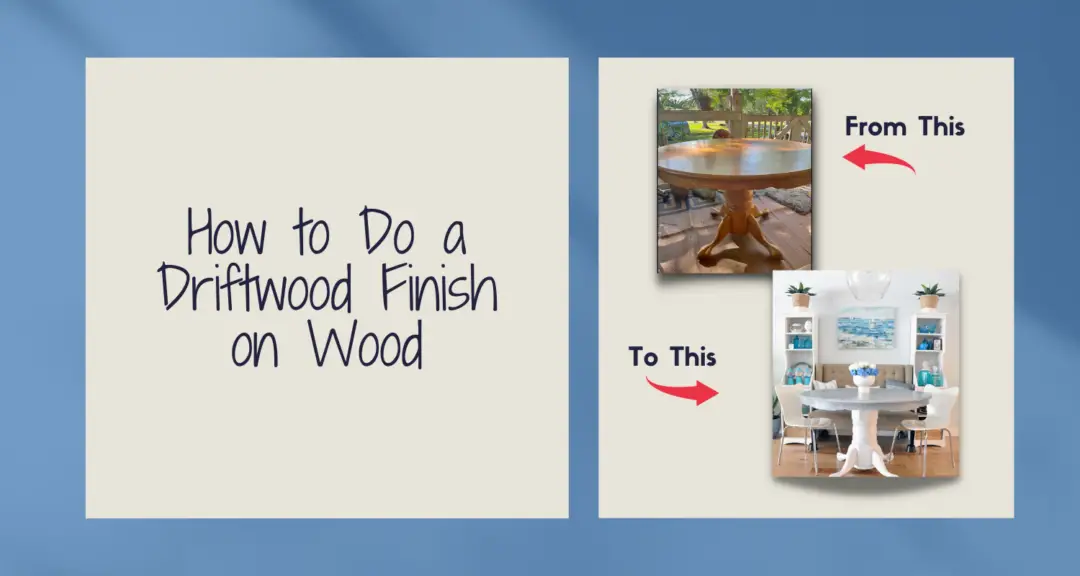
How to Do a Driftwood Finish on Wood Furniture
I am a part of an Instagram challenge called Spruced Up Spaces. We are a group of home decor bloggers and Instagrammers. The challenge this month is to Spruce Up an a piece of furniture in our home. This is right up my alley! I refinish furniture ALL THE TIME. This month I decided to do a tutorial on how to do a driftwood finish on wood furniture.
The winner of the challenge wins a $50 gift card to www.sprucedsurroundings.com. I will let you know if I win. Wish me luck.
You can see the results of my last challenges here.
Give me a follow on Instagram if you want to see all the participants in spruced up spaces. You can find me @thehousehouseblog
What piece of furniture did I makeover?
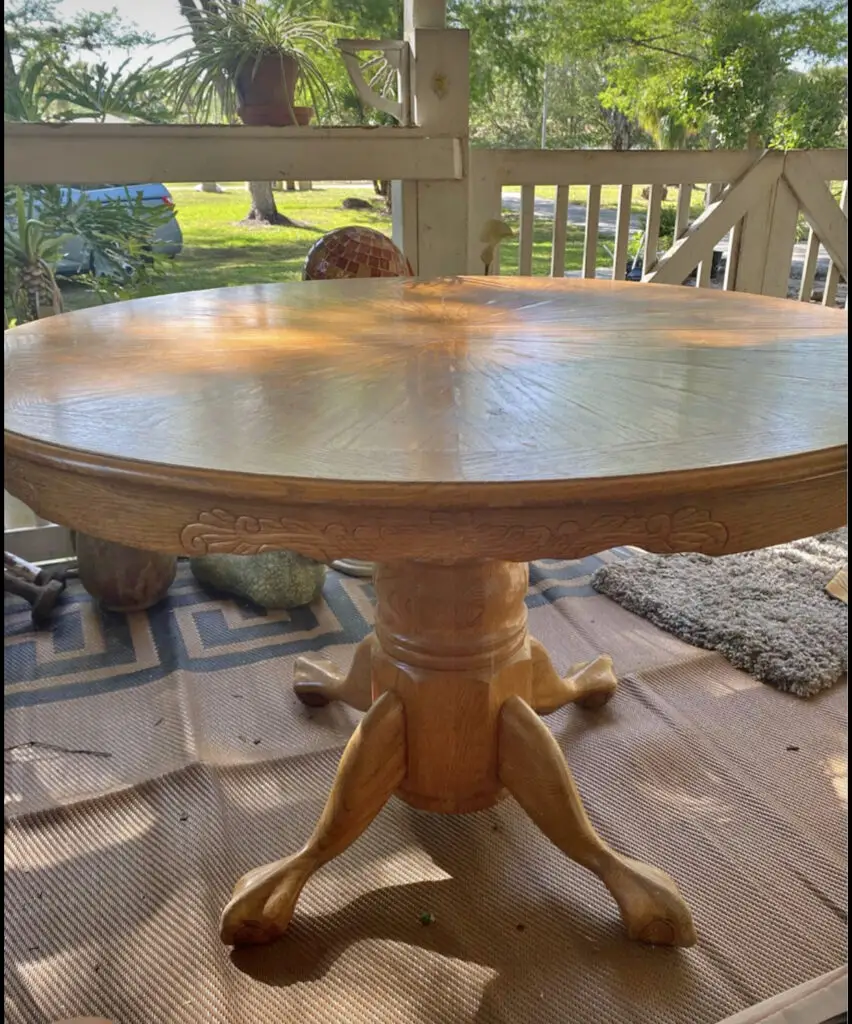
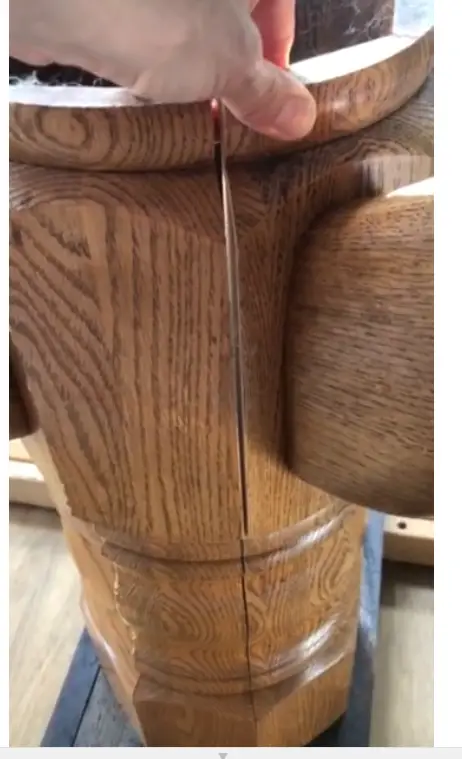
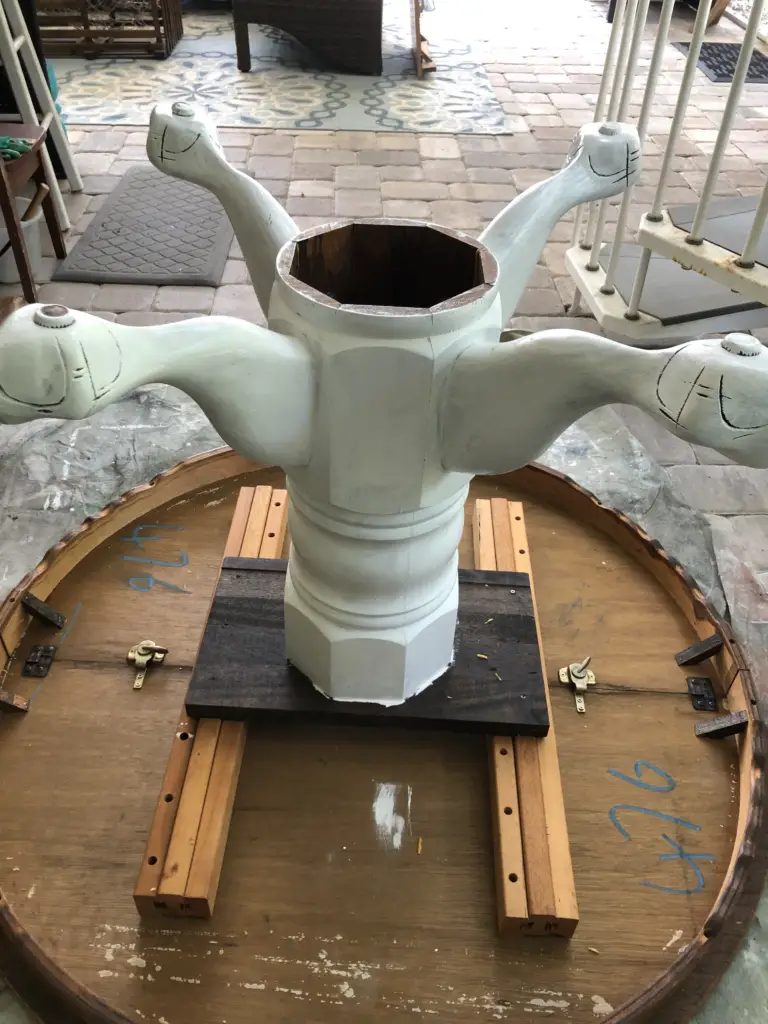
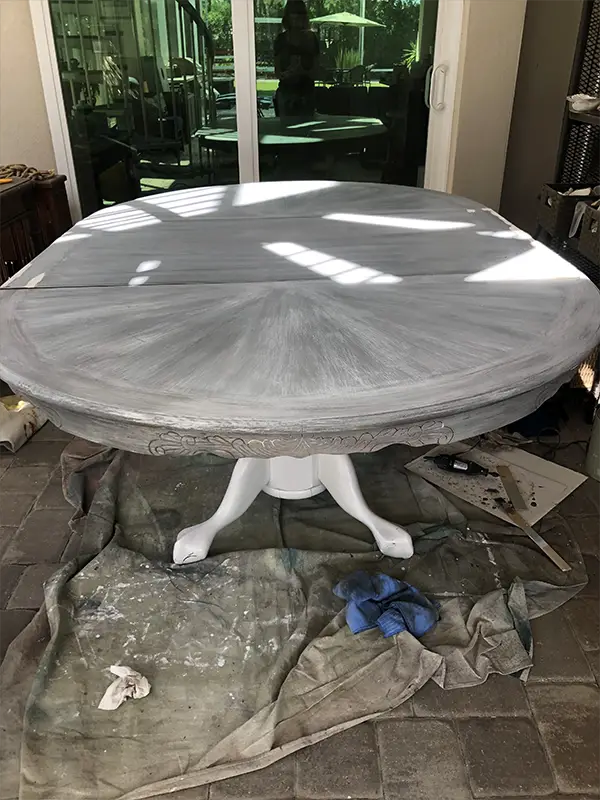
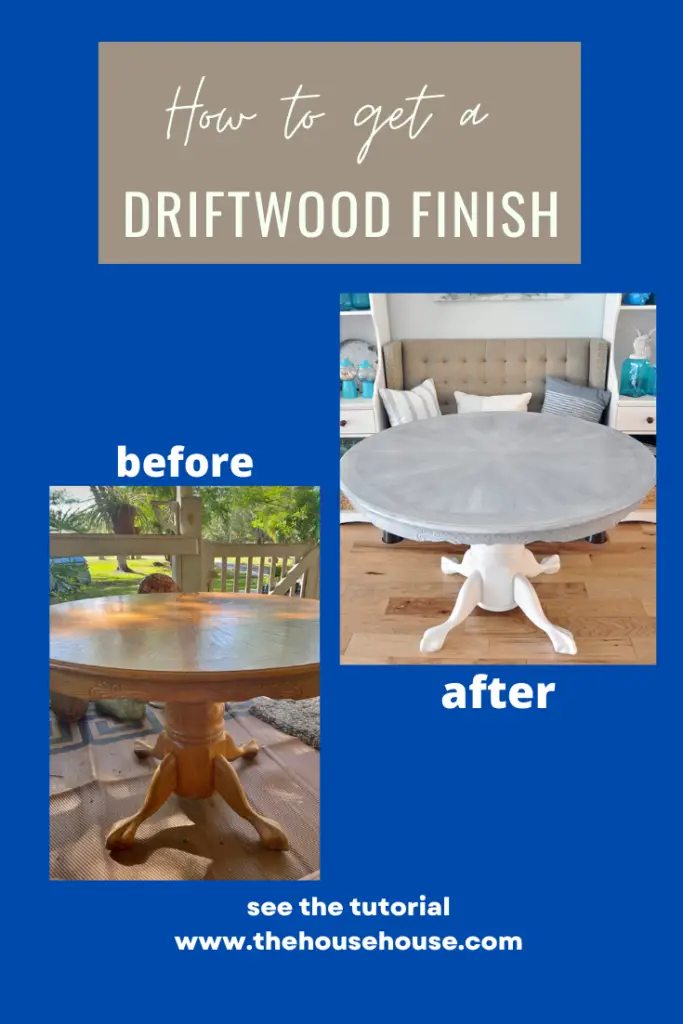
I found this dining table on Facebook marketplace for only $25. I liked the size and shape of it and thought I could give it a nice new look. It had seen better days though and was in pretty beat up shape. The base was splitting and needing repairing, and the top had some damage too, but I knew I could make it look better.
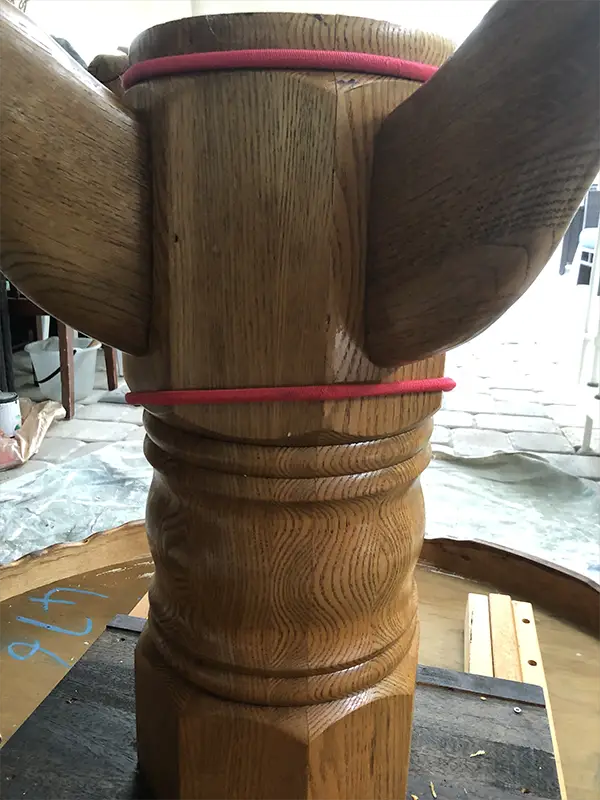
The first thing I did was flip the table over and repair the base. Using wood glue and wood paste I did the best I could to glue the pieces back together. Then I attached some tight bungee cords around it and waited for it to dry overnight.
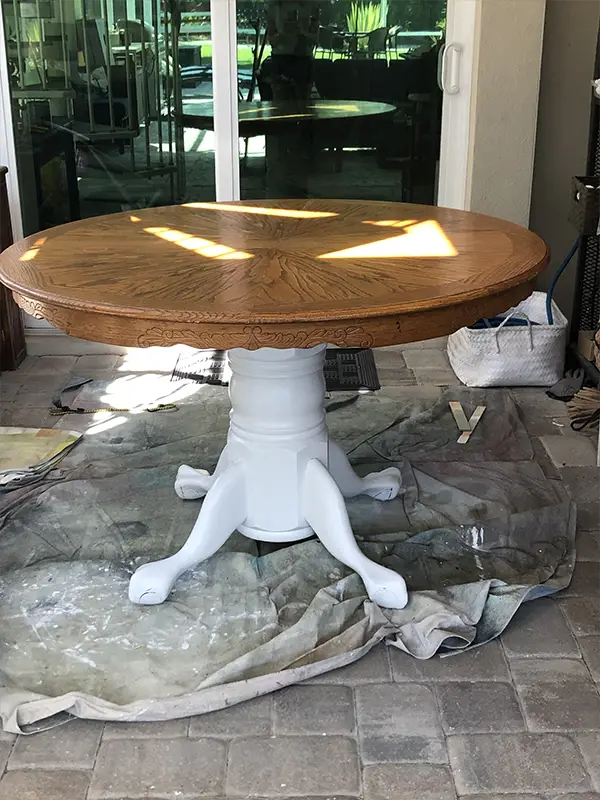
Next, I painted the base white using some furniture paint I had on hand. This took about 3 or 4 coats to cover. Once the paint was dry I applied a water based polycrylic to keep the paint from chipping.
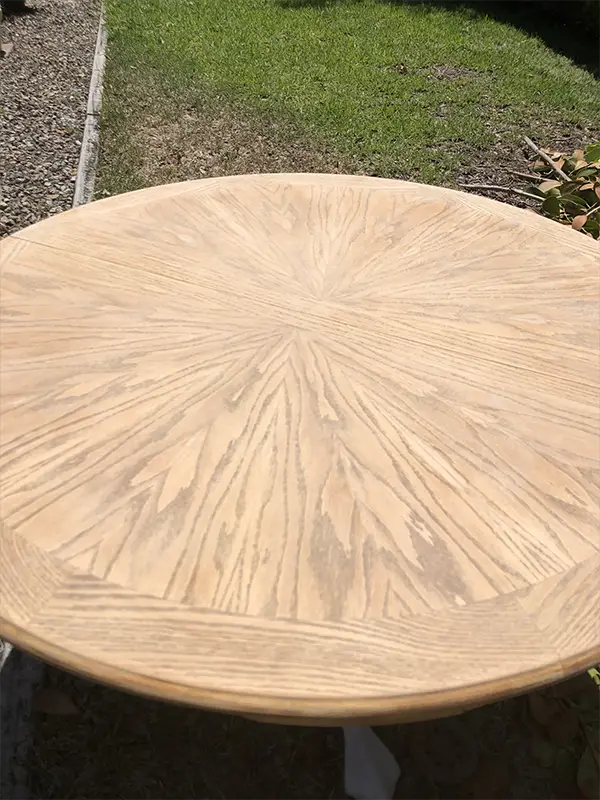
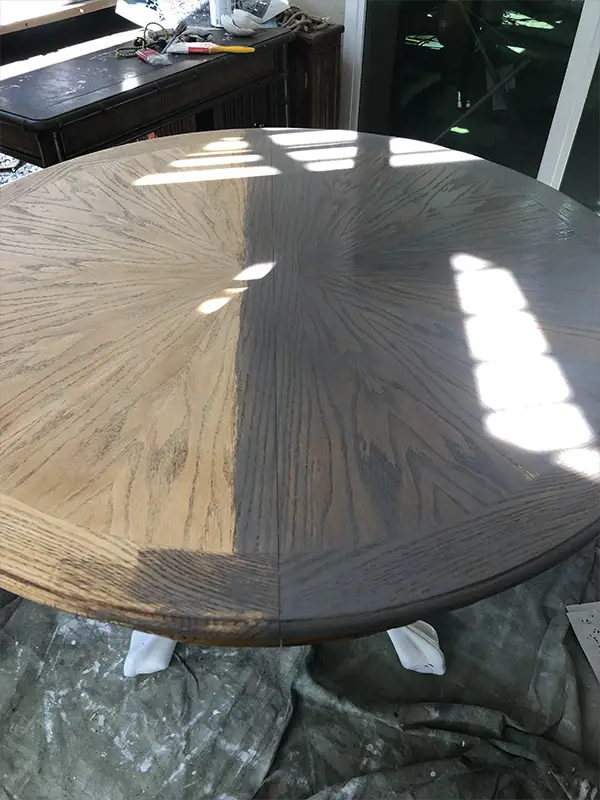
Next, I addressed the top. It had some damage so I started off by sanding the finish off as best as I could.
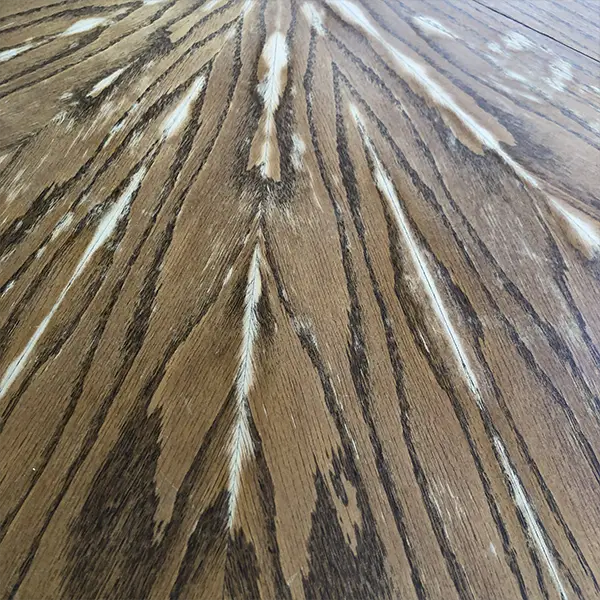
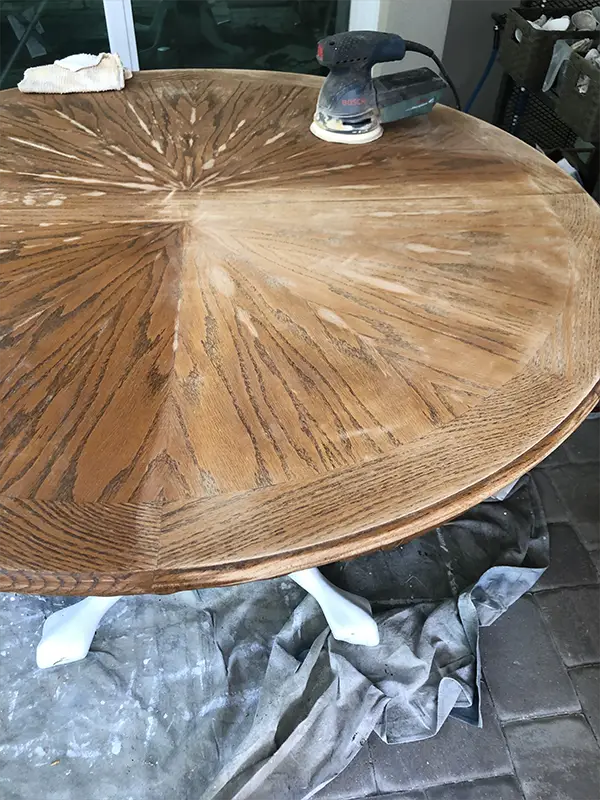
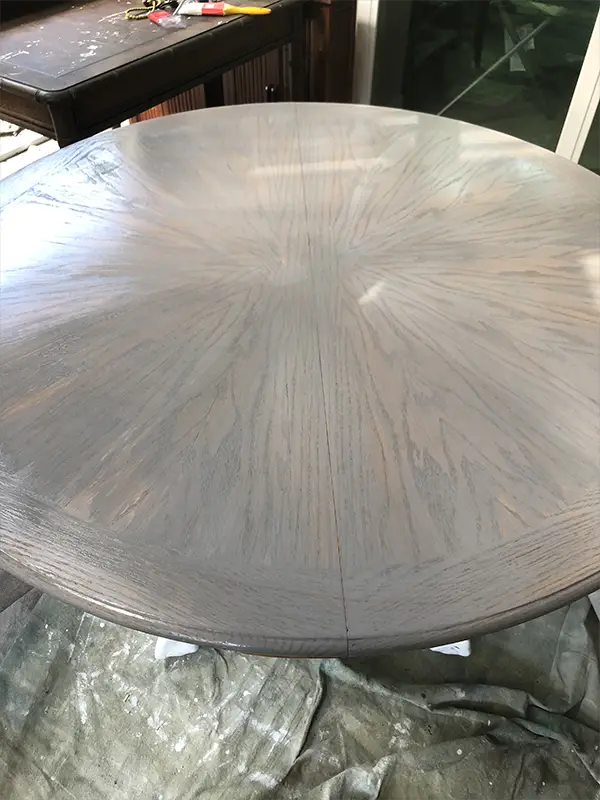
I brought it outside to complete the sanding process, then decided to use the bleaching technique. If you don’t know what that is, it literally means you apply bleach to your piece to lighten up the wood. The below right picture is after 2 or 3 coats of bleach. Looking back, I wish I had kept going. I later learned that it sometimes it take 5 or 6 coats of bleach to get the look you want. I didn’t wait that long. I also learned that there is a 2 step bleaching product that you can purchase on Amazon for this purpose. I used simple household bleach. Once you are done bleaching you need to wipe down your table with water and some vinegar.

What now? How did I get the weathered, driftwood look?
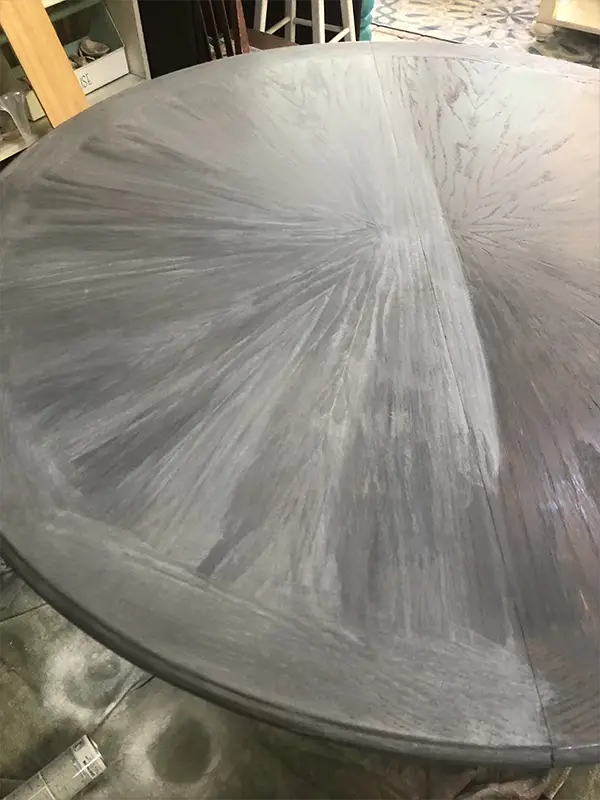
Instead of leaving the table alone, I took it a step further. I had some gray stain in the garage that I used on a previous project and thought I would try giving it a gray, whitewash, driftwood, coastal look. Here is how.
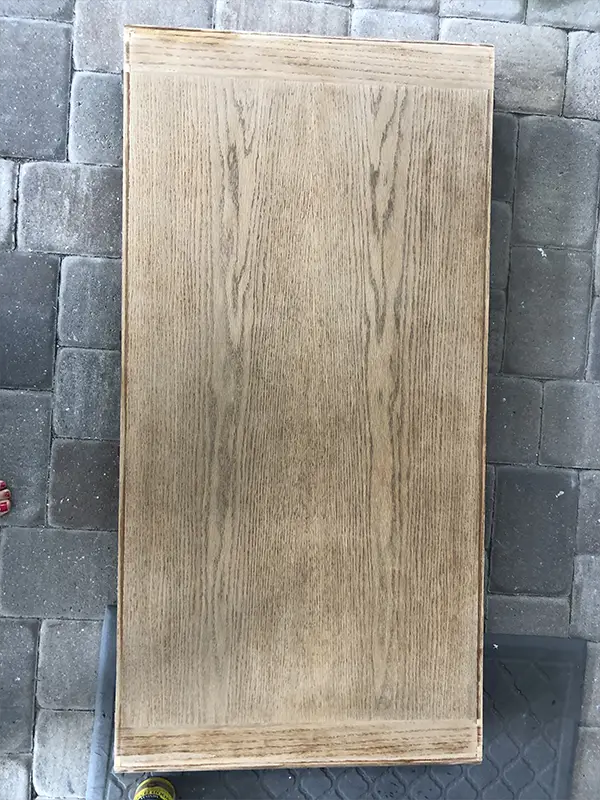
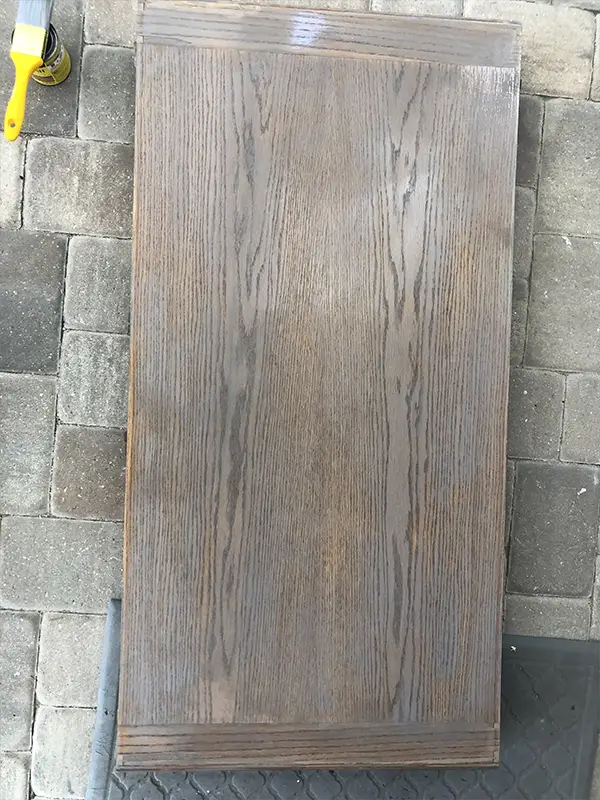
I thought I would use the leaf as my ‘test piece’ to achieve this look. The leaf, by the way, wasn’t in great shape. I had to use a lot of wood glue where the siding was coming off. I figured if I screwed up the leaf I could always get rid of it. Anyway, I started by using the gray stain first, applying a light coat, waiting a few minutes and then wiping it down. I did this several times until I was happy with the color.
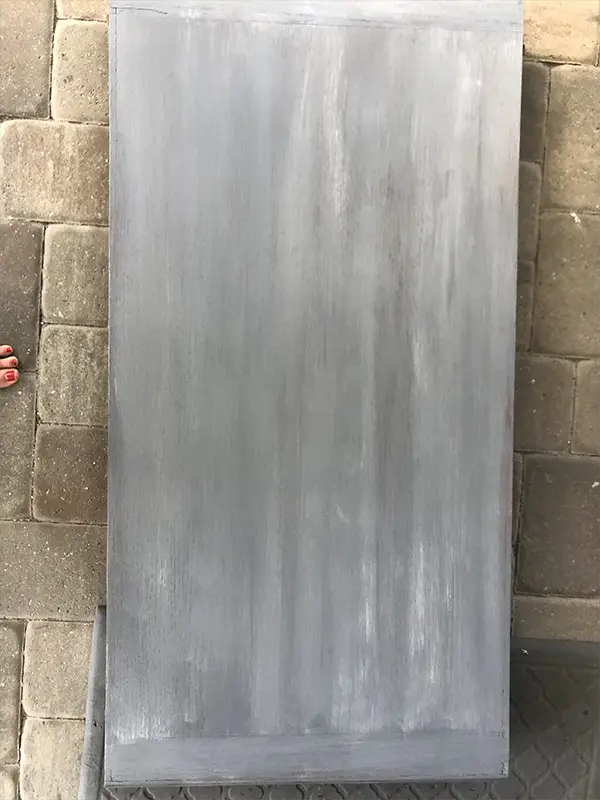
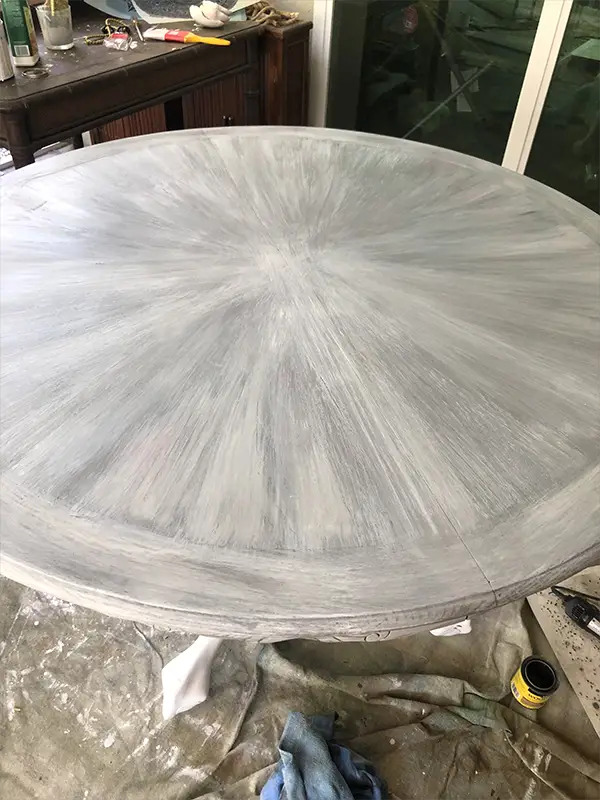
Then I took a paint brush and lightly brushed some white paint over the top and rubbed it in, giving it a old, driftwood, coastal feel. I keep repeating the process until I was happy with how it looked.
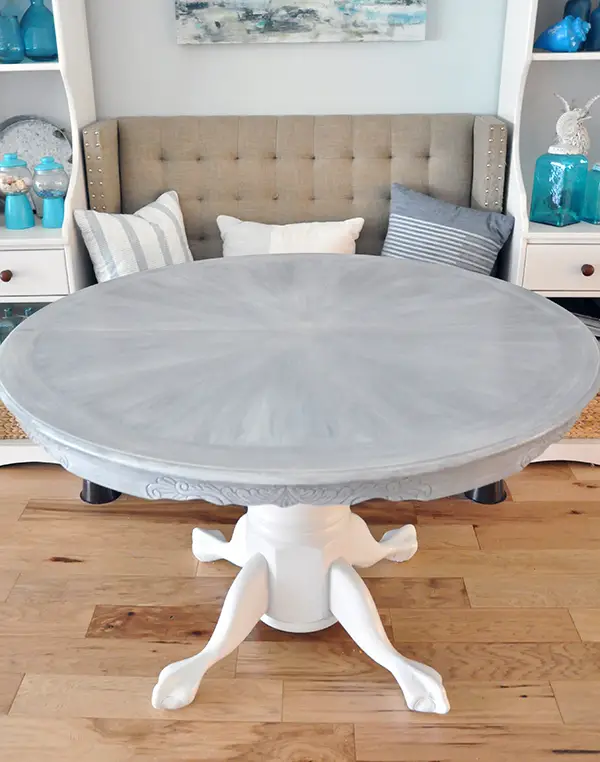
Then I worked on the top of the table, using the same process. This took forever, as the stain took a while to dry. Basically you just keep layering and layering until you love it. Once it is dry, be sure to use several coats of Polycrylic to protect the finish from chipping. Once it was all done, I took it inside my home to photograph it.
Here are the final results.
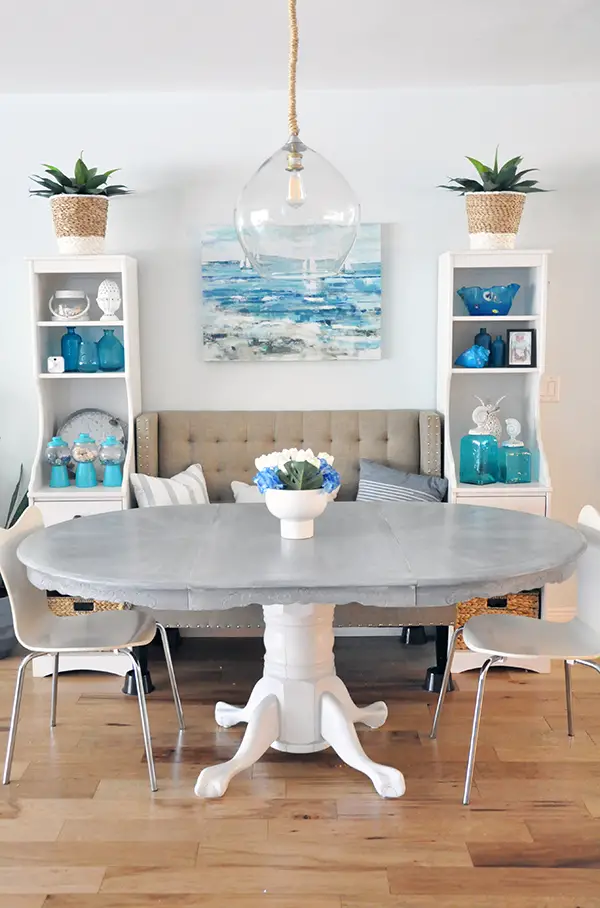
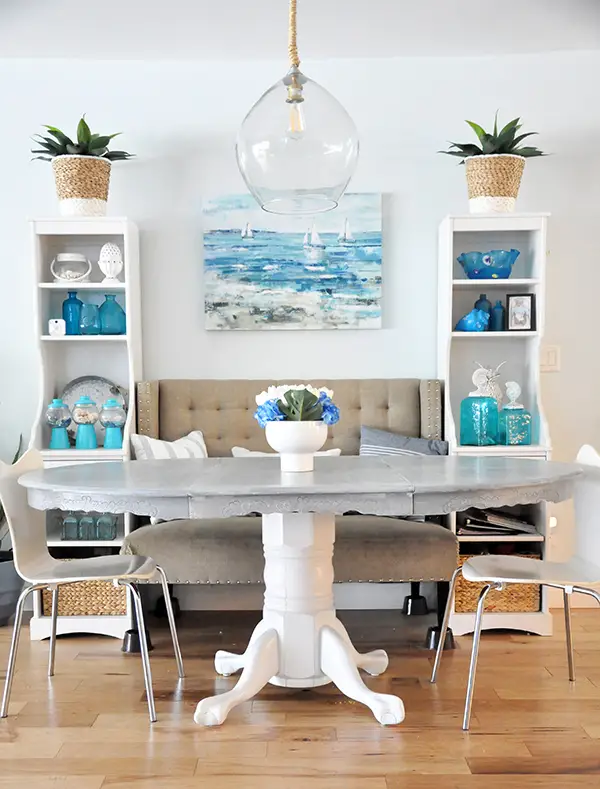
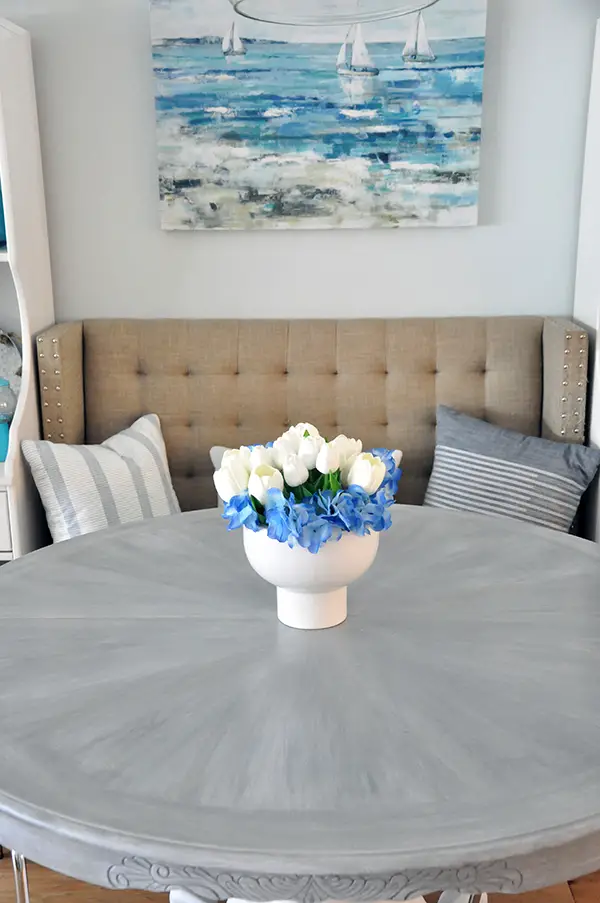
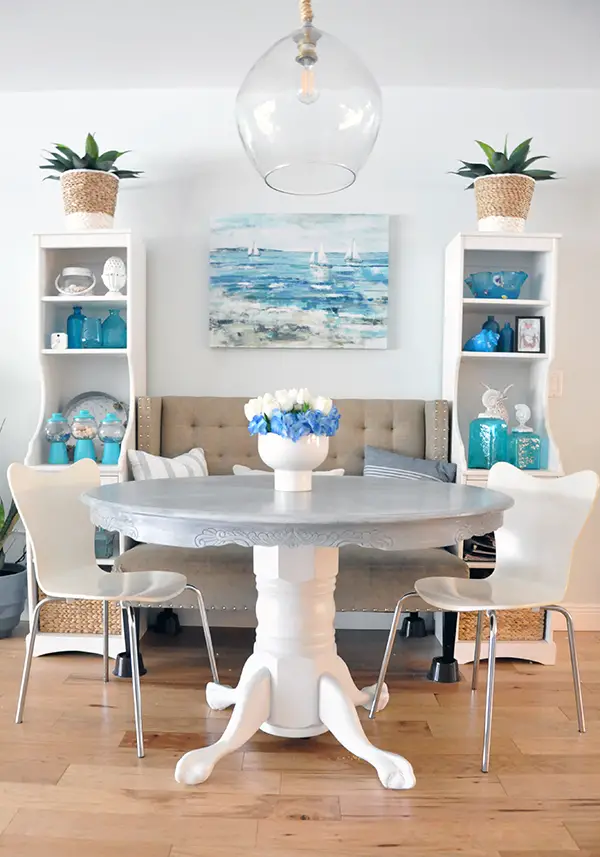
This piece already sold on Facebook for $175.
PIN FOR LATER…

2 Comments
Very attractive and I love the blue accents
Thank you so much!