
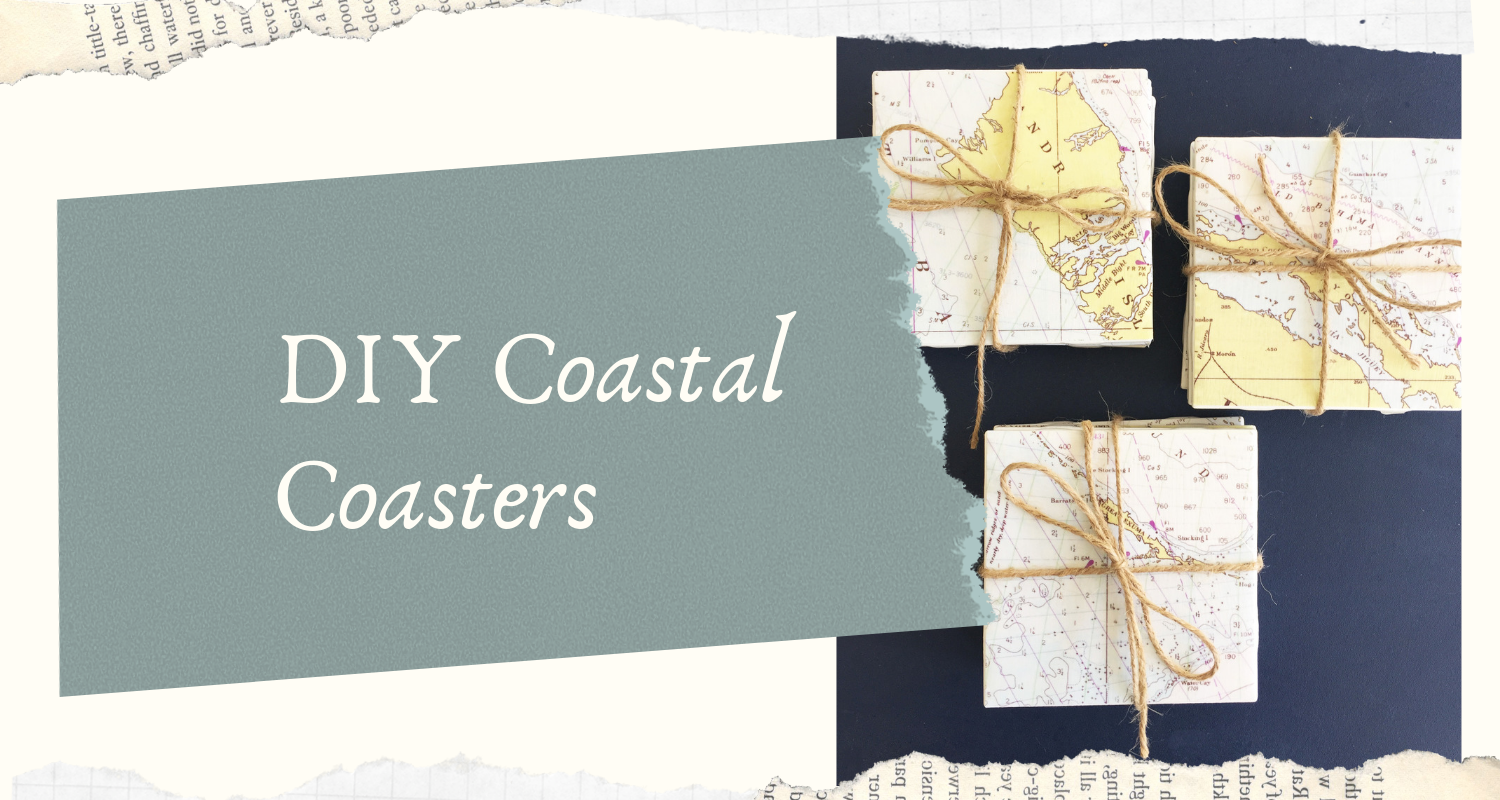
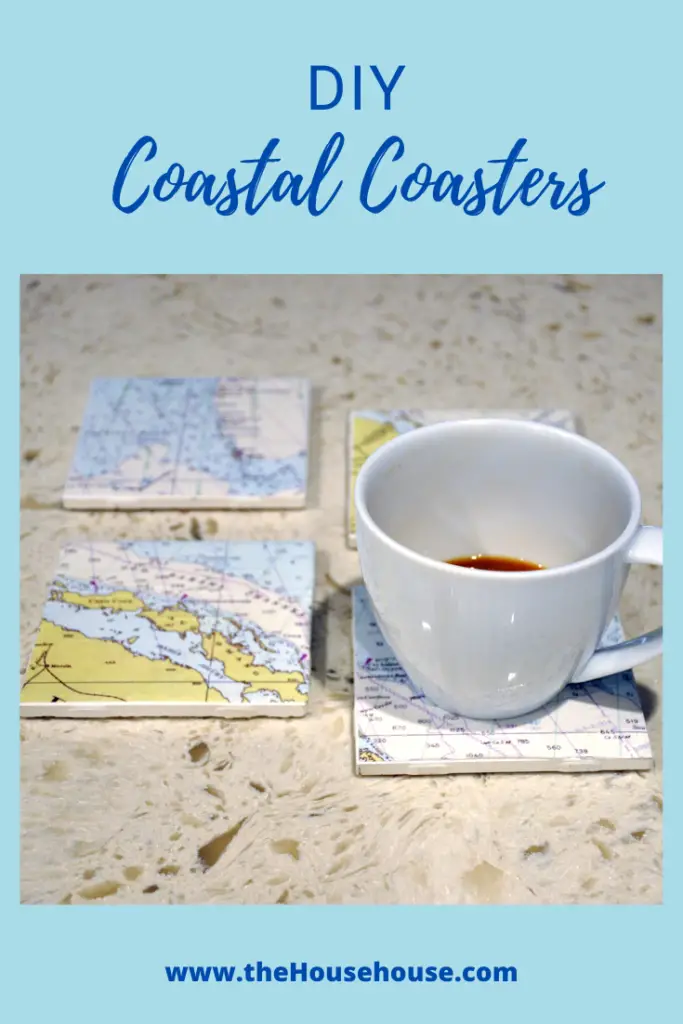
DIY Coastal Coasters
Remember a few months ago when I redid this old end table? If not, check it out. I applied some nautical map wrapping paper to the top of the table for a coastal look, and had lots of the paper left over. I’ve been wanting to use it for something….but, hmmmm….what to do with it? I was on Instagram one day recently and saw a post from someone I follow about some coasters they made, and I thought, bingo, that’s it! DIY Coastal Coasters (say that 5 times fast!!) is what I’ll do!
There are lots of tutorials already on Pinterest on how to make these. Here is my version.
Here are the materials you need for this project and the steps you need to do to complete it.
This post contains some affiliate links for your convenience (which means if you make a purchase after clicking a link I will earn a small commission which helps keep my blog up and running but it won’t cost you a penny more)!
Materials Used for this Project…Nautical Map of Bahamas wrapping paper |
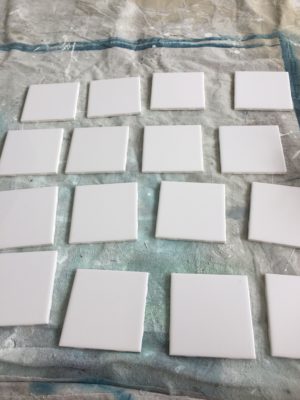
I bought the tiles at Home Depot for $.08 cents a piece! I think they were supposed to be $.64 each or maybe $.64 a square foot? Whatever the case, I wasn’t complaining.
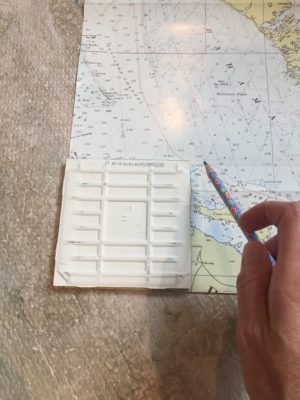
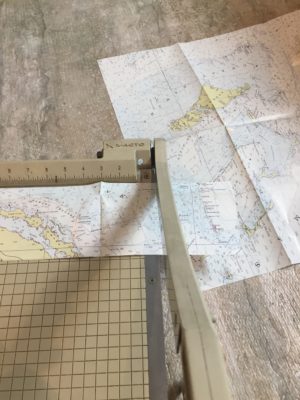
Step 1…Cutting the paper…
First I traced the tile onto the paper and then used my paper cutter to cut it down to size. I was making 16 coasters. You can use just plain old scissors if you don’t have a paper cutter.
Obviously you could use any type of paper for the top. It does not have to be a map of the Bahamas, or a map at all. Use what you love.
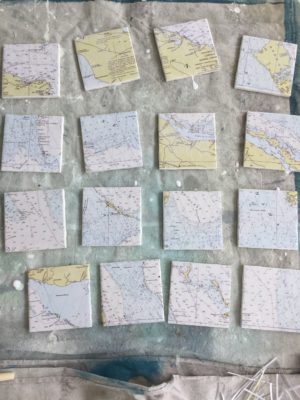
Step 2…Glue the paper to the tile…
I used my foam brush to put a layer of Mod Podge on the tile and carefully stuck the pieces of map onto the tile. This stuff is pretty sticky so line it up first and then press it down. It is not easy to peel off and re-stick if you make a mistake. Once stuck to the tile, use a roller or credit card to smooth out any bubbles.
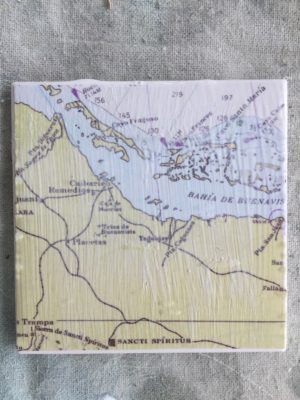
Step 3…Mod Podge the Top…
Once they are all glued down, apply at least 2 more coats of Mod Podge to the tops of the coasters. This’ll seal and harden them up and protect them from any moisture. Here is what it looks like when the Mod Podge goes on, but don’t worry, it dries clear.
Step 4…Apply the Cork to the Bottom…
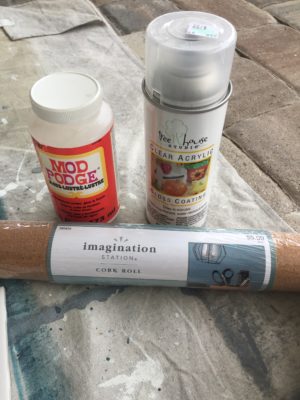
I bought this self adhesive Cork Roll for the bottoms of the coasters, but have also seen tutorials that have used felt. Either would work, but I thought the cork looked more nautical and would hold up better if it got wet. I cut these down to size and then stuck them on the bottom. Easy Peasy!

Step 5….Finish them off…
Last step is to spray a top coat (or two) of this Clear Acrylic Gloss Coating. This stuff dried in minutes but I waited a few hours before I tied the twine around them.
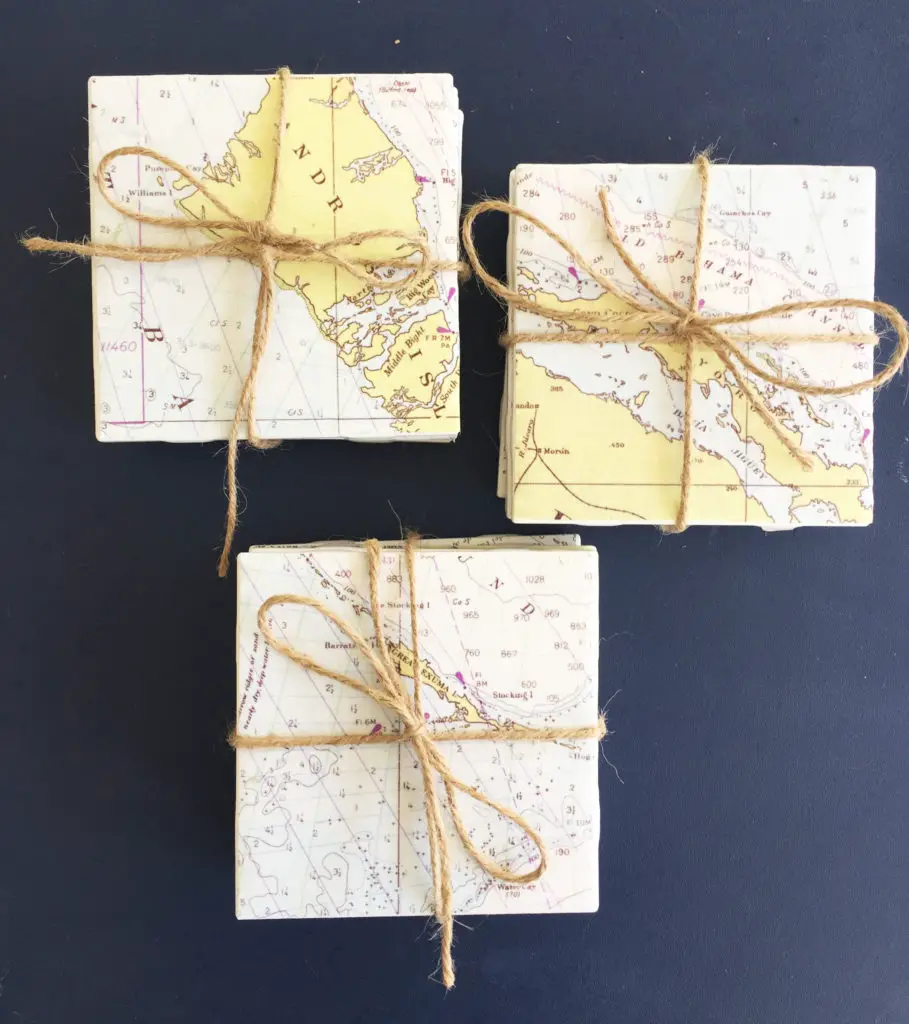
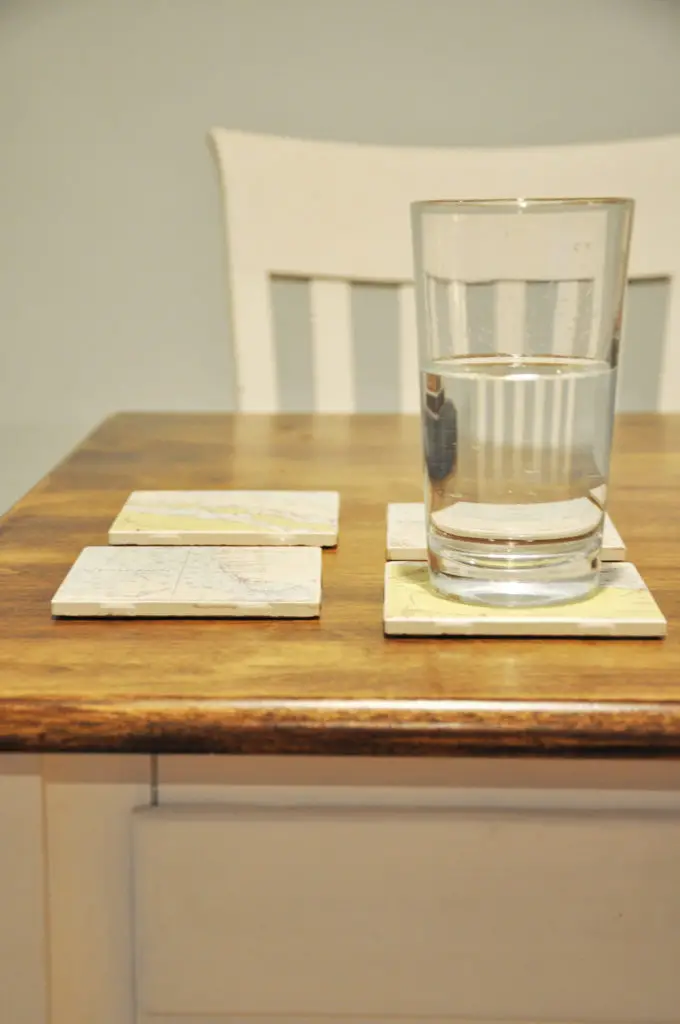
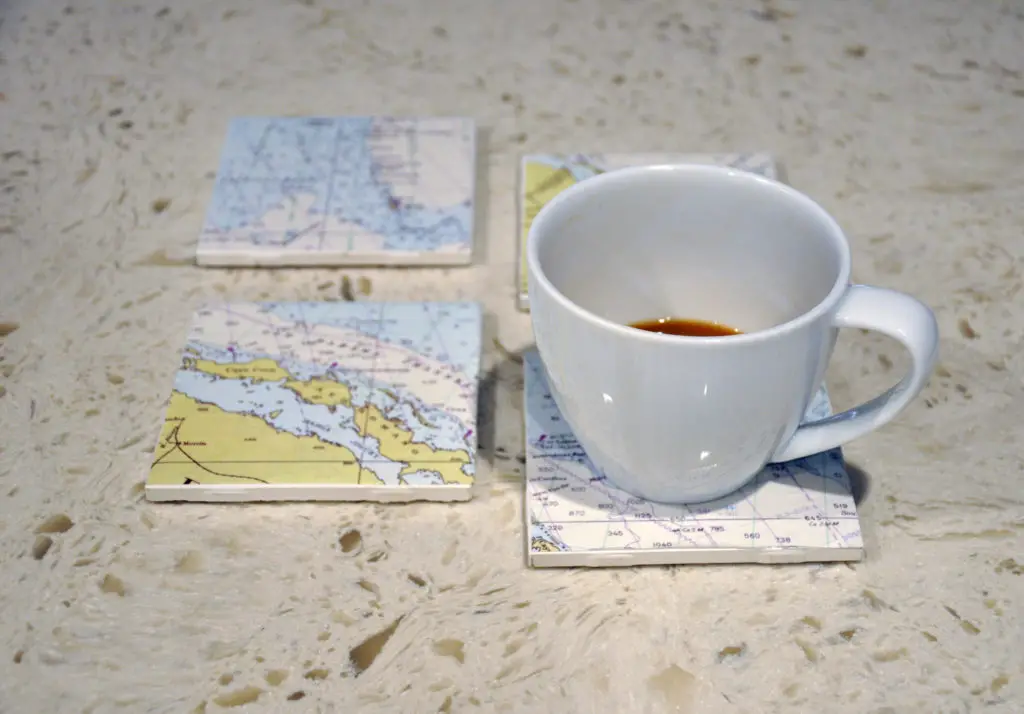
That is it. Simple, easy and cheap to make. These are going to make great end of year teacher gifts!
Looking for more DIY ideas? Check out DIYIdeaCenter.com.
PIN FOR LATER…

No Comments