
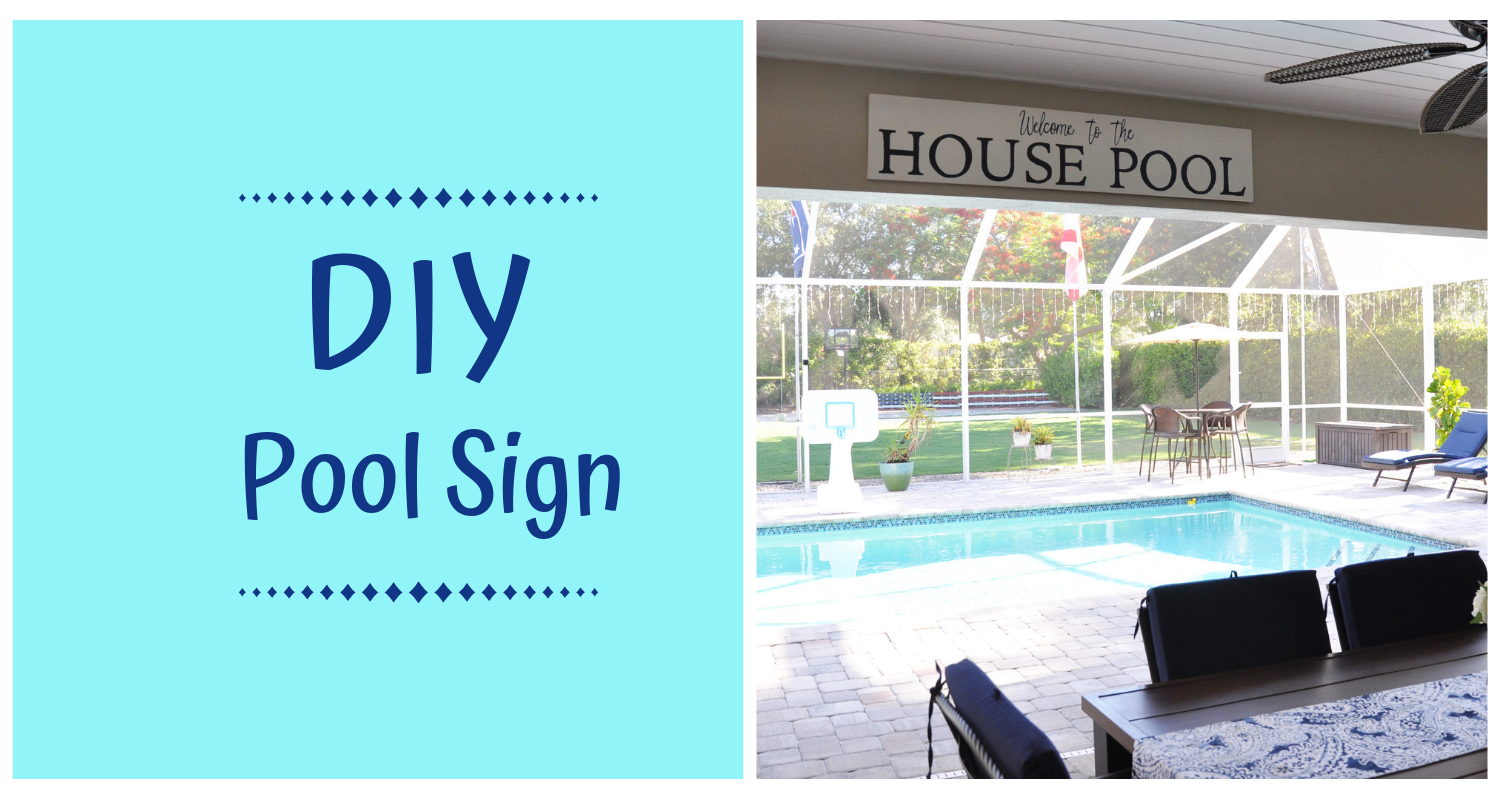
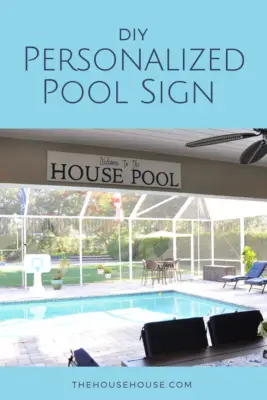
DIY Personalized Pool Sign
With a last name like House it is easy to use it in a play on words. Just like this blog….the House house (since our last name is House and it is all about our house? Get it? 😉 ) I had this piece of wood from a previous project in our garage and decided to use it to make a DIY Personalized Pool Sign for our pool area. I contemplated so many different name options for this sign. I thought about,
Welcome to the
Pool ‘House’ (with the word House in quotes)
or just,
The House Pool
or
Relax at the House Pool
and a few others too…
Ultimately I decided on
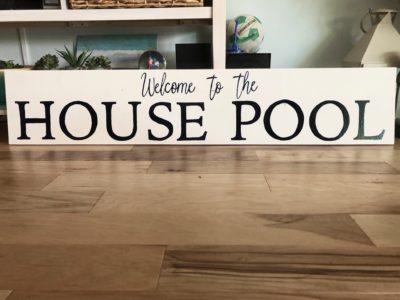
Welcome to the
House Pool
Kinda boring I know, but it works.
Anyway, here is a tutorial on how I made a DIY Personalized Pool Sign and the materials used to make it.
PS – It is so simple!
This post contains some affiliate links for your convenience (which means if you make a purchase after clicking a link I will earn a small commission which helps keep my blog up and running but it won’t cost you a penny more)!
Materials Used in making a Pool Sign1″ x 12″ x 4′ wood |
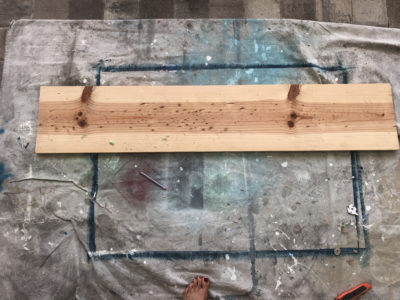
Step 1, Clean and Paint
I already had this piece of wood in my garage from another project. It had been used as a bench top before and had a cushion on it, so there were left over pieces of fabric and foam on top. Naturally, the first thing I did was cleaned it all up. Next, I painted it white (using leftover paint I had in my garage from the One Room Challenge I participated in).
If you don’t happen to have a piece of wood laying around in your garage, you can get one just like this at any hardware store. This one is 1″ x 12′ x 4′.
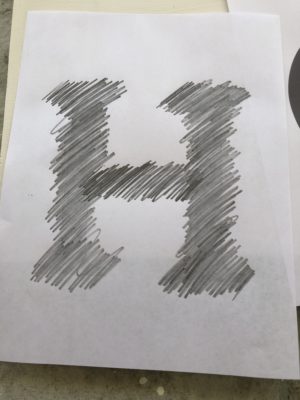
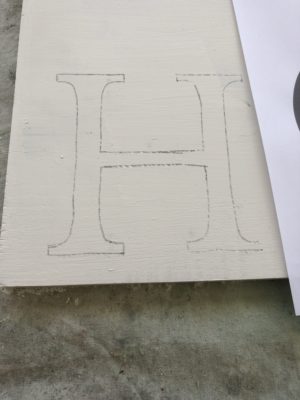
Step 2, Transferring the Letters
I used a font called Iowan Old Style for the words House Pool, and Tatima Regular for the words Welcome to the. I printed each letter on regular paper from my computer so I could then trace them onto the wood. I just flipped them over, scribbled all over the letter, then flipped them back over and traced them carefully so the pencil transferred to the wood.
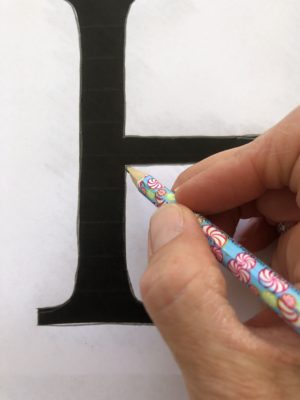
Step 3, Paint the Letters
Once the letters were all traced out, I used a navy blue paint pen to fill them in. I made some mistakes, but was able to fix them using a small paint brush and the same white paint as the background. Not shown here, but I used the same technique for the words Welcome to the.
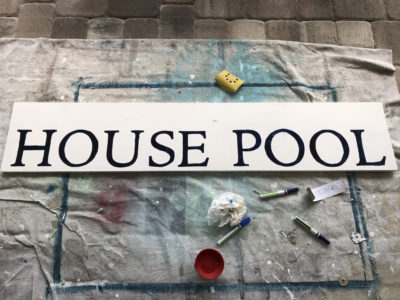
And here is the finished product!
Step 4, Top Coat for Protection…
Apply a top coat of either polyuerthane, or, I used this Clear Acrylic Finish Spray (cause I had some left over in the garage).
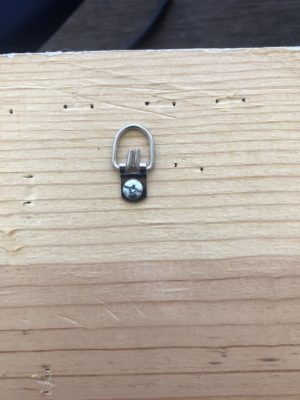
Step 4, Hang it Up…
We added these hooks on the back to hang it up. My husband and I measured where it was going to hang and then he drilled screws into the stucco for me. He just loves all my projects. lol!
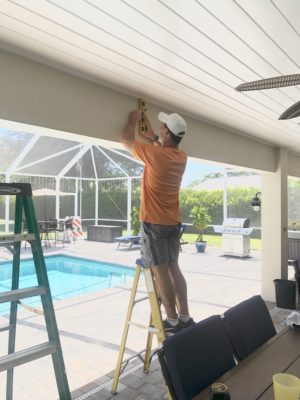
Here it is, all hung up and purrrty.


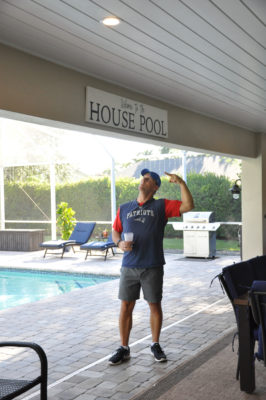
Lastly, a couple of goofy pics of my husband and I.
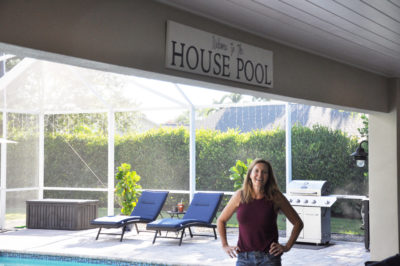
And there ya have it. The only thing I had to purchase for this project was the paint pens. It’s not perfect, but not half bad either! What do you think?
PIN FOR LATER…

No Comments