

Thrift Store Challenge – Globe Pendant Light
I have been invited to participate in a Thrift Store Challenge with some fun and very creative bloggers! Links to all their blogs and their amazing projects are listed at the bottom of this post. Please check them out. For this challenge, we did not have a theme or any budget (but try to keep it as budget friendly as possible). Just buy something from a thrift store and spruce it up, paint it, etc. and do what you wish with it.
See all my Thrift Store finds here.
Here is what I came up with this month.
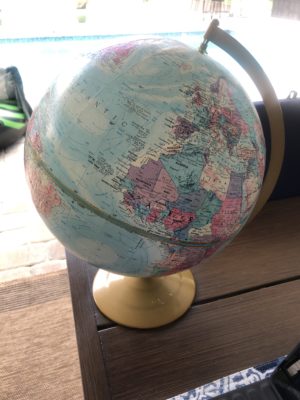
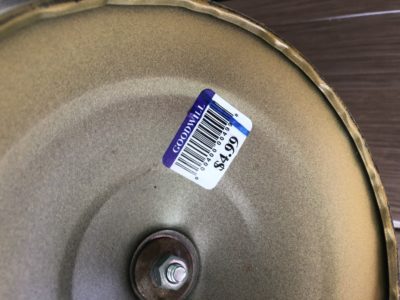
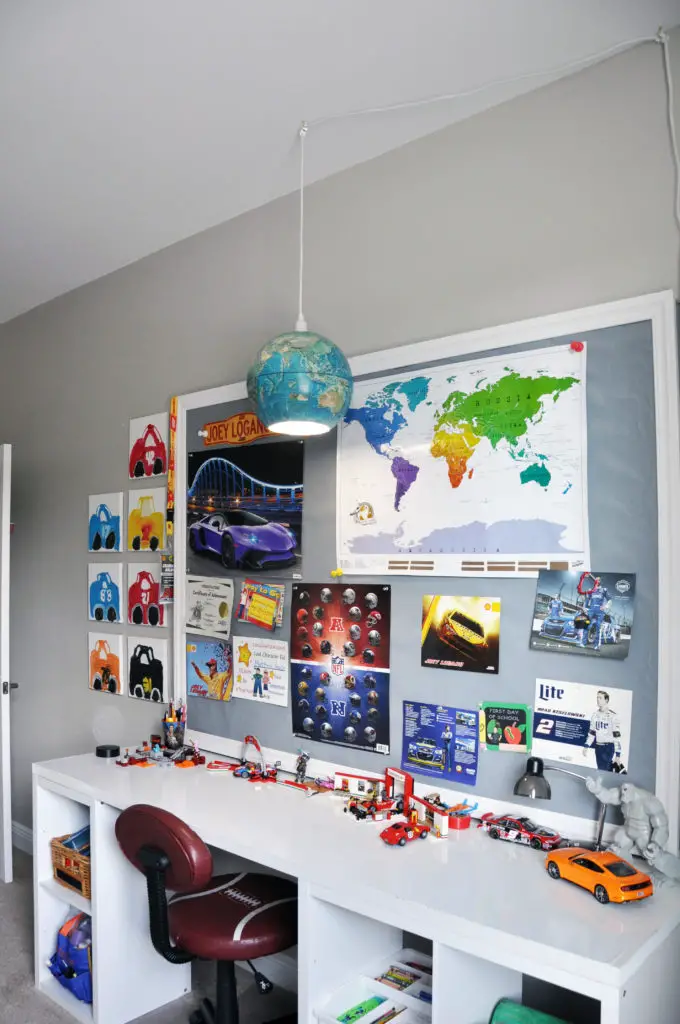
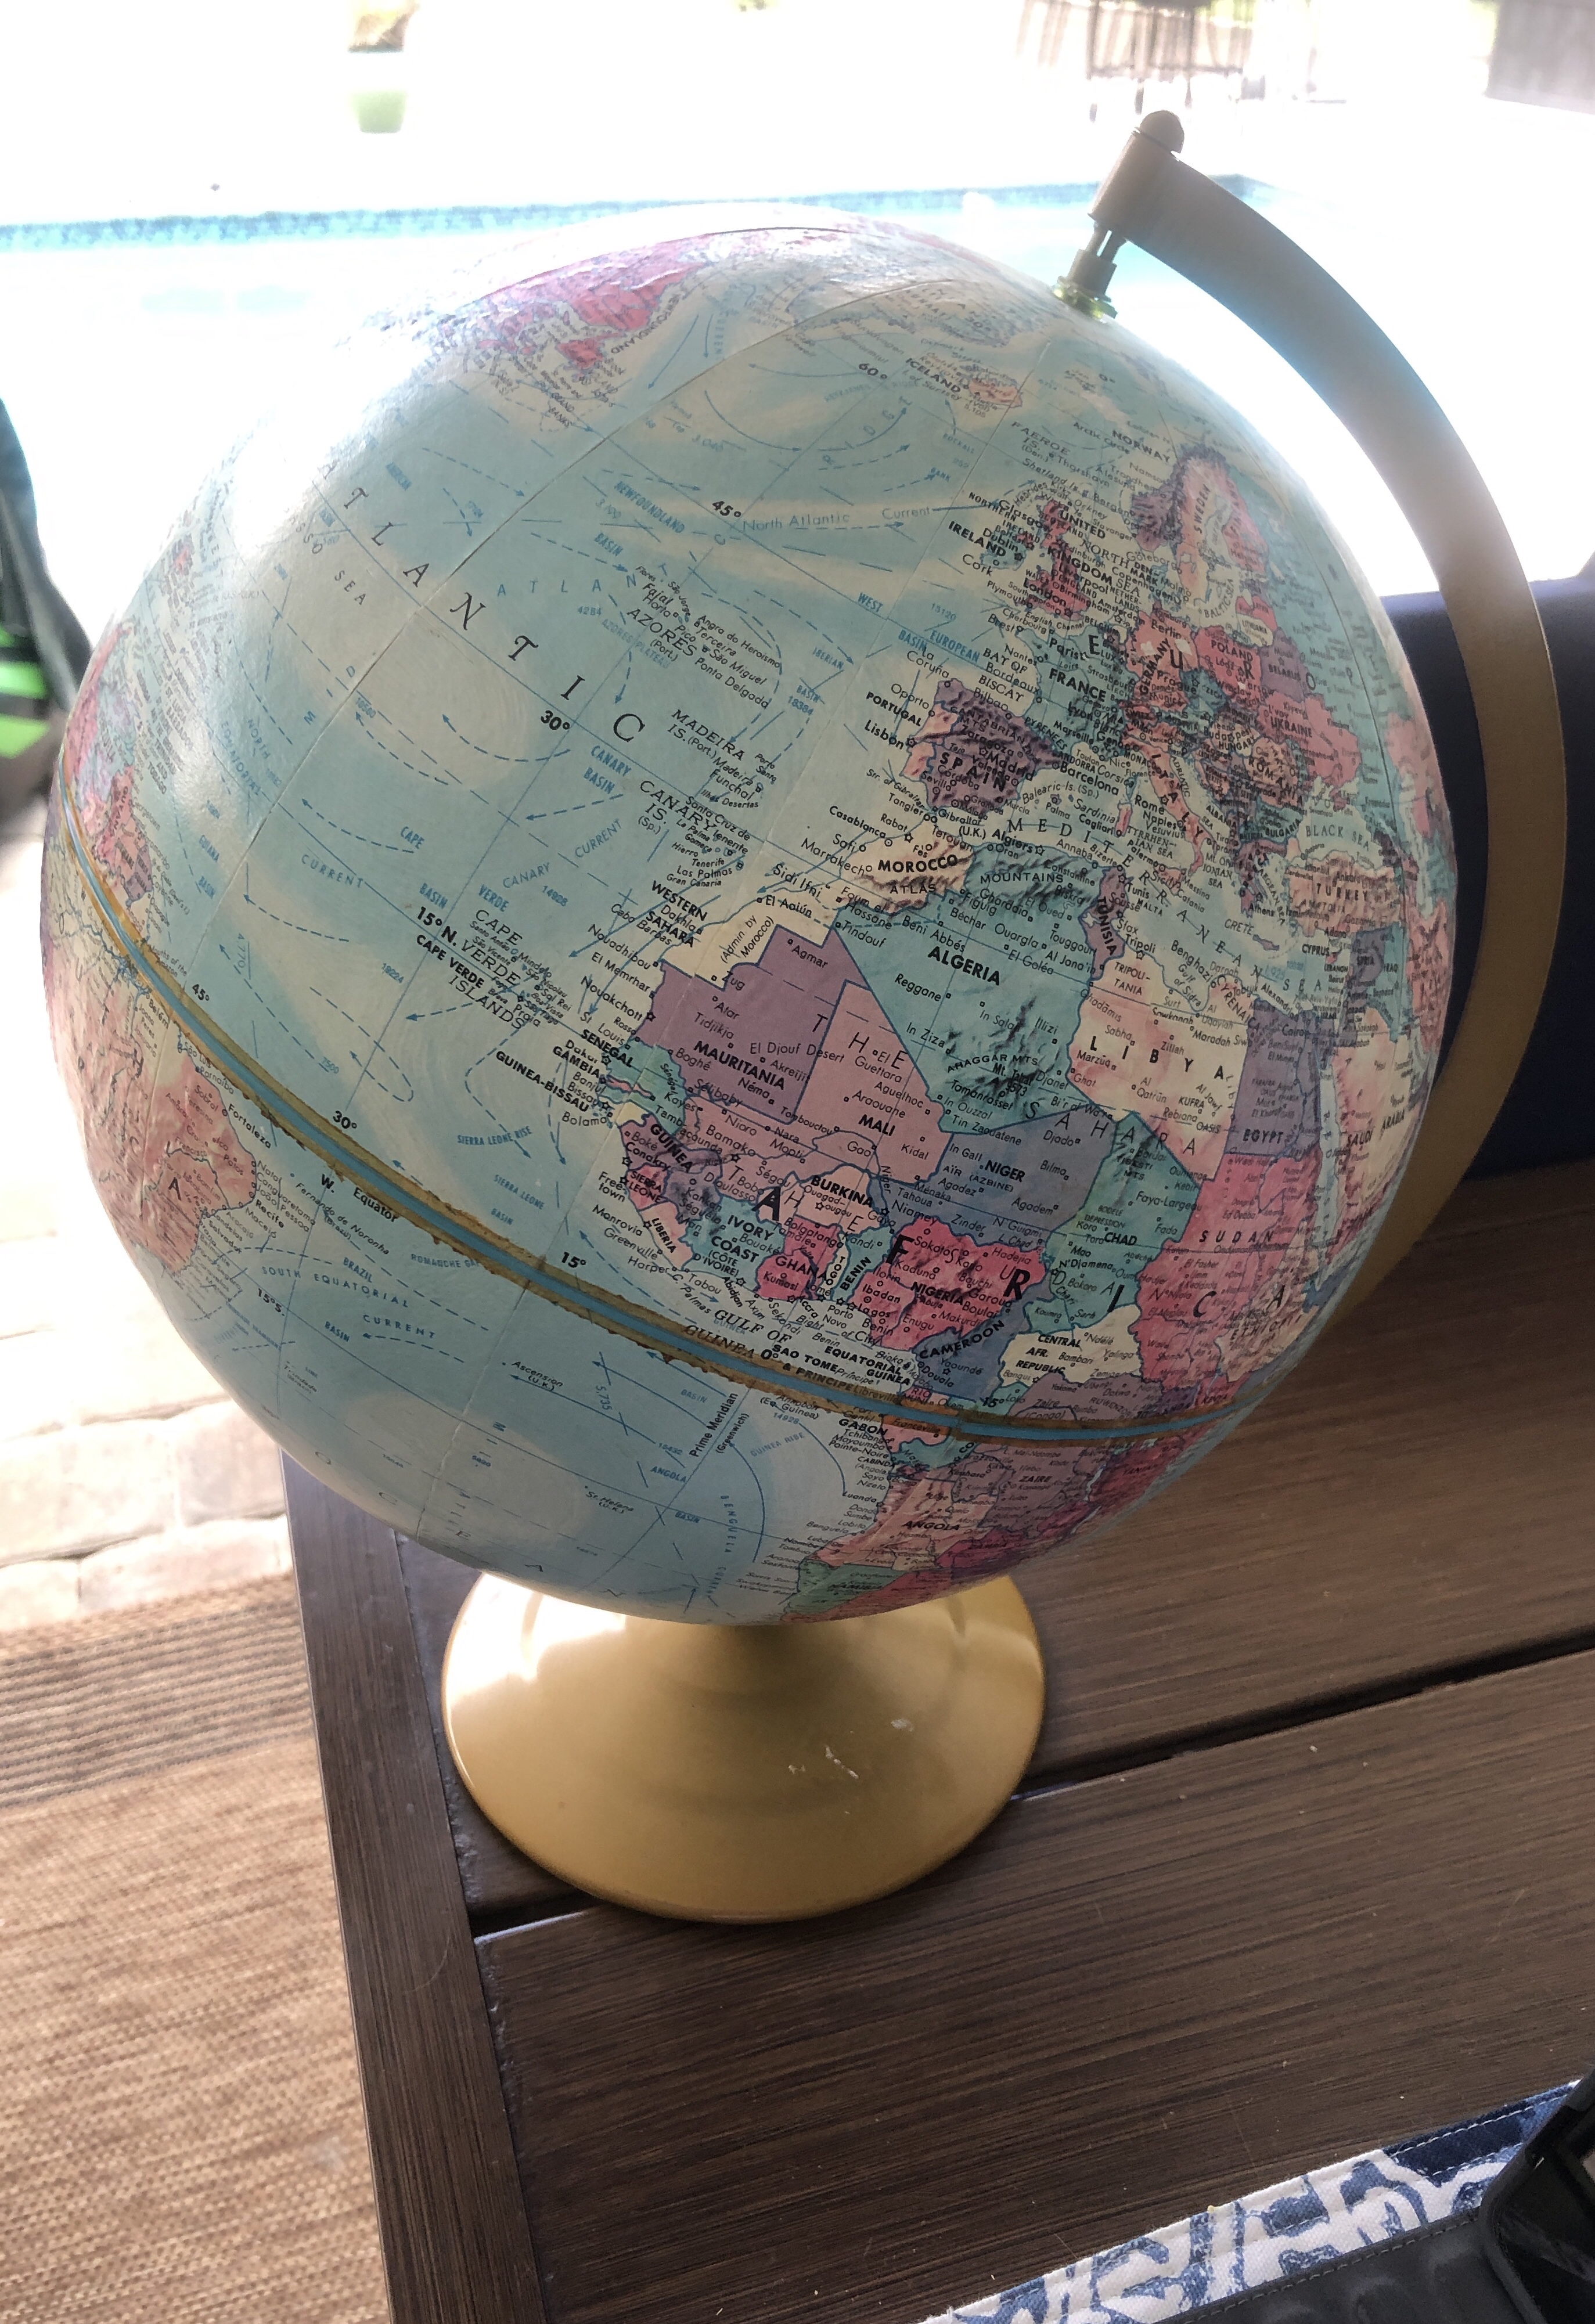
I have seen these Globe Pendant Lights on etsy and love them. I’ve always wanted one for my boys rooms so when I found a globe on the thrift store shelves for $4.99 I knew I had to try making one. And guess what? It was super easy.
Here are the materials used and the steps to make one for yourself.
This post contains some affiliate links for your convenience (which means if you make a purchase after clicking a link I will earn a small commission which helps keep my blog up and running but it won’t cost you a penny more)!
Materials Used – Globe Pendant LightGlobe found at the thrift store Exacto knife Swag Light Kit or this one from amazon Spray Paint Sand paper |
The only thing I had to purchase for this project was the Swag Light Fixture, which cost me $9.99 at World Market. They also sell these awesome ones on Amazon. Everything else I had in my garage.
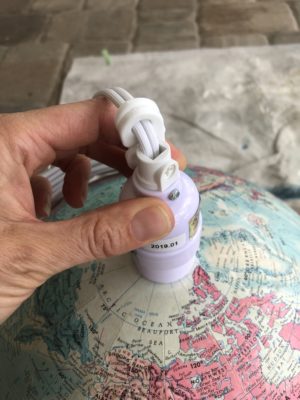
Step 1 in Making the Globe Pendant Light…
Take the metal piece off. I thought this would be harder, but I just gave it a good tug and off it came!


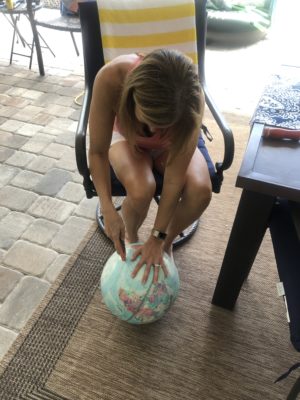
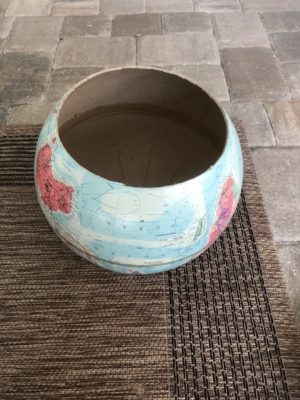
Step 2 in Making the Globe Pendant Light, Cut the Globe…
Use your exacto knife to cut off the bottom piece (you could also cut it in half and make 2 – mine had a piece of metal in the middle making it to hard to cut). Luckily the globe already has latitude lines right on it, so all you have to do it trace along one of those lines with your knife! So easy. Make sure your blade is nice and sharp and make sure you are CAREFUL.

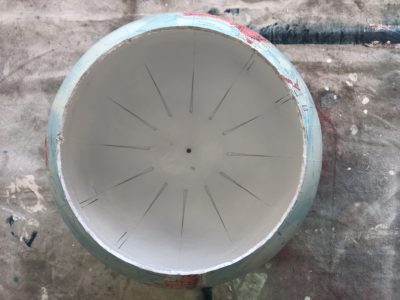
Step 3 in Making the Globe Pendant Light, Paint the inside…
Next, I sanded down any rough edges and then spray painted the inside white. You can also use craft paint for this step, and I actually wish I had done that since spray paint smells so bad!
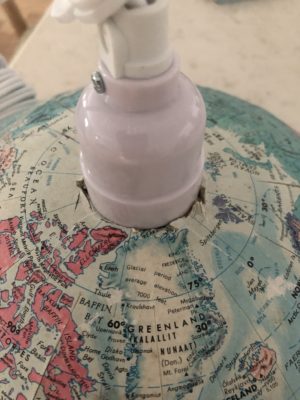
Step 4 in Making the Globe Pendant Light, Cut a hole for the light kit…
Hold up the light to the globe and trace a line around it, then use your exacto knife to cut a circle. Then screw on the top on the inside of the globe to attach it.
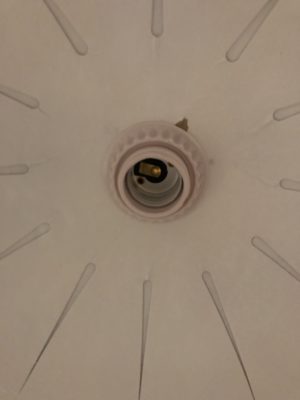
Step 5, Clean it up…
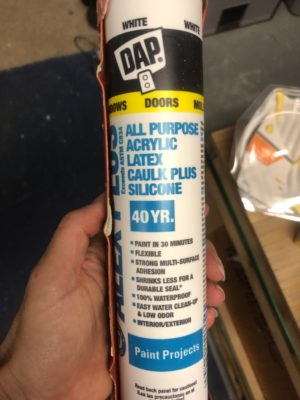
I added some white caulking around the light fixture to give it a cleaner, more professional look.

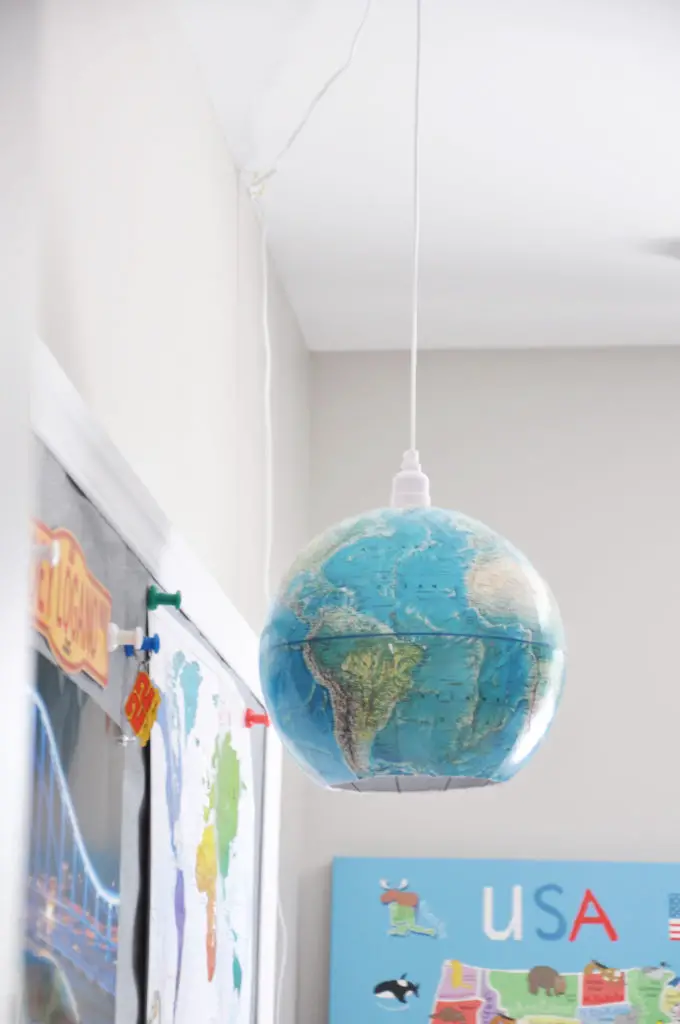
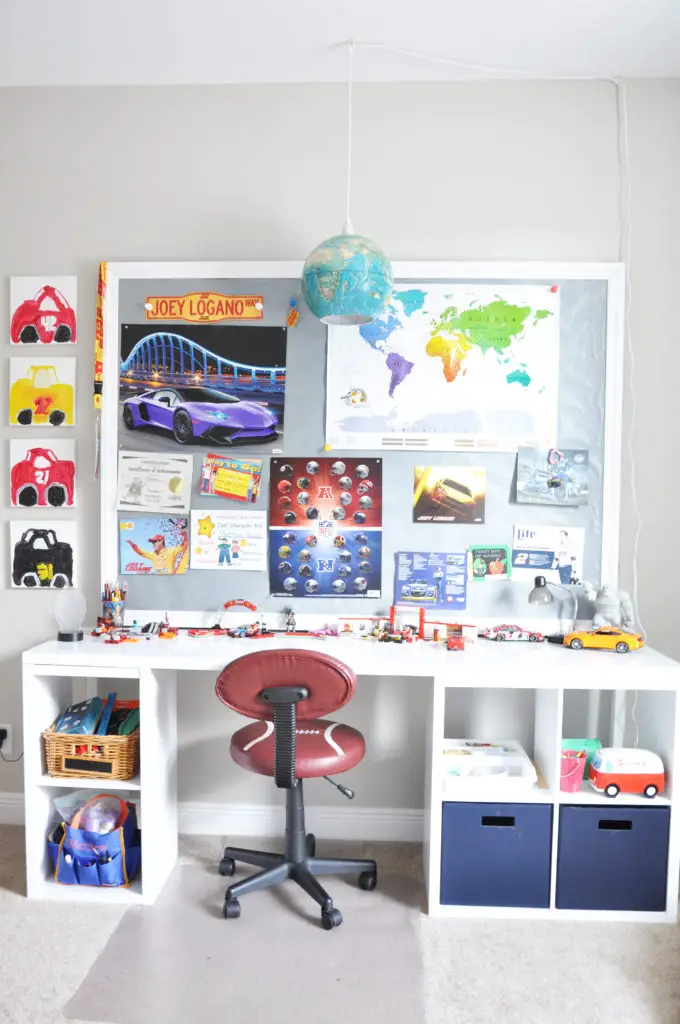
Last step was to hang it up.
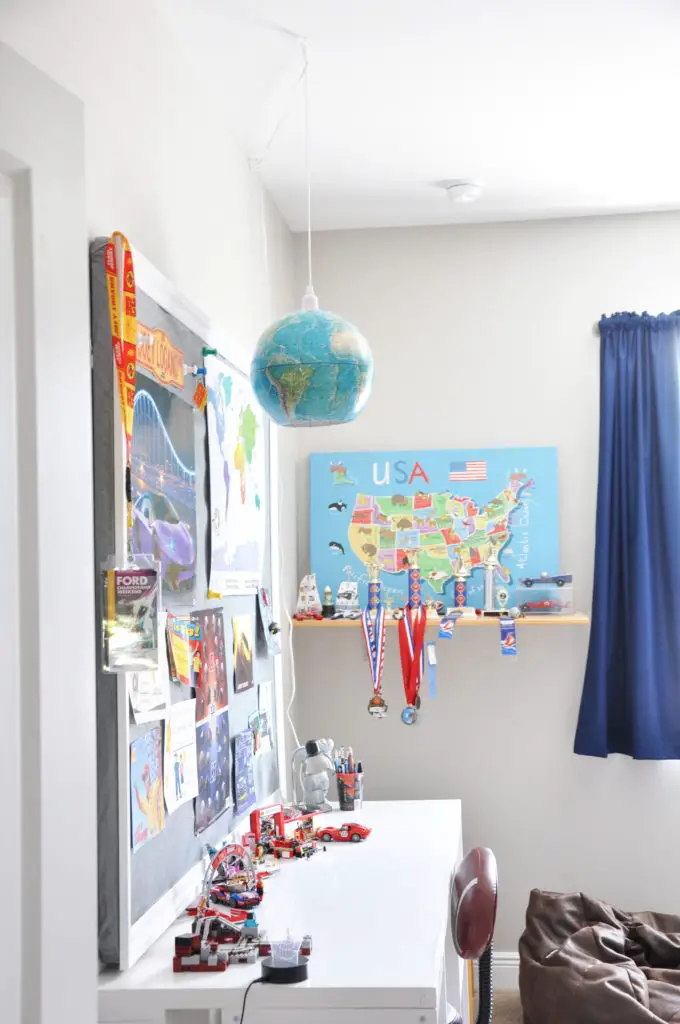
SIDE NOTE: I actually made 2 of these lights. One for each of my boys. One globe I found at the thrift store (and is the one in all the pictures above), and the other a friend gave me (and is the one you see in the pictures below). We haven’t hung up the first one yet.
Looking for more DIY ideas? Check out DIYIdeaCenter.com.
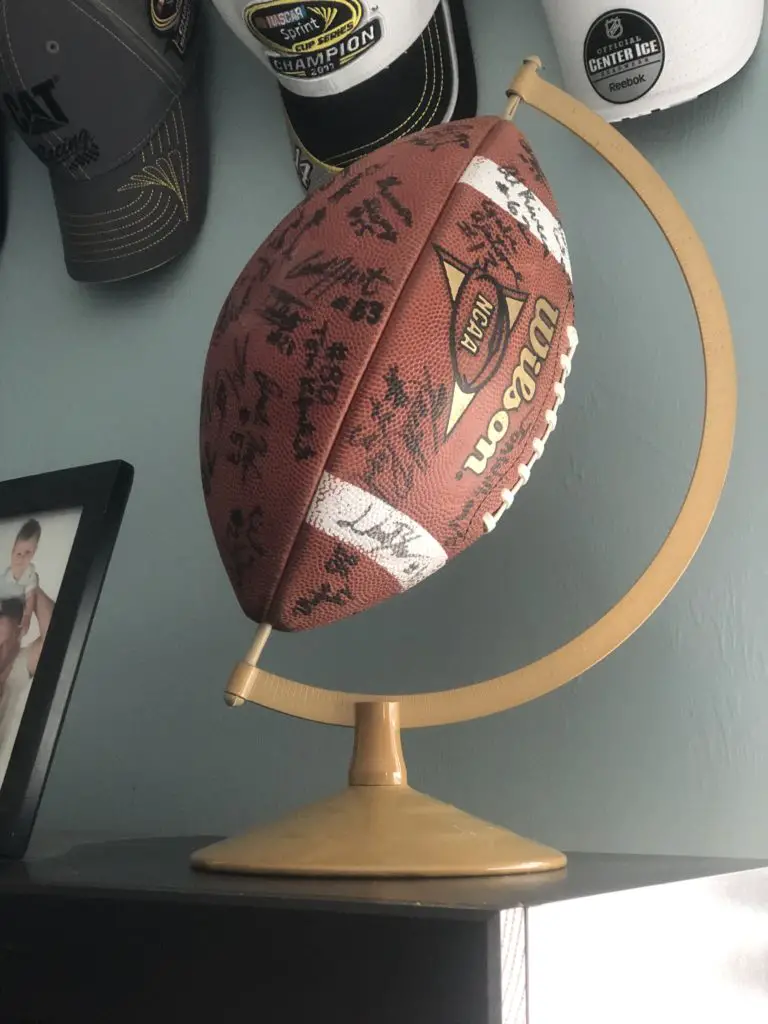
And look what my husband did with the left over metal piece! He put one of his prized signed footballs in it! HA!
Please check out all the other participants in the Thrift Store Challenge!


15 Comments
Now thats awesome and clever! How good did that turn out. You are very talented indeed Jodi.
I just love this find!
Teresa
Well! Thank you so much, Teresa!
Thank you so much!
This was so creative and I love how it turned out!
Thank you! I’m so glad you like it!
Well done Jodi! Love the globe and the football. What I really love is, we all love globes, but the take up a lot of space on a desktop! Very, very thrifty and creative👏
Thank you, Jewels!!! I am so glad you like it.
Jodi, this is such an amazing idea!! You are so clever and so talented! I have four boys, and am always looking for cute ideas for their rooms. I’m definitely going to try to find a globe to make a light out of! Loving this so much!!!
~Emily
Thank you so much, Emily! YOU are the clever one and I always love all your projects. I hope you give this project a try. It was so simple!
Jodi!!!! oh my gosh what a great idea. I want to do this for my son’s classroom. He is a teacher and this would be perfect above his desk. Thanks for sharing!
Thank you, Terrie. I hope you give it a try! It really was so simple.
I absolutely love it! So creative!!
Thank you, Shae!
What a great idea! This is perfect for the boys room! So simple to make too. Great job….
Thank you so much, Tara!