
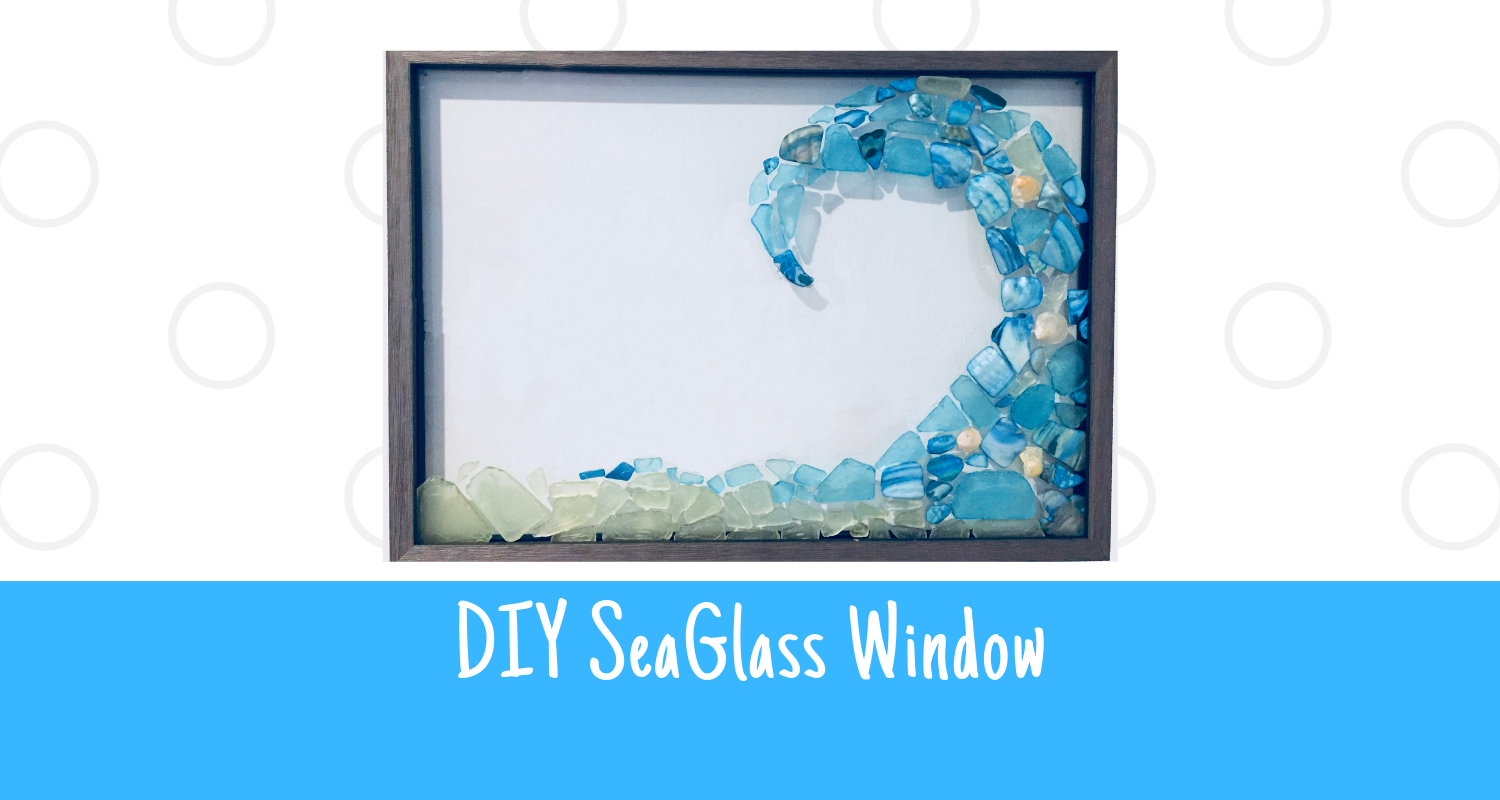
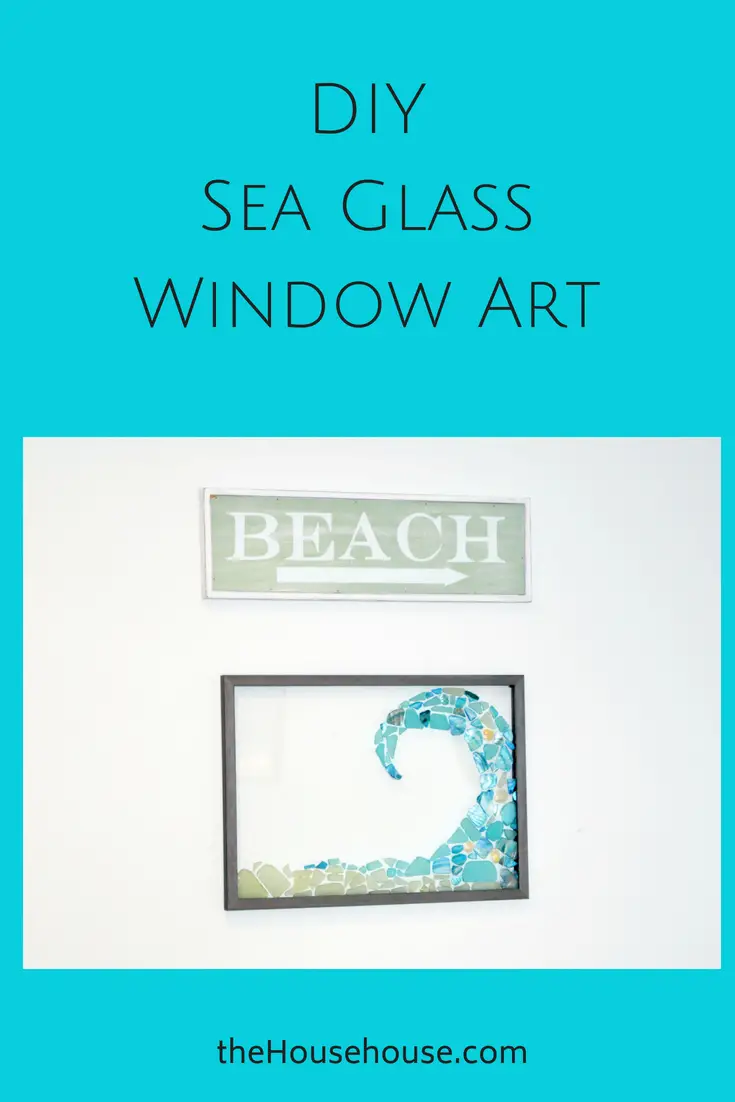
DIY Sea Glass Window Art
I’ve always loved these beautiful sea glass windows. I’ve seen them in the shops on Cape Cod and online on etsy.com and have always wanted one. A few years ago I made this Sea Glass Dolphin and Sea Glass Sea Horse and I thought, ‘hey maybe I could try to make one of those windows’! Well, I finally did.
Read the tutorial on how I made this DIY Sea Glass Window Art (it’s pretty simple) and see how it came out.
This post contains some affiliate links for your convenience (which means if you make a purchase after clicking a link I will earn a small commission which helps keep my blog up and running but it won’t cost you a penny more)!
Materials Used – DIY Sea Glass Window Art…Sea Glass |
Step 1:
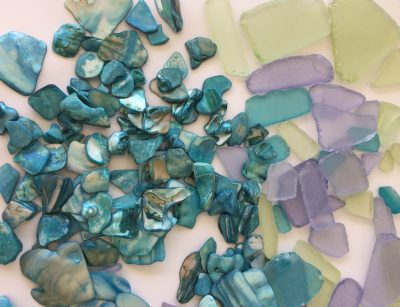
The first step in making your DIY Sea Glass Window Art is to dump out all the Sea Glass and arrange it by color. I know these mosaic tiles I bought from Michaels aren’t really ‘sea glass’ but I bought them anyway. I’m glad I did. The colors are awesome! Also, if you have your own collection of sea glass, use that. I do not have my own collection so I bought these.
Step 2:
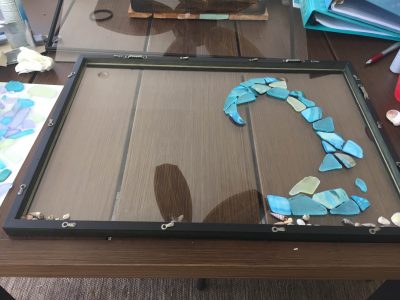
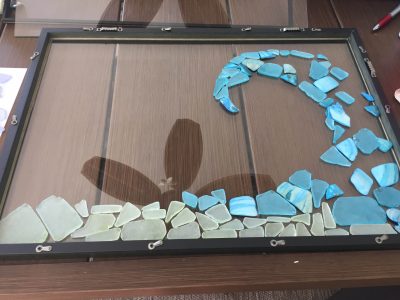
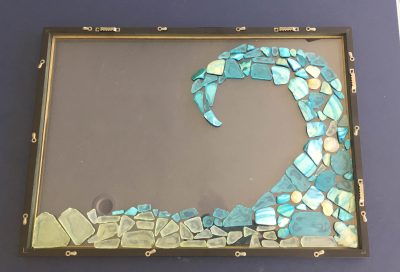
Lay out your frame and start playing around with some designs on your glass. This step takes a while. It is like doing a puzzle. I knew I wanted to make a wave so I imagined a basic shape and then started putting pieces in. You can do any shape you wish!
Also note, I didn’t have access to a real window like the ones on etsy.com so I bought a float frame from Michaels (11×14). They were $24.99, but were buy one get one free at the time of my purchase (I used the other one to make this). If you want to try this project and can get a hold of an old window, great! Go for it.
After playing around with it for a while, I decided I wasn’t liking the purple sea glass so I put those aside. I also decided to use the yellow as the ‘sand’ (see below), although I did use a few pieces of yellow in the wave part too. I also found some shells from my collection and added in a few of those. Once you have what you like, move on to step 3.
Step 3:
Start gluing them down. This is where it gets tricky. Once you start to glue, you end up rearranging the sea glass a bit. It takes a long time to get them right. Be patient. I found walking away from it and taking a break every now and then helped me to get it done. I also took a picture of it before I glued them down so I could refer back. I used my glue gun to glue them down. I’m not sure this was the best glue to use, but it definitely did the trick. This E3000 would do the trick too.
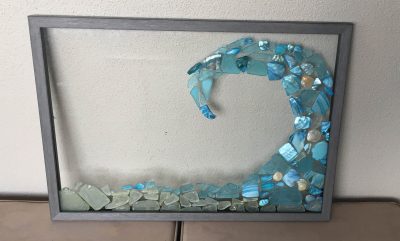
And, viola, here is the final product!
And here is how it looks hung in my living room….


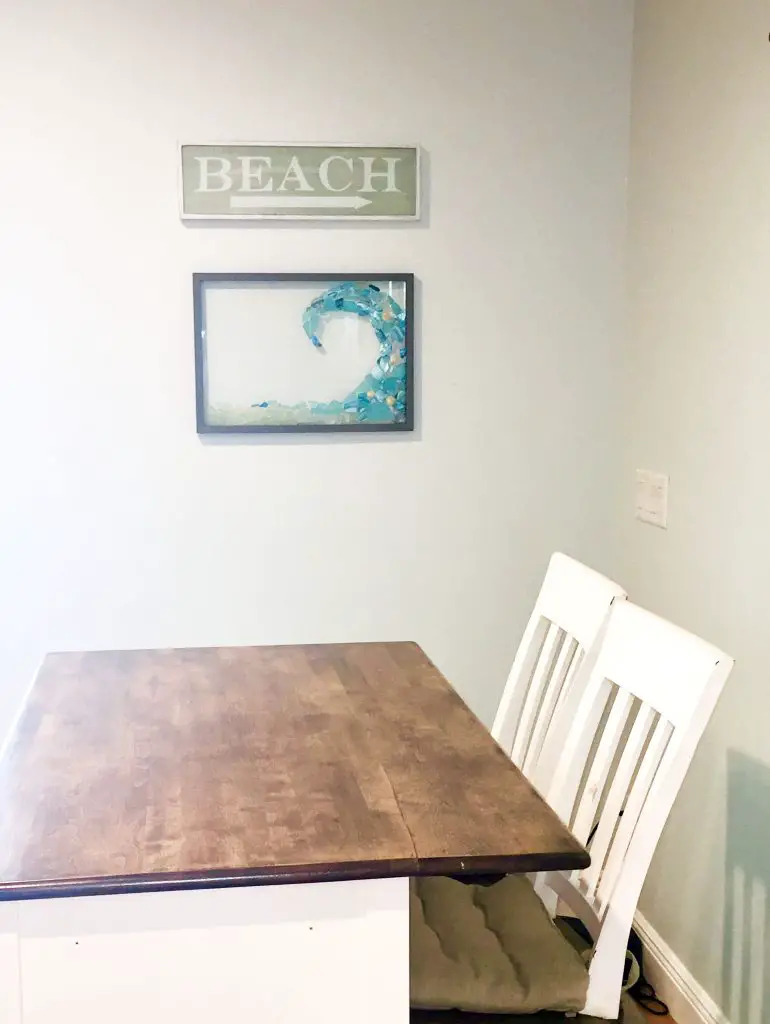
Maybe not quite as good as the ones you can find on etsy.com or in the shops of Cape Cod, but not half bad and was fun putting it together…What do you think?
If you like this project and my blog, please sign up for my newsletter or like me on social media. Thank you for reading!

Pin this item…

13 Comments
Do you know this is done using resin and shells. I’ve seen many done, but haven’t found any specific directions. Thank you
Yes I have seen the ones made with resin but wasn’t sure how to do it that way, so I used glue instead. I suppose you would just do it the way I did and just pour resin over the top and let it set.
I would think the glue would show on the front side if you’re flying them down from the back side of the frame. Seems like you want to glue them down from the front into the glass. Maybe I’m thinking wrong? Looks great in your photos though:)
The glue shows a little but not to bad.
Is the glass on the inside or outside of window/glass? Do the ones you see on Etsy or the expensive gift shops have the sea glass on the outside or are they in between two lanes of glass? I’m still kinda confused. I have SO much leftover tumbled sea glass Ive been looking for a project like this. Thanks for posting it!
Yes, I glued the sea glass right on top of the glass. I think the ones in the gift shops are glued to the top and then they use epoxy to set it.
Very very cute and thanks for the simple instructions & tips! I love the blue opal-like mosaic tiles very much. I’ll be making one for my daughters bathroom and am looking for the best glue for a wet/humid environment. How has the glue gun held up?
Hi, I’m glad you like it. The glue gun has held up well, but I bet E6000 would work even better, especially in a bathroom.
It looks GREAT! I am a crazy collector when it comes to seashells,beach glass, tiny beach rocks. I have so many I have been looking for ideas to utilize them. Thank you so much for sharing!
Cool! I am so glad I could inspire you.
Love this ❤️ I’m going to try it.
Thanks! I hope you give it a try and would love to see the results if you do.
I absolutely love this DIY Sea Glass Window Art project! The colors are so vibrant and remind me of summer days at the beach. Can’t wait to try it out in my own home. Thank you for sharing such a creative idea!