
DIY Canvas Prints on the Cheap…
DIY Artwork – Canvas Prints on the Cheap…
I was trying to find a piece of art for above my bed in my re-vamped Master Bedroom and was looking for a long and skinny piece, approximately 12×36. Of course being the bargain shopper that I am, I didn’t want to spend to much money. Large canvas art can be very expensive.
I read on some other blogs that you can make your own canvas prints on the cheap by getting color images printed at Staples for not much money. Only around $6! They are called Engineered Prints and are supposed to be for blueprints and such. Then you can mount them on foam board for really cheap. So I gave it a try. Read on to see how I did it.
This post contains some affiliate links for your convenience (which means if you make a purchase after clicking a link I will earn a small commission which helps keep my blog up and running but it won’t cost you a penny more)!
Materials Used for this Project…Foam Board |
Steps to Making a DIY Canvas using an Engineered Print…
Step 1: Order your print.
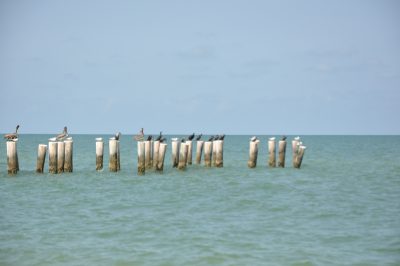
Select a photo from your collection.
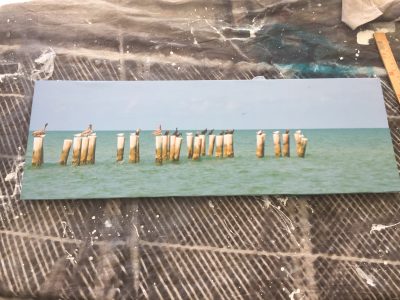
After going through my millions of photo’s, I picked one that I thought would look good in my bedroom. See it below. I took this picture on one of my beach walks (which I should do WAY more often).
I did the ordering on Staples.com for pickup. I have 2 Staples in my area, both pretty close to my house. Since they don’t print out 12×36 prints I ordered a 24×36 with the plans to cut it down to size. The Staples I ordered from called me saying that they couldn’t print my image from my order (since it was a photograph and not a blueprint – and it says right on their web site that engineered prints are NOT for photos), and they would have to print it as a photo image which is way more expensive. I told them to forget it and thought, dang, well there goes that idea. But then went back online and ordered from the other Staples near me and they happily printed it out. No questions asked! Weird! Let me tell you though, they print these on regular paper, it is NOT a nice thick piece of photo paper, hence the huge price difference. But, they still look good.
Step 2: Mount the picture on your foam board.
I bought a 12×36 canvas and a large foam board from Michael’s to mount the print on.
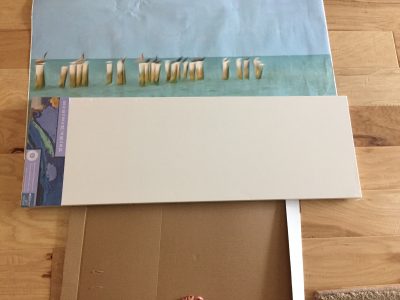
Obviously my print was much bigger than the canvas and so was my foam board so I had to cut them down to size. I picked this photo because I knew I’d be able to chop off a bunch from the top and bottom and it would still look ok. I planned to glue it to the foam board first, then to the canvas. (Some tutorials I read online used just the foam board and not the canvas too. You may choose to skip this step and just use the foam board and a store bought frame.)
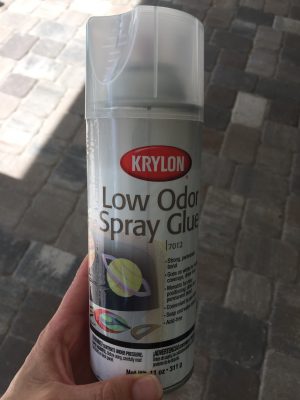
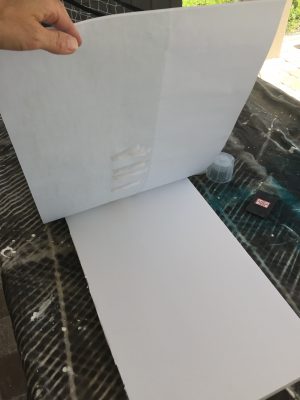
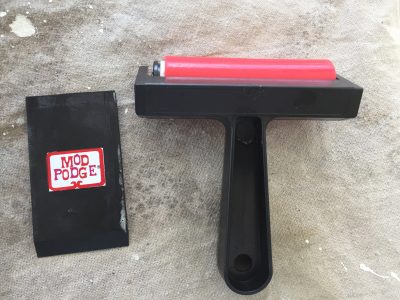
First I cut the foam board down to 12 inches and then I cut the engineered print down to about 14 inches, making sure to have enough to fold over the top and bottom. I used Krylon Low Odor Spray Glue spray adhesive to glue it to the board and this tool set (roller and smoother) to make sure there were no bubbles. This is a slow and tricky process. Take your time here to try to avoid any bubbles from forming.
You may be wondering why you can’t just glue to picture directly to the canvas. Canvases are rough and have a texture to them and the paper won’t stick right. I know cause I tried it and it looked bad! Really bad. Thankfully I was able to peel the picture off of it and start over using the foam board.
Once it was completely glued down I continued to use the roller tool to smooth it all down. Below is how it looked when I was done. There is one stubborn bubble that just wouldn’t go away but overall it looks good.
Once it was glued in place I used some Mod Podge as a top coat which gave it a nice shiny finish. Some tutorials I read said not to do this, but I thought it needed it. You may choose not if you don’t want a shiny finish. I then glued the piece of form board to the actual canvas using more spray glue. As stated above, you may choose to skip this step and just frame the foam board with a store bought frame.
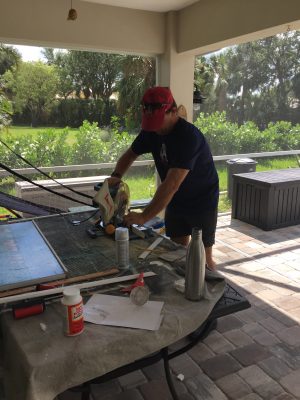
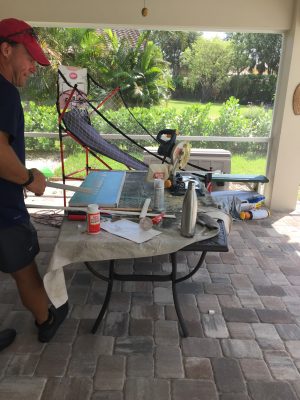
Step 3: Make a Frame (optional)
After it was glued and dried I thought it needed a frame around it. Luckily we had the perfect pieces of scrap wood in our garage, although you can buy wood for really cheap at Home Depot or Lowes. My husband cut them down to size with his saw, and then we nailed and glued them to the canvas. These pieces of scrap wood were a little beat up, so to finish it off I painted them white.
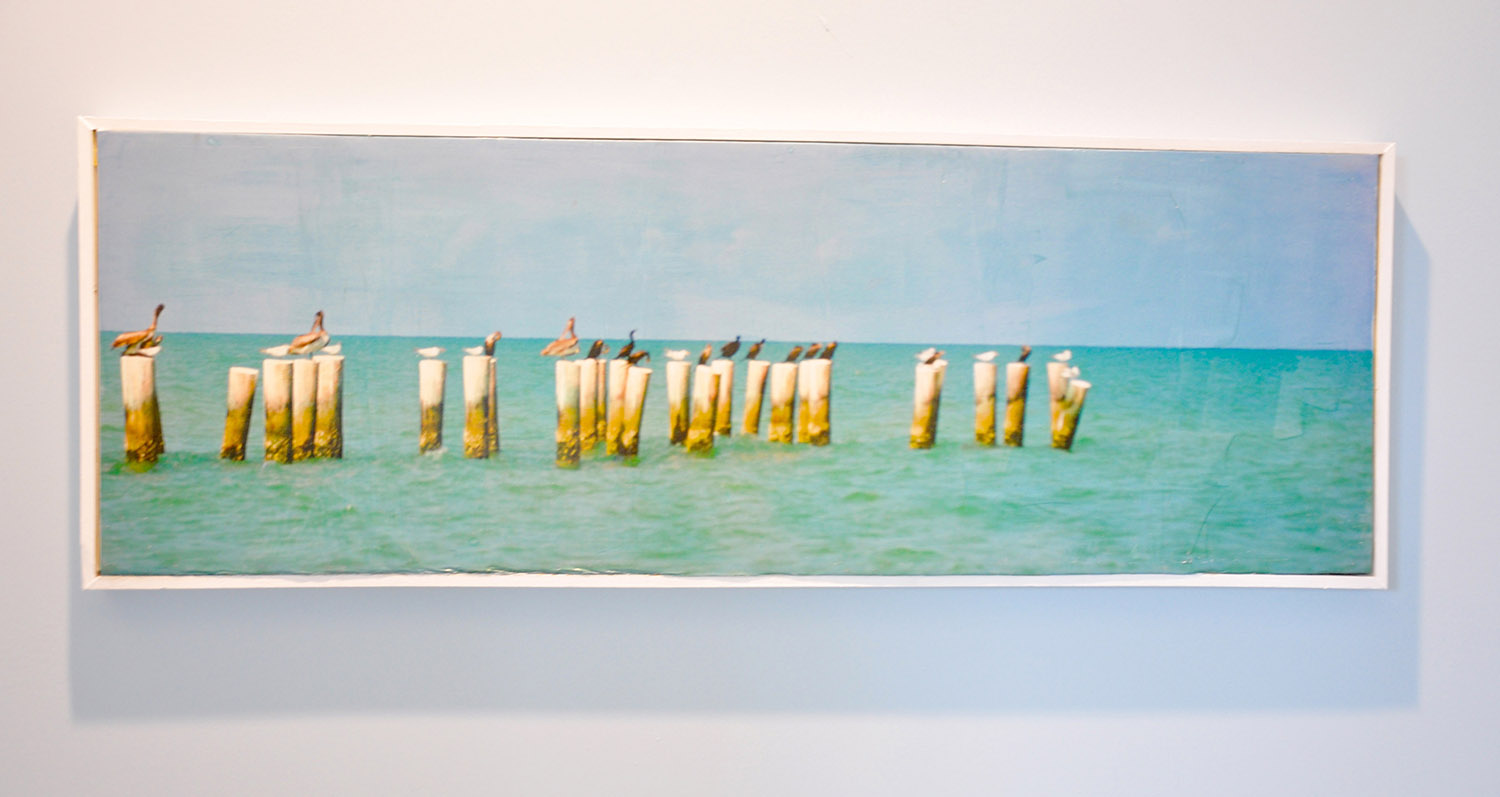
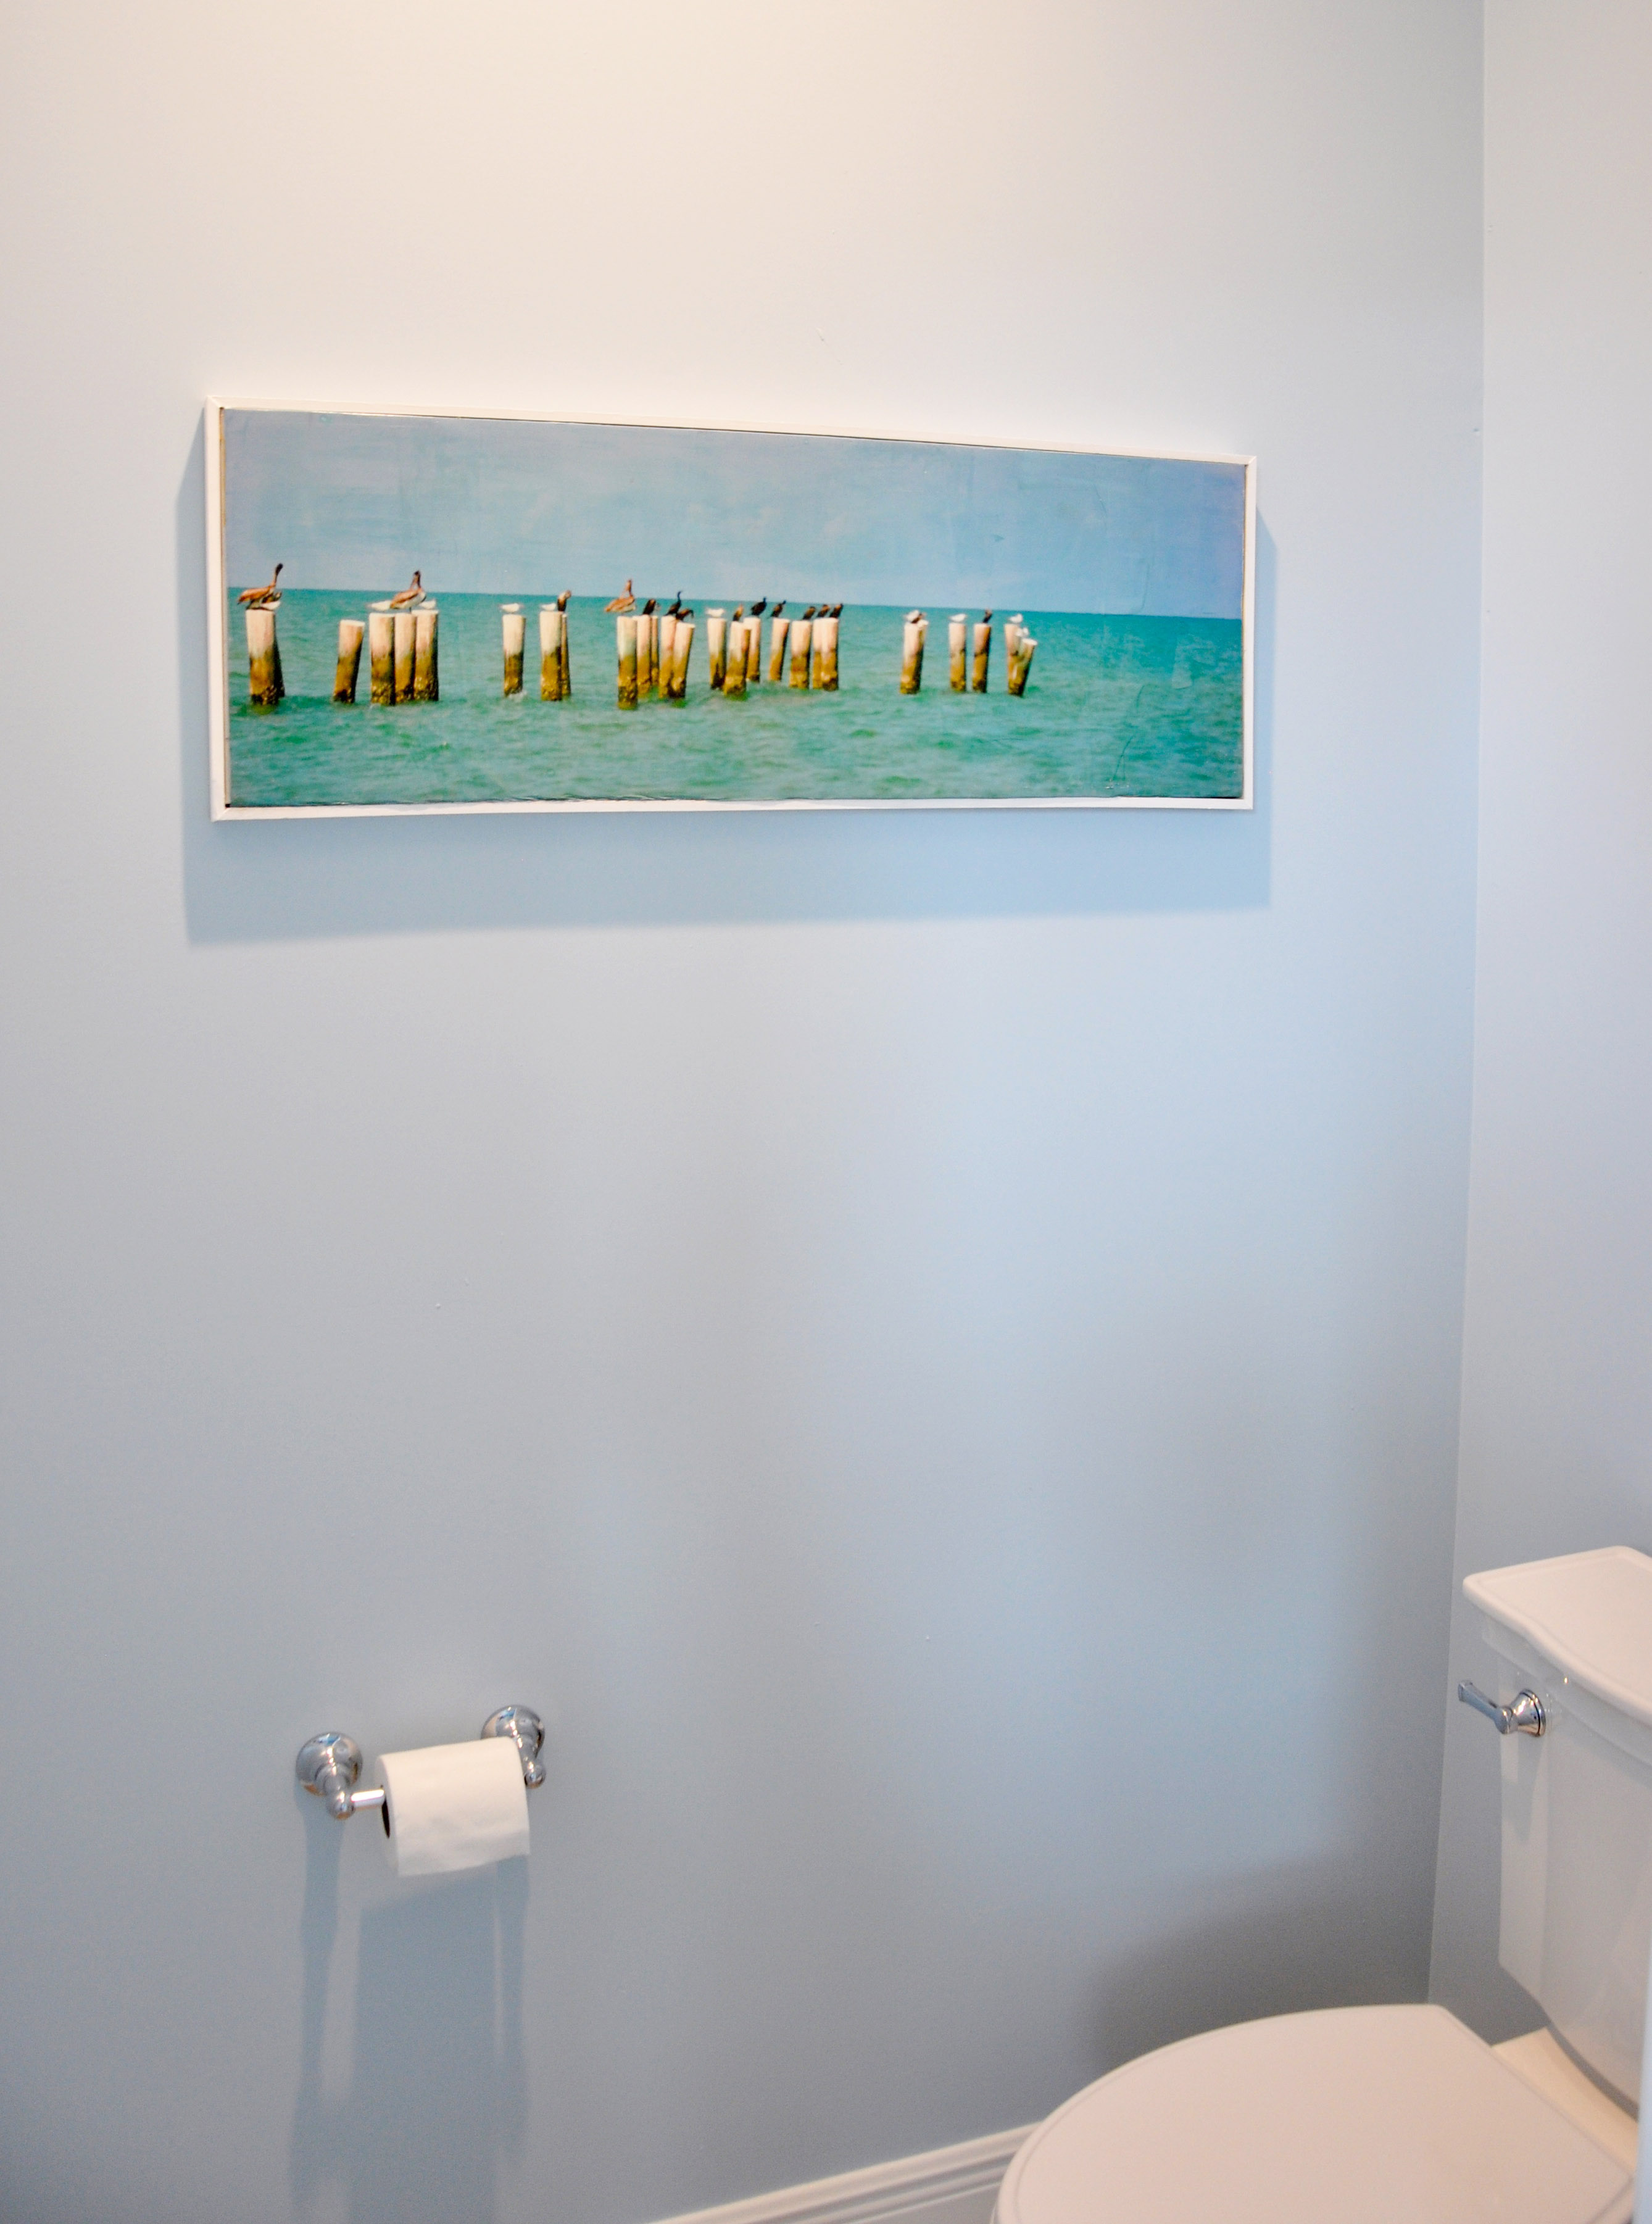
And here is how is the final product.
After all this, I didn’t like how it looked above my bed so it ended up in our bathroom instead. ha!

Total Amount I Spent for this Project
| $6.00 | |
| Mod Podge (already had at home) | $7.99 |
| Krylon Spray Glue | $8.99 |
| Mod Podge Tool Kit | $8.49 |
| Canvas 12×36 | $8.49 |
| Foam Board | $2.99 |
| TOTAL | $42.95* |
*Some of these supplies I had on hand, but I included the prices anyway.

No Comments