
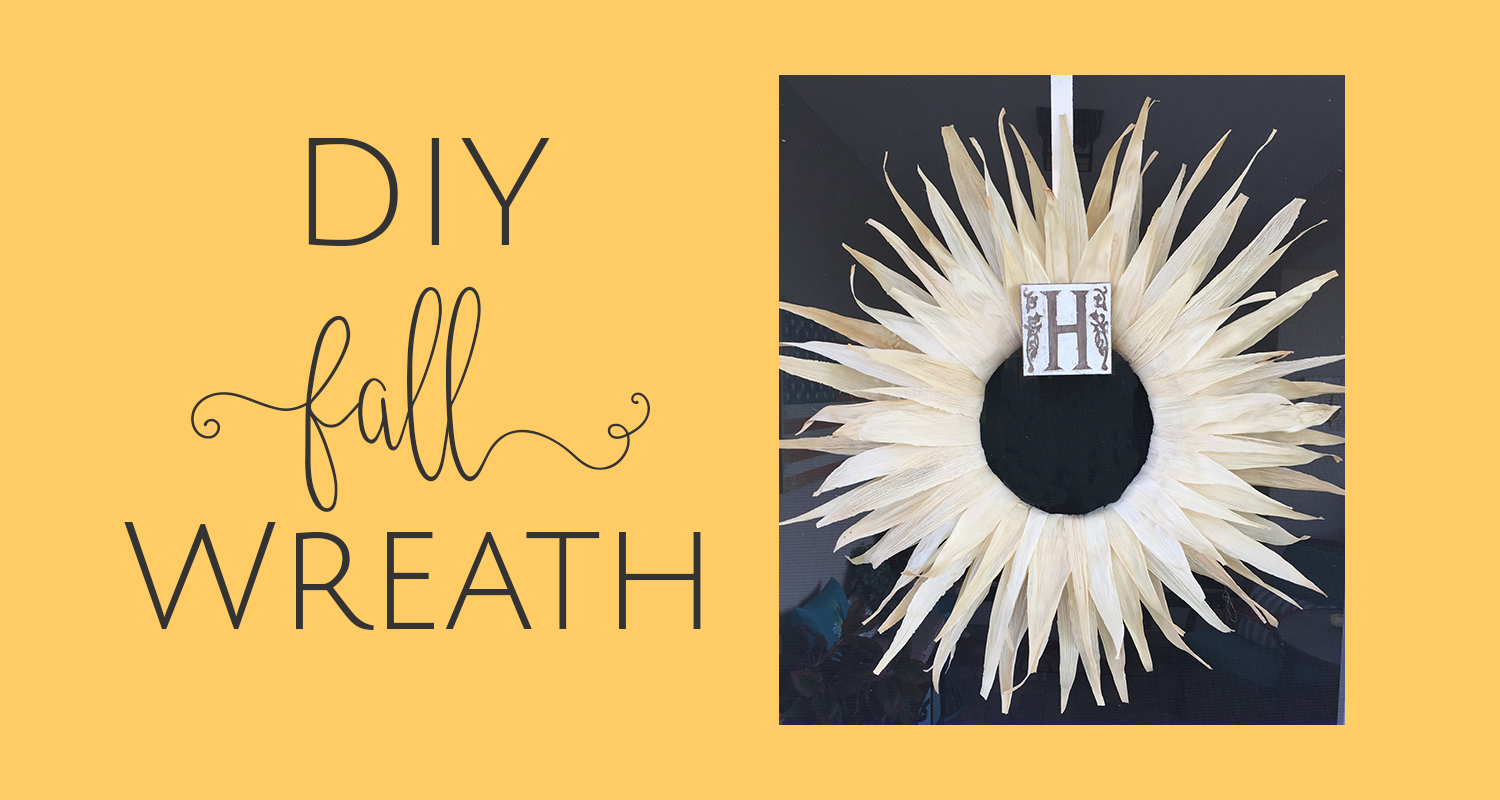
DIY Easy Fall Wreath
I saw this fun wreath on the blog Design Improvised and loved it so thought I’d give it a try for myself. I followed her super easy tutorial. She had an option to add feathers and some glitter but I chose not to do that. I think it looks just as good without them. This was so easy to make, anyone can do it!
She calls it a Thanksgiving Wreath on her blog but I think it works for Fall so I am putting it up now (October 4th) and will keep it up through Thanksgiving.
And bonus, it only cost me around $10 to make. Here is how.
This post contains some affiliate links for your convenience (which means if you make a purchase after clicking a link I will earn a small commission which helps keep my blog up and running but it won’t cost you a penny more)!
Materials Used in this ProjectGlue Gun |
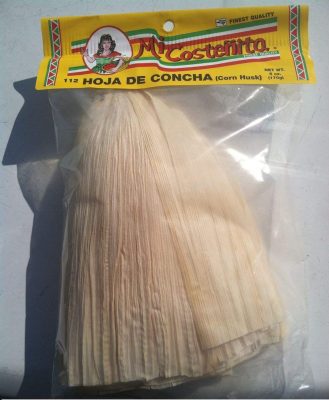
I bought a 10″ straw wreath form from Hobby Lobby which is plenty big for this project. And they only cost $2.99. You need a package of corn husks which are usually found the Mexican food isle of your grocery store. They are normally used to make tamales, not wreaths. LOL! However, I went to 3 grocery stores in my area looking for them with no luck! But, Amazon had them, of course. I bought this 6 oz package for $6.99 and had plenty left over. In fact, I probably have enough left over to make another wreath!
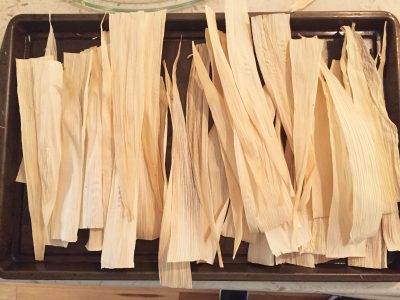
I started by taking the husks out of the package and tearing them into strips. Tear from the widest part down. They were still slightly damp after I took them out of the package so when I tore them into strips, they curled up a bit. To solve this problem, I placed a bunch of them on my counter and put cookie sheets over them for a few hours while they dried. This seemed to straighten them out.
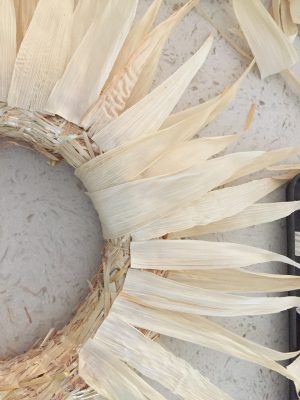
Once ready, fire up the glue gun and get gluing. I started by gluing a layer to the back of the wreath using a very generous amount of glue and pressing them hard into the wreath to make sure they stuck. Here is how it looked after layer one.

Layer 2 went right on top of the wreath, and again I used a lot of glue and pressing.
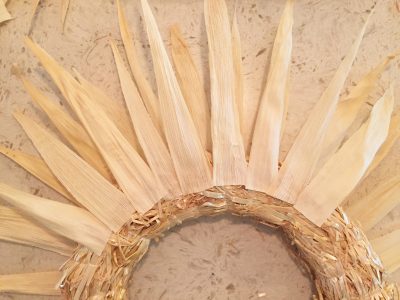
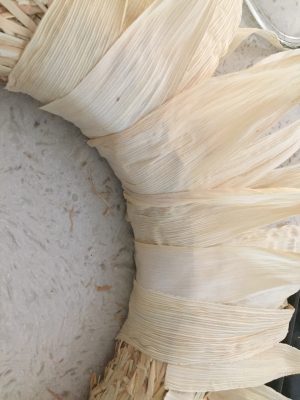
For layer 3 you will need to wrap the husk around the bottom part of the wreath to hide the straw. I went just to the edge, not all the way around. Like so…
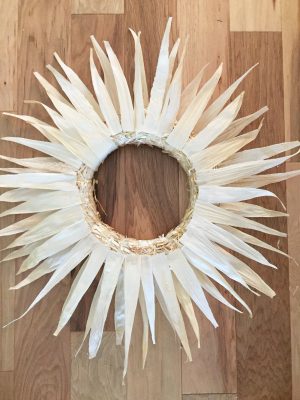
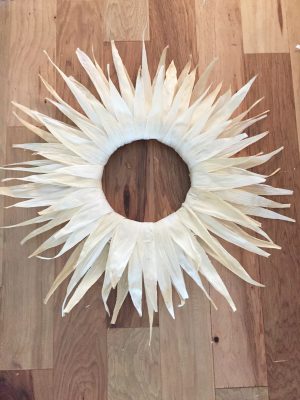
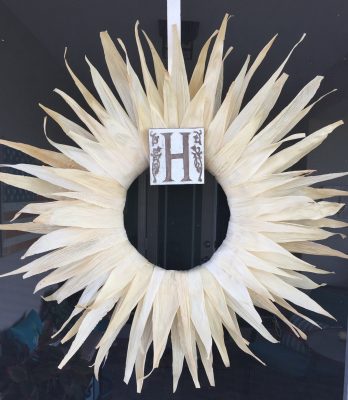
I used up a lot of glue sticks for this layer. And here is how it looks complete. Once you are done you can go back and add more husks to the back or front to make sure there are no holes and you cannot see the wreath form underneath. And that is it! So easy and look how cool it looks. I got the H wreath holder at Marshall’s a few years ago, in case you’re wondering about that.
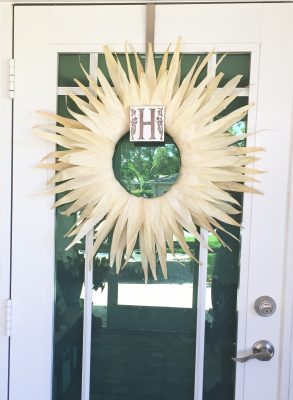
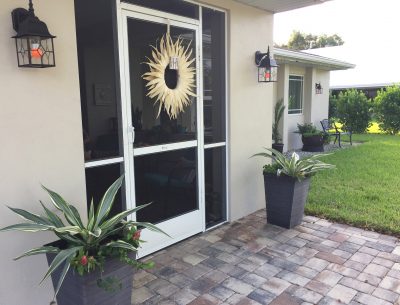
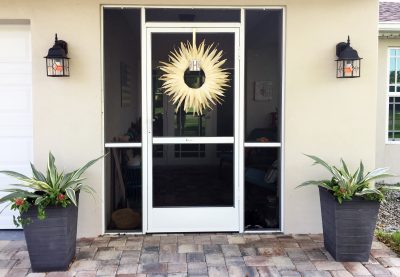
I decided to put it on our front screen door and think it looks pretty cute!

No Comments