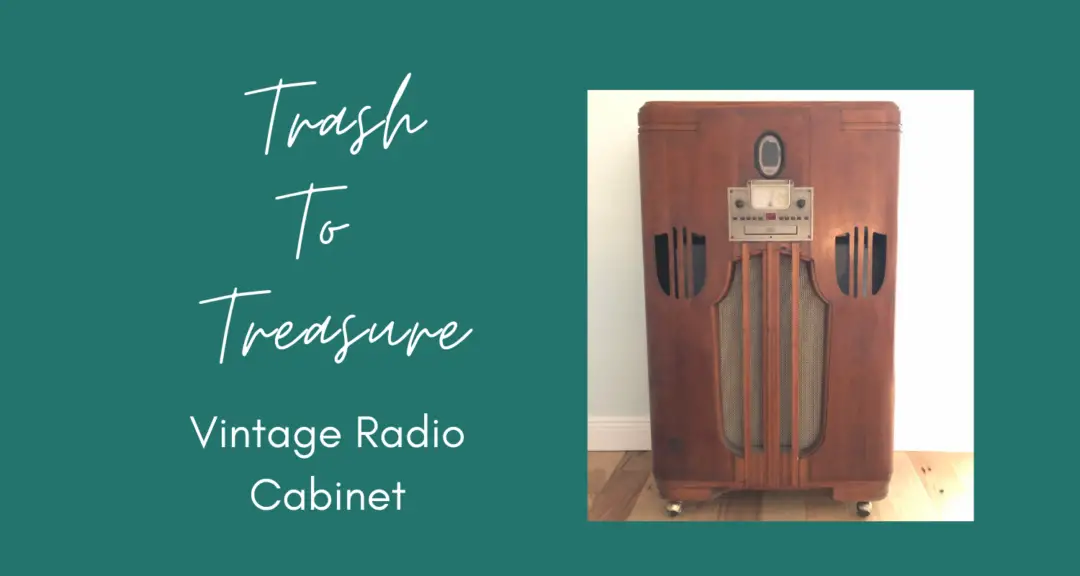
Trash to Treasure Vintage Radio Cabinet
It is time for the February DIY Challenge, hosted by Terrie at Decorate and More with Tip. (You can see my past DIY Challenges here.) We do this blog hop on the first Wednesday of every month and we always have a new theme. When Terrie announced that the challenge this month was Trash to Treasure, I think I jumped for joy a little. Trash to Treasure is my specialty. If you’ve followed me at all you know I am always finding treasures in peoples trash that I makeover and flip (and sometimes keep). I am really excited about this month’s find and plan on keeping this one. 🙂
You can see all my Trash to Treasure finds here.
Don’t forget to check out the rest of the bloggers Trash to Treasure projects at the bottom of this post.
The Story Behind my Find….
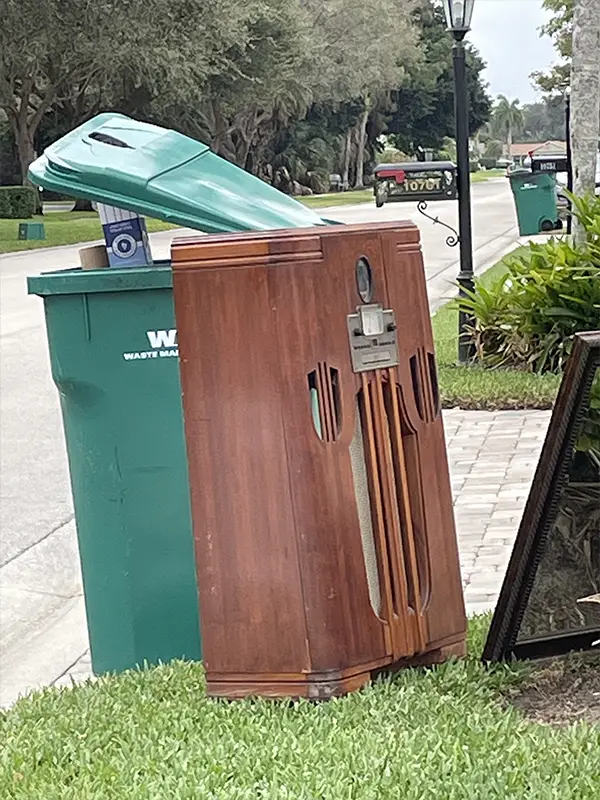
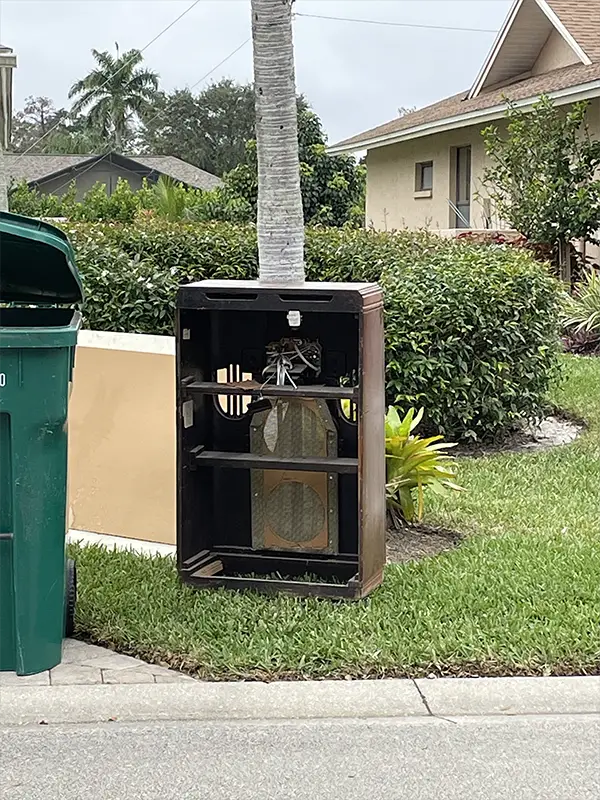
A lot of my friends know that I like to find goodies on the side of the road that I makeover and flip for a profit. I frequently get texts from friends with pictures asking if I want an item they happen to see on the curb (or something they are getting rid of themselves). So, when my friend Trish texted me these pictures last week, I immediately jumped in my car and went to her neighborhood and got this piece. She even helped me put it in my car. Thanks, Trish!!! Anyway, isn’t it cool?
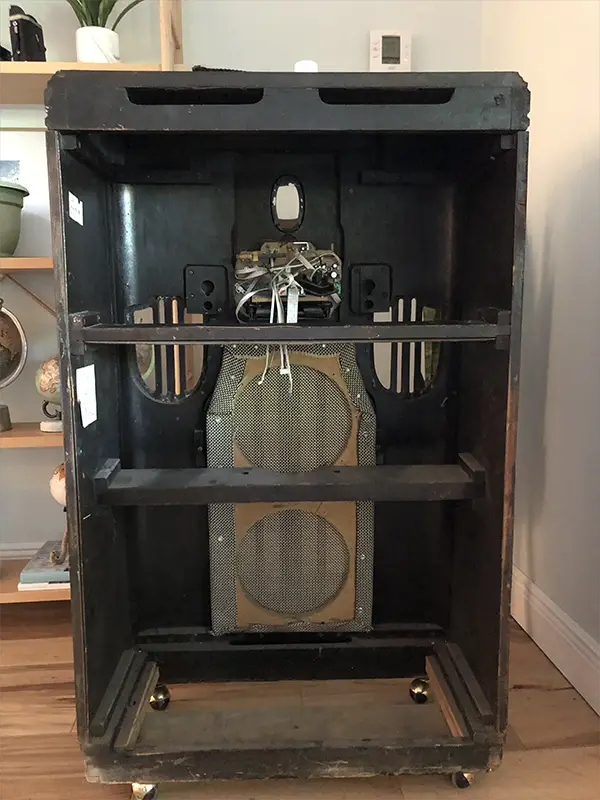
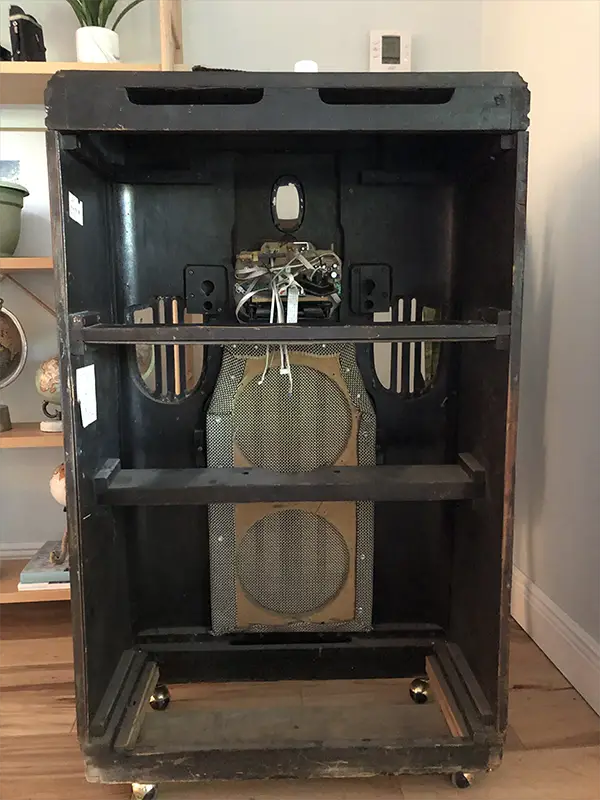
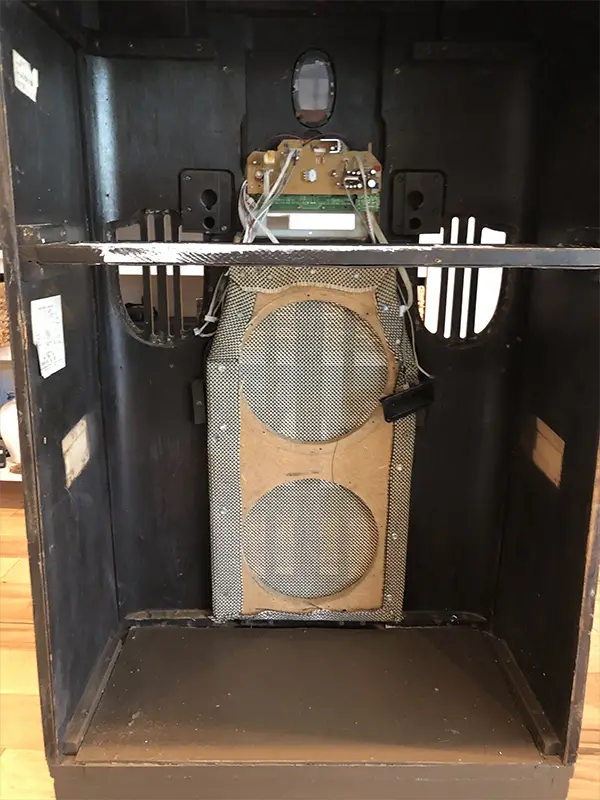
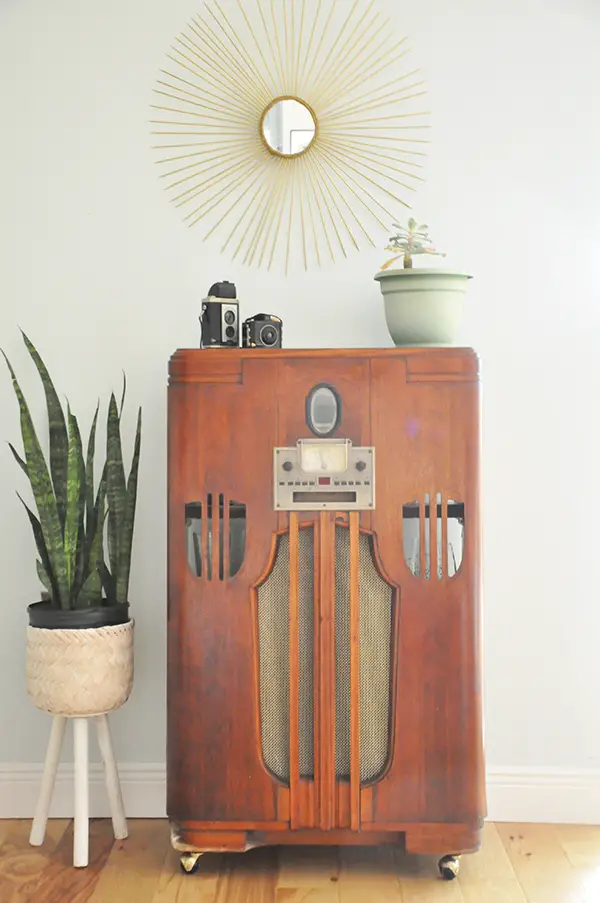
When I got it home and really took a good look at it, I found it was pretty beat up. It is a Philco Model 116, which was first introduced in 1935. Unfortunately, I don’t think it is worth any significant money in the condition it was in. The radio didn’t work, and the speakers were missing. ALSO, it has a CD player in it (that didn’t work) making me believe the previous owner fit one in there later on. I’m pretty sure they replaced the entire face front with an updated one. We looked into replacing the entire radio portion but it was just to expense. In any case the front of it is still really cool.
So, what was I to do with this thing?
Another friend suggested I make it into a bar. I liked that idea and immediately my wheels started turning in my head with how I could make that happen. Here is what I ended up doing…
Step 1 in making my Trash to Treasure Vintage Radio Bar…
First things first, I gave the entire piece a good cleaning. Inside and out. The wood on the outside was in good shape and I liked the color so I didn’t plan to paint the outside. The inside was a different story.
Step 2, Attaching Some New Shelves…
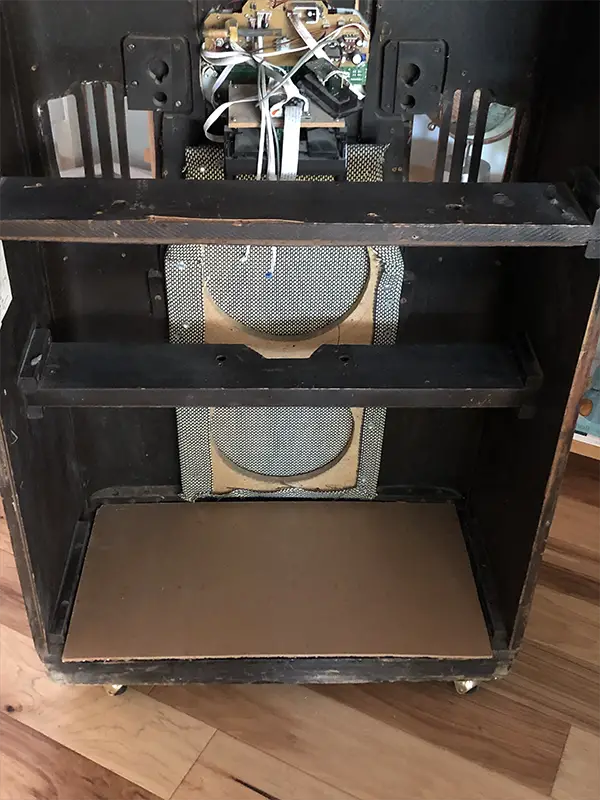
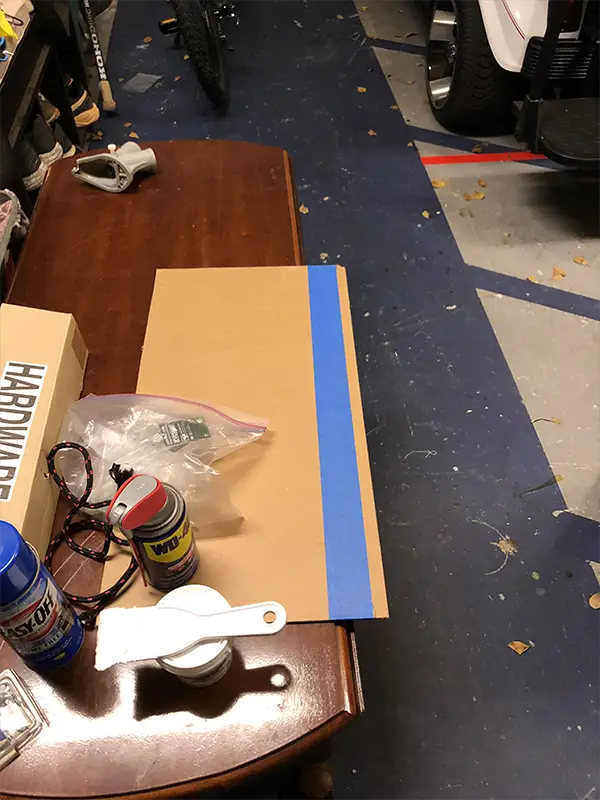
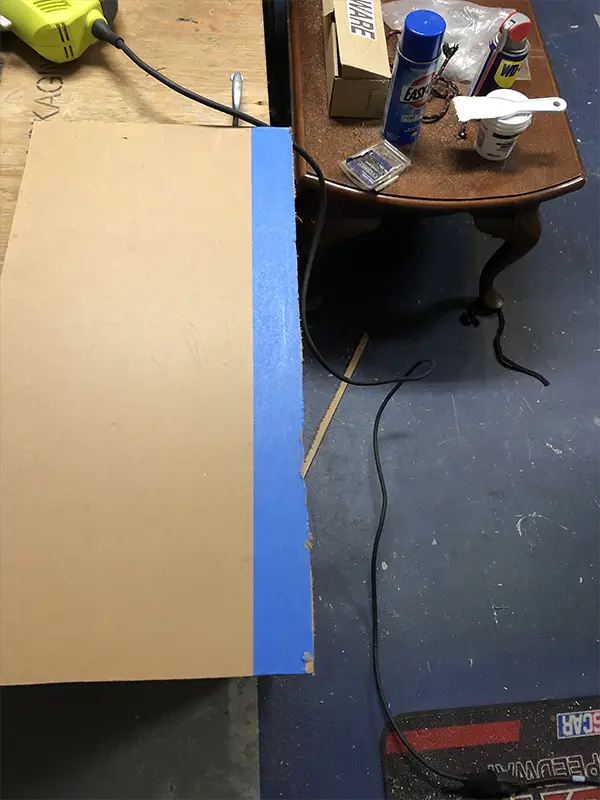
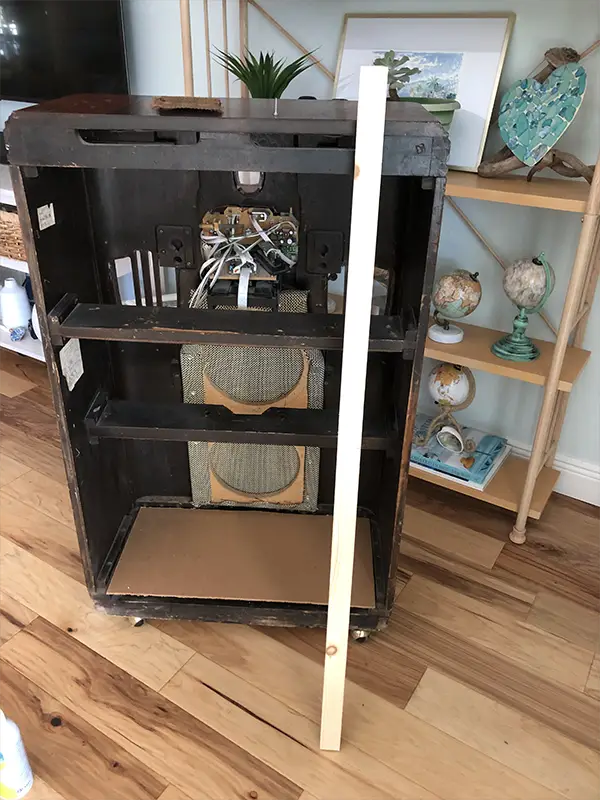
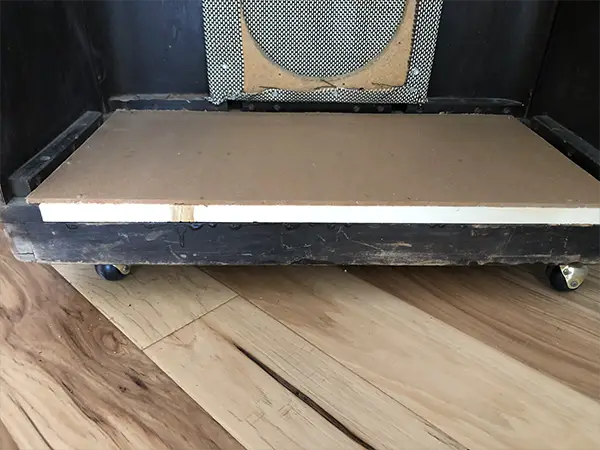
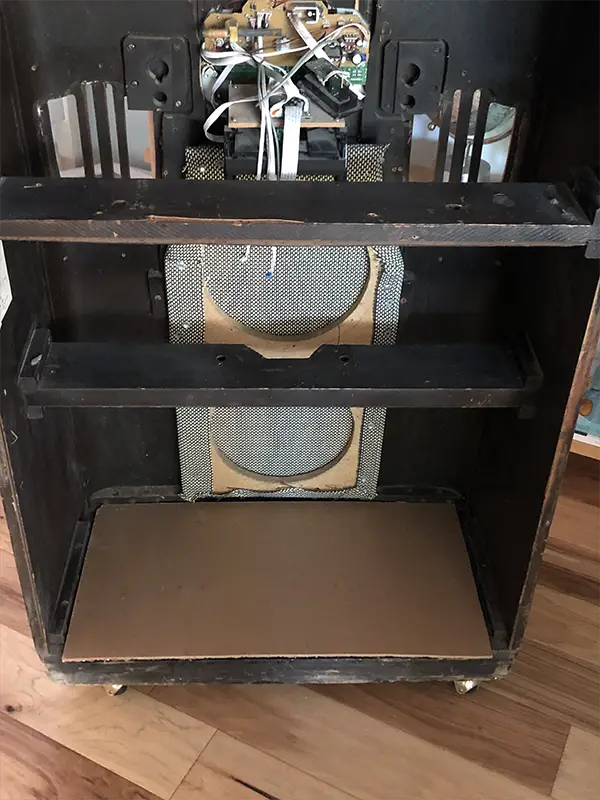
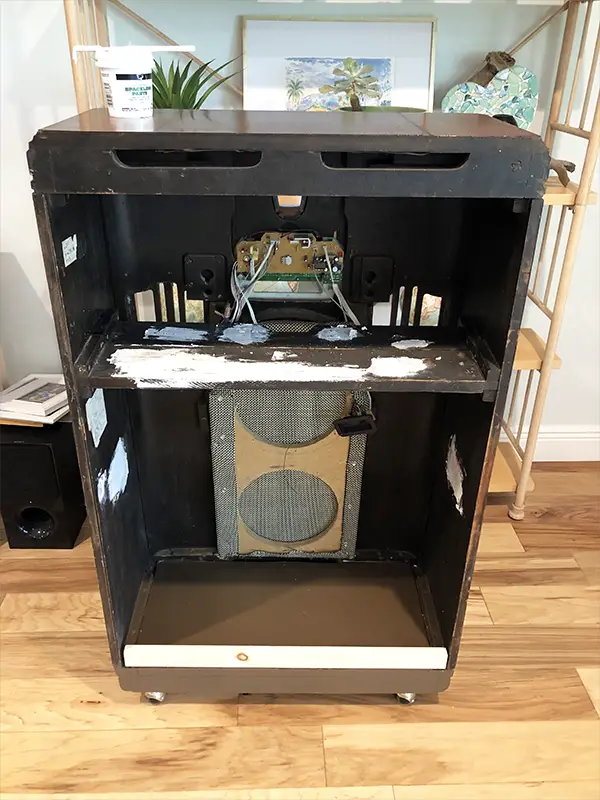
I wanted to create a shelf on the bottom (to hold the booze), so went into my garage to our scrap wood pile and could not believe I found a piece that fit. The width was perfect, however, it was about an inch to deep. I had to cut it slightly using my jig-saw and a piece of tape as the guide.
Before cutting After cutting
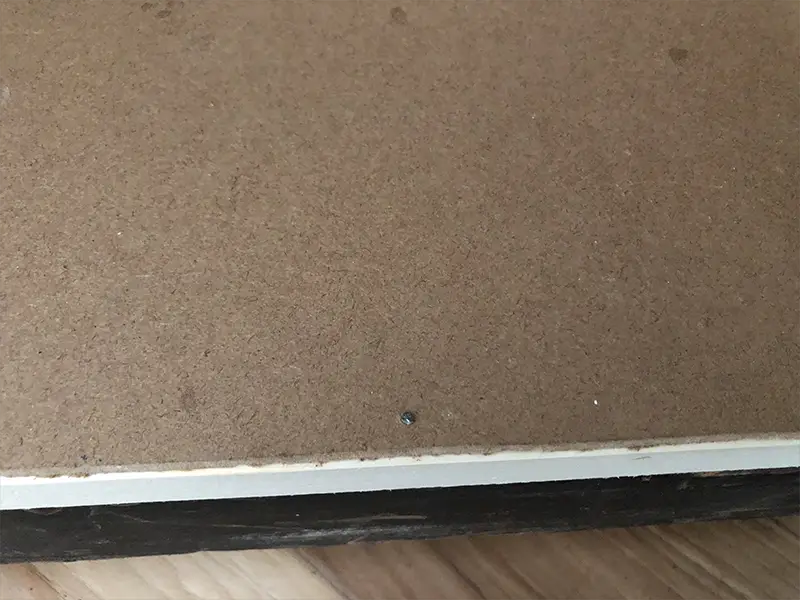
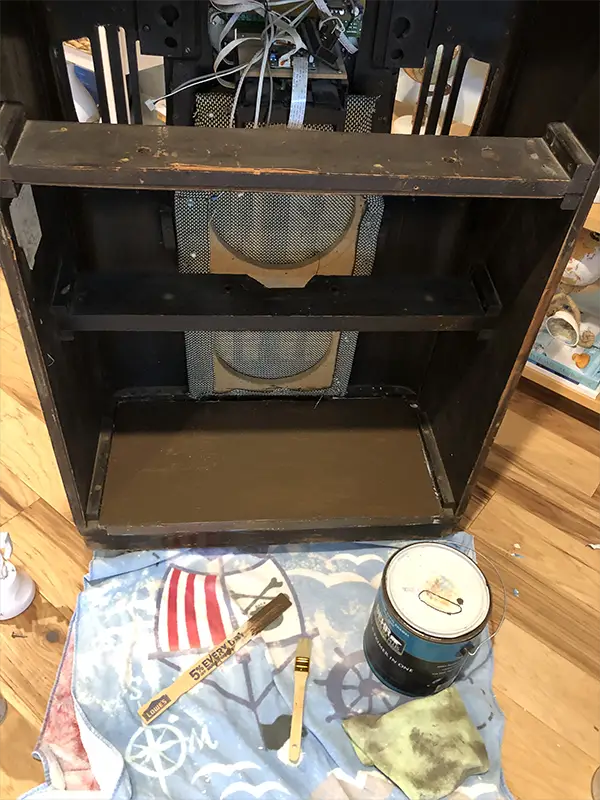
After I placed the new shelf in, I realized there was a gap that needed to be filled underneath it. Back to the garage I went to search the scrap pile, but had no luck finding a piece that fit. I had to take a trip to Home Depot to find what I needed. I bought the perfect piece of wood for under $3, and cut it down to size. Then used some brad nails to secure it all together. Lastly, I painted it brown, using some paint I found in the garage (and below you will see I painted over the brown anyway).
I also moved the middle shelf up to the top shelf to make it wider. These aren’t really shelves to begin with so are only about 4 inches wide. By combining the 2 on the top, it made it much wider. To move the shelf I had to unscrew the brackets and then use the hammer to really hit it to pry it loose. Once I got it off I had to fill in all the nail holes and other dings and scratches, using some spackling paste. Also, I attached a lip to the bottom shelf.
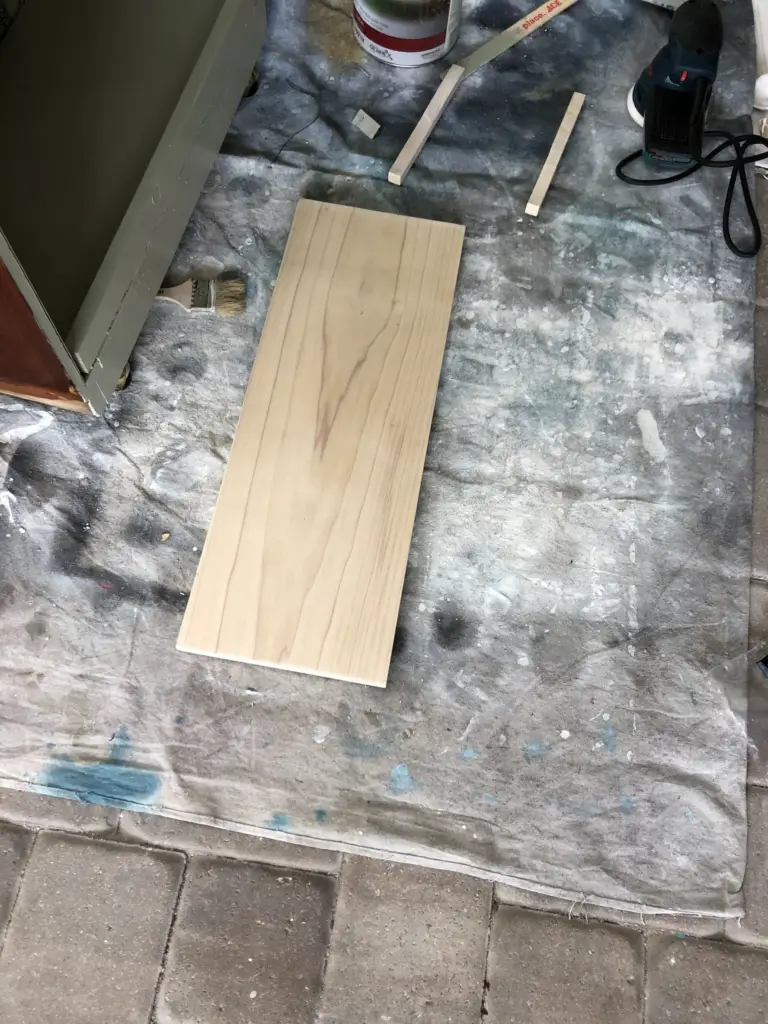
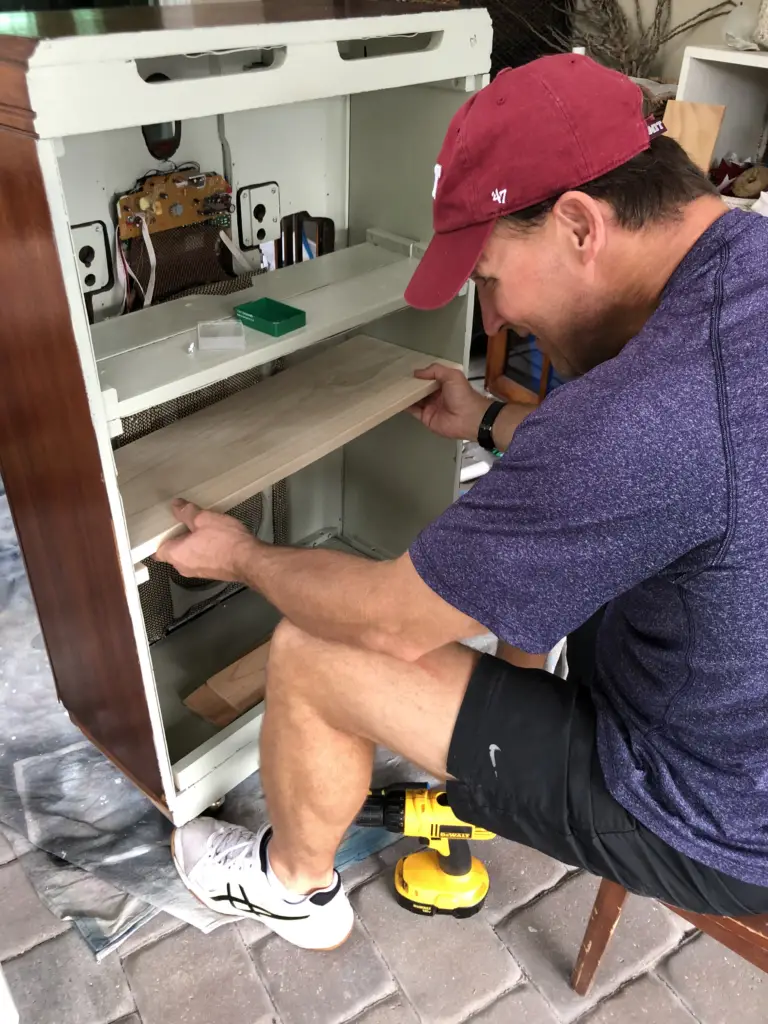
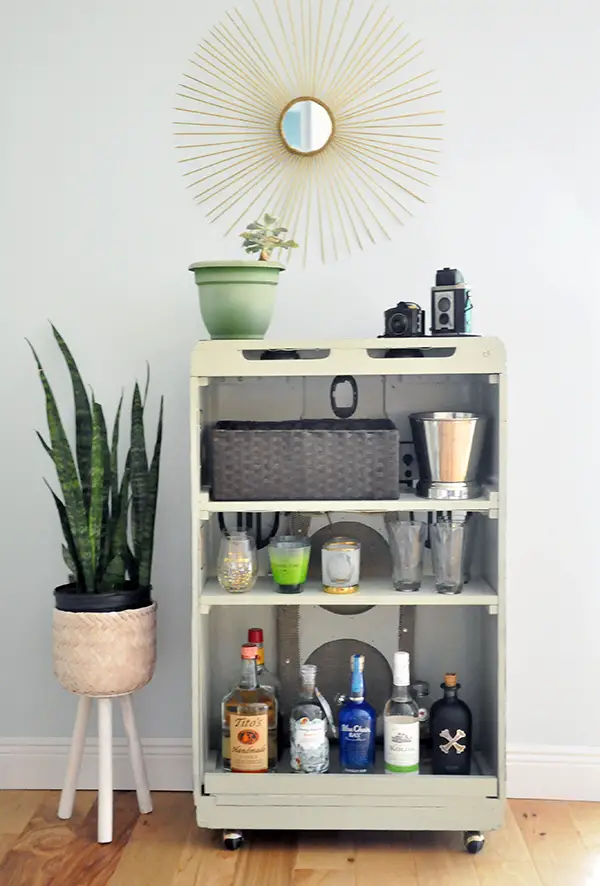
Lastly, I added a wider shelf where the other one had been, using a 22.5″ L x 9.25″ D X .75″ H piece of wood that I picked up at Home Depot. Actually, the piece I picked up was 4 feet long, so I had to cut it to 22.5″ using my saw when I got home. My husband helped me cut some brackets using the same piece of wood and then helped me attach it all. Note: we made sure this shelf was spaced enough to hold tall bottles of booze and was also tall enough to fit the glasses we wanted in there.
Step 3, Paint…
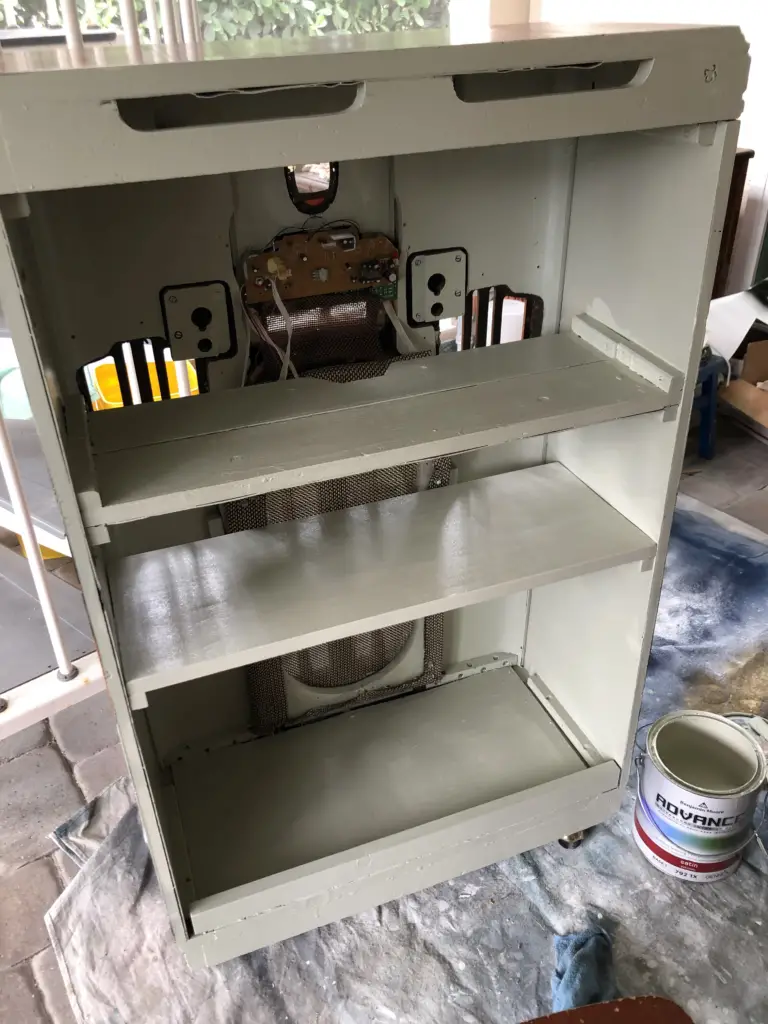
Once all the shelves were set, I painted the inside October Mist by Benjamin Moore. I had this on hand from previous projects so figured I might as well would use it up. Plus, it the Color of the Year and I love it.
Step 4, Addressing The Wires…
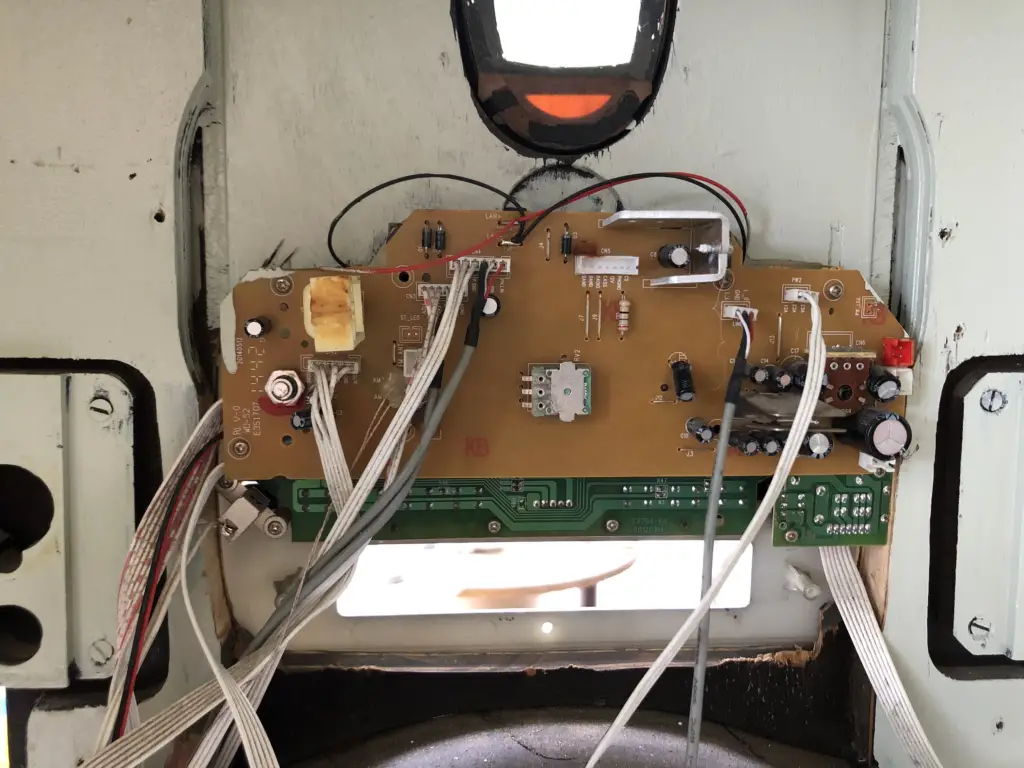
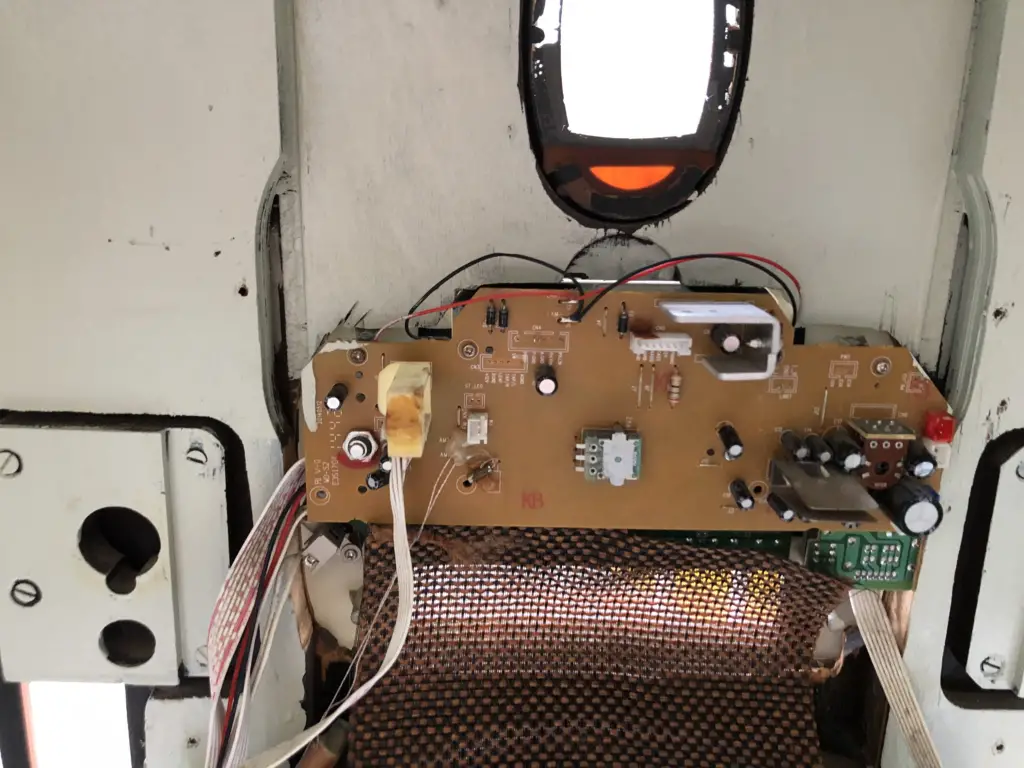
All the wires going to nowhere were a bit of an eyesore, so I took off as many as I could by just yanking them out. I did try to just take off this entire piece. Unfortunately, it was all attached and once unscrewed it took off the entire front plate of the radio, and left a big hole, so I had to put it back.
Before After I clipped as many wires as I could
Step 5, Adding Lights…
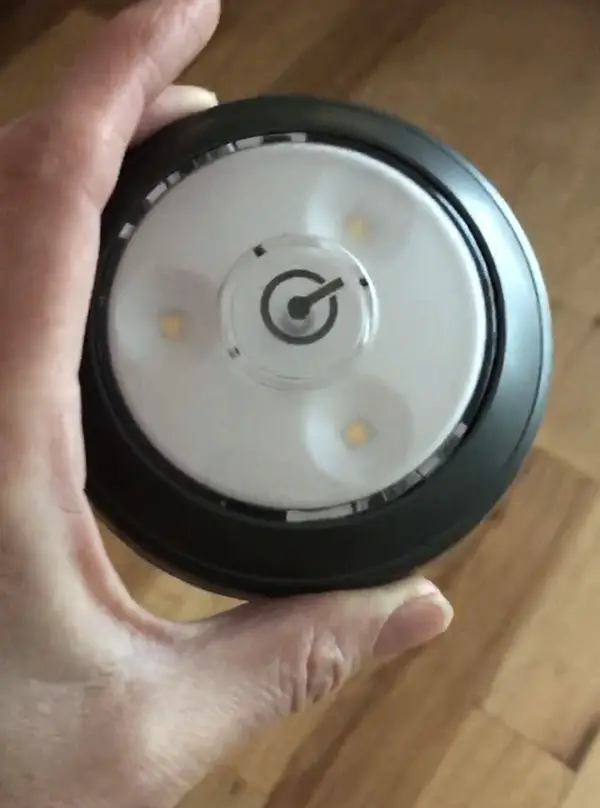
The last thing I did was add some ‘puck lights‘ underneath the top of the bar. These will probably only be used when we have people over. This set of puck lights on Amazon comes with a remote. The ones I used don’t have a remote, so I plan to order some that do. I need another set for underneath the glasses anyway.
Puck Light
The finished piece….
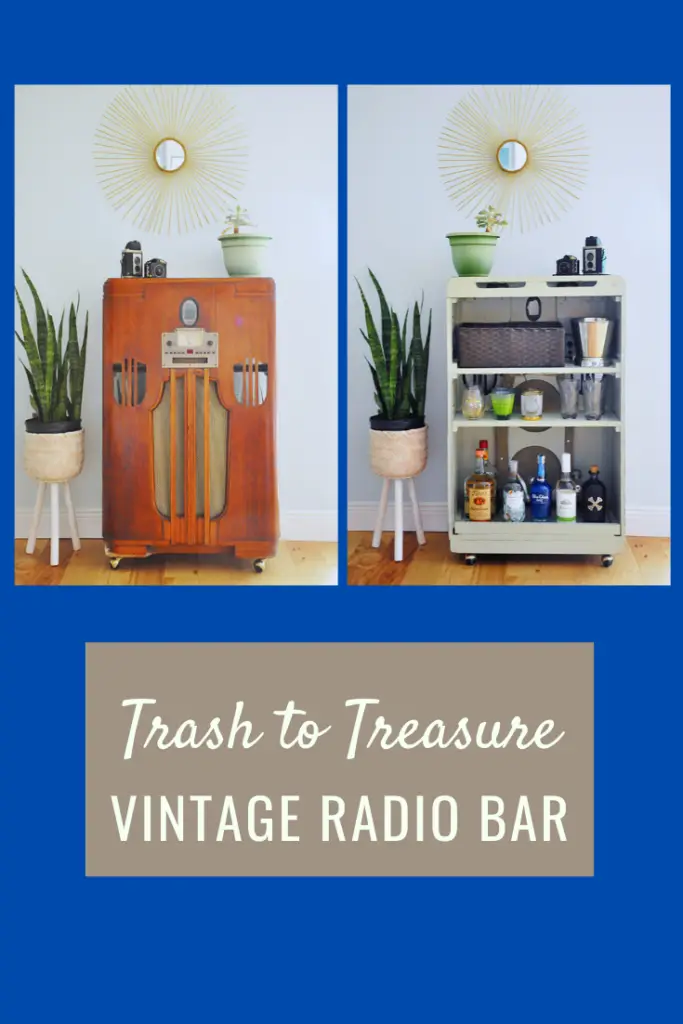
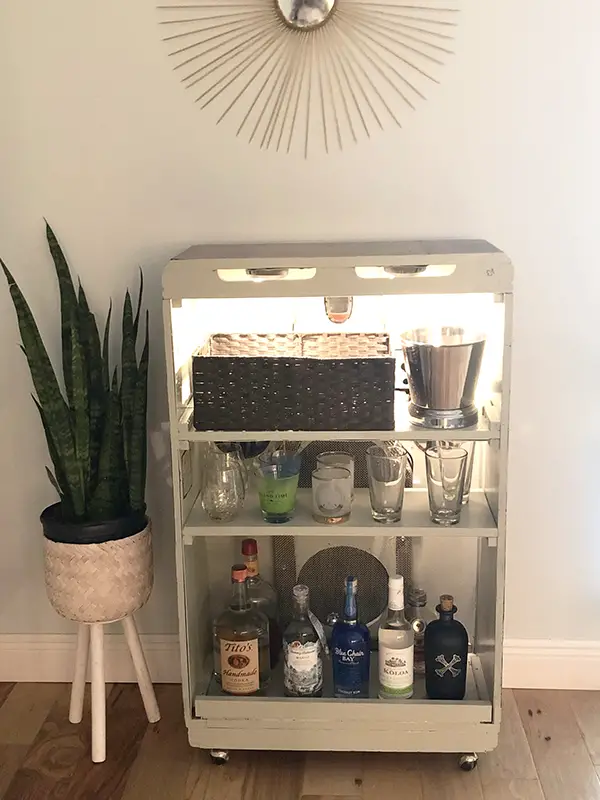
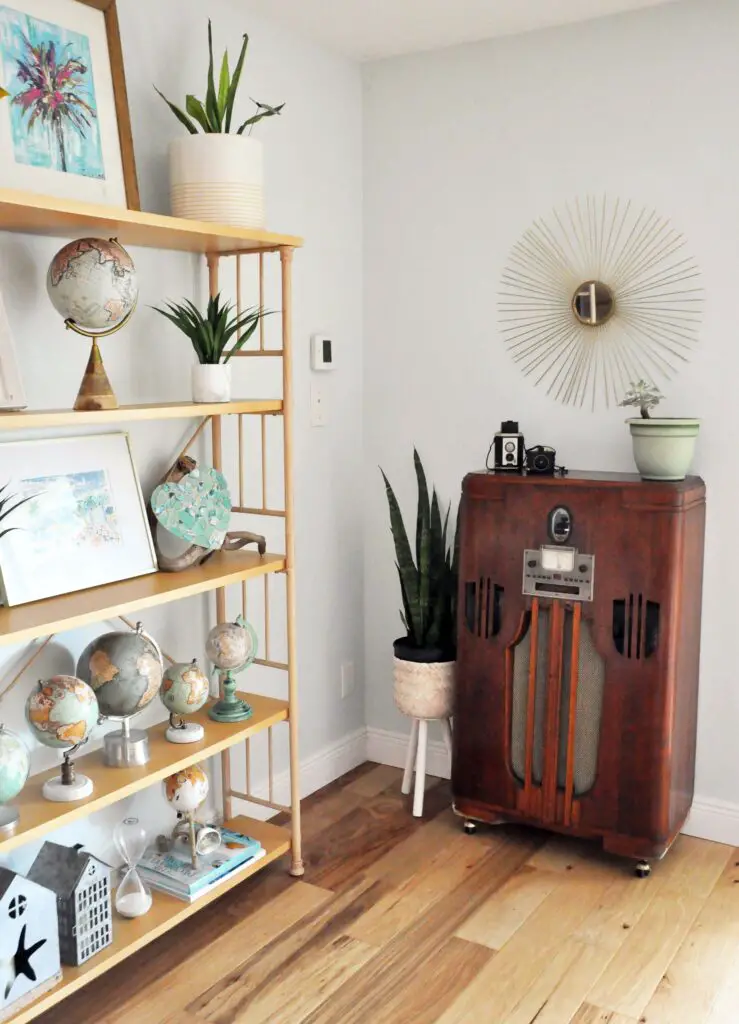
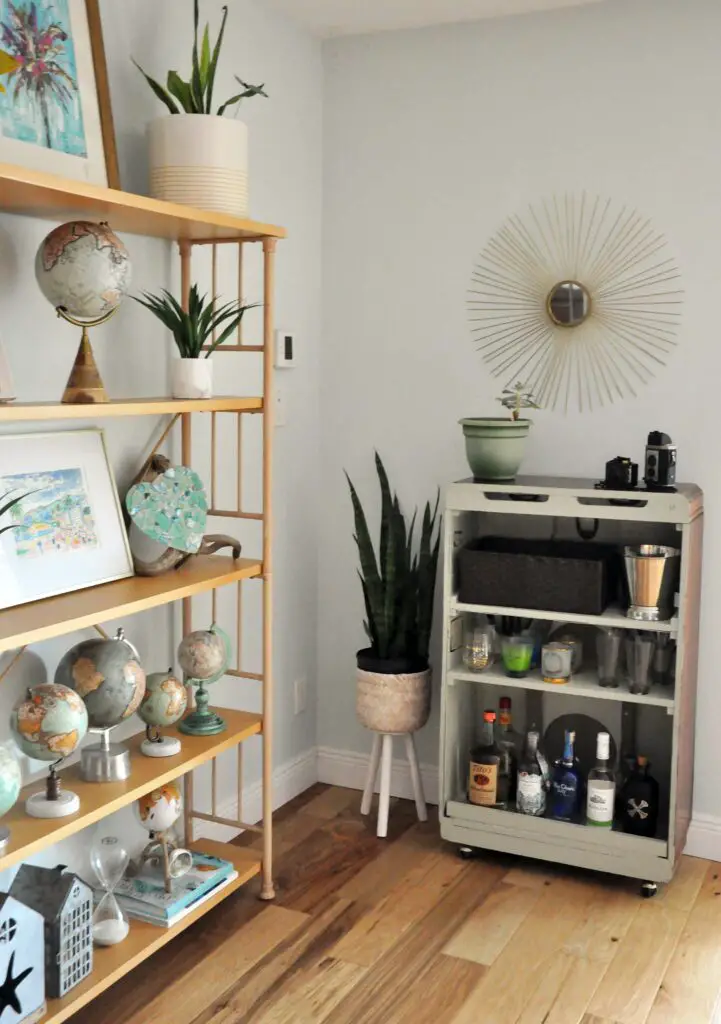
Once the paint dried, I brought it inside and filled it up. Here is how it looks. I’m absolutely loving how it turned out. The basket on the top shelf hides the ugly wires and holds cocktail napkins and whatnot. I will only turn it around to the bar side when we are having parties. Otherwise it will stay on the radio side. I think it looks pretty cool that way. Vintage pieces like this are all the rage these days.
What do you think?
PIN FOR LATER…

16 Comments
This is such a great piece to find on the side of the road Jodi. Great way to use the radio. Thanks for sharing. Love it!
Thanks, Terrie. It still need a bit of work, but I will get there.
I LOVE this. What a great idea. I picked one up at Round Top a few years ago. The plan was to make it into something – no idea what. However, when I got it home the first thing my Hubs did was plug it in and turn it on. To our shock it actually still works! AM radio, ship to shore ( to alert us if we are being attacked by the enemy. I never even knew that existed!) It’s filled with tubes that if broken we will never find new ones. So The Hubs forbid me to even touch it. lol. So happy that you created a beautiful piece for your home. It’s fabulous!
Oh wow. How cool! I wish this one still worked, but that is what blue tooth speakers are for. LOL
What a find, Jodi! I’m dating myself, but my dad had one of those when I was little! I witnessed the advent of tv, but before that we would sit around and listen to the radio! I like that you turned it into a small bar. You’re probably come up with other ways to feature the front. It’s such a great look!
The good old days. 🙂 I love finding things like this, which doesn’t happen often. Glad you like it.
What a fun way to give that old radio a new purpose! SUPER creative and I can’t wait to see what you come up with to showcase it for music too! P.S. Awesome find too!
Thank you so much! I wish I had finished it, but just got this piece late last week so didn’t have a ton of time. BUT, I will get it done soon and update my post.
What a great find. I can’t wait to see it finished!
Niky @ The House on Silverado
Thank you! Me too.
Such a great find and such a cool way to repurpose this vintage radio! Love it!
Thank you! Glad you like it.
This is a fantastic piece. My husband found an old radio cabinet a year ago. I was hoping to save the entire piece, but it was beyond repair. I saved parts.
When I saw this the first thing, I thought of was a bar.
Great minds think alike! 🙂
Jodi, what a great find! The bar idea is super. What a conversation piece. Can’t wait til you share the final reveal. Keep up the good work.
Glad you like it! Final reveal coming soon.