
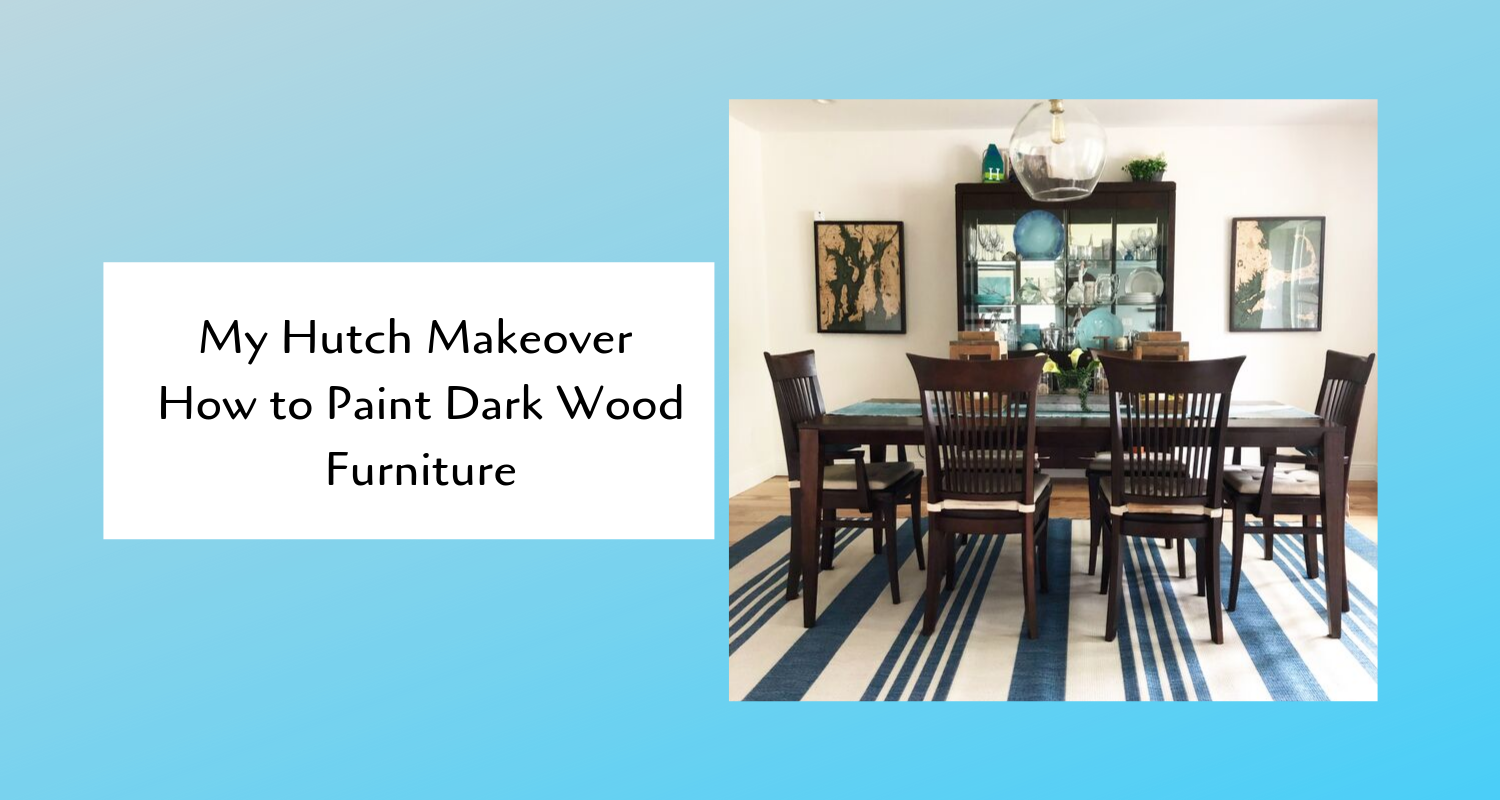
How to Paint an Old Dark Wood Piece of Furniture
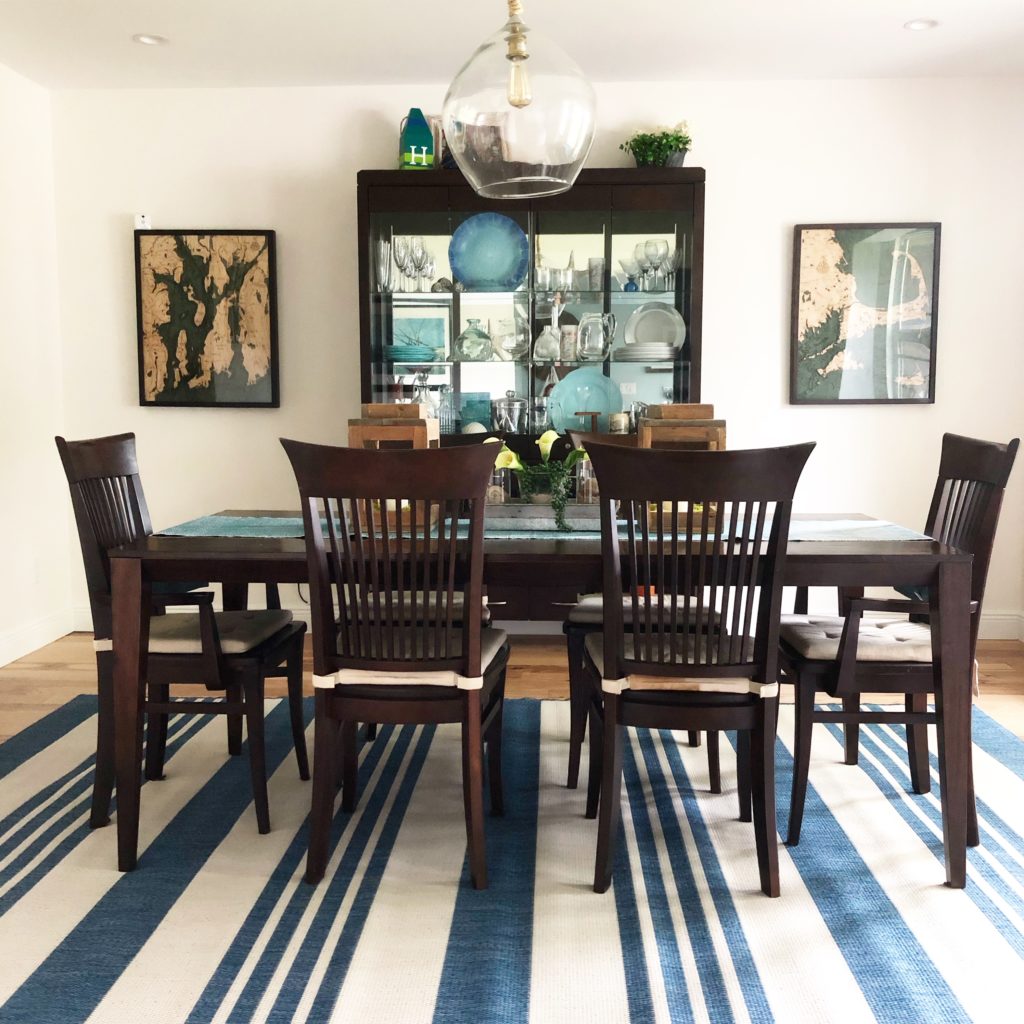
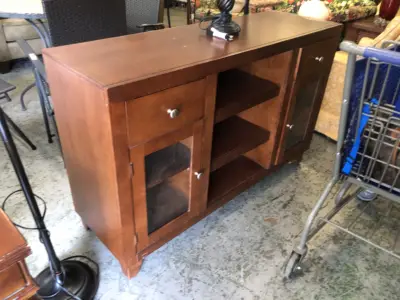
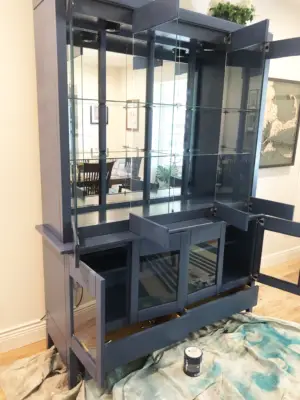
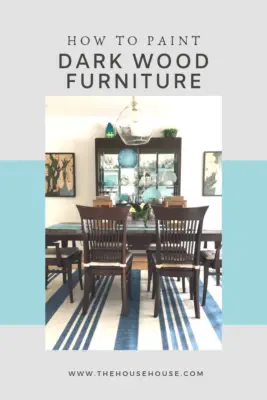
We’ve had this dining room set for a LONG time. We bought it when chocolate brown furniture was all the rage. I still love it’s clean lines and all the storage it offers, and the fact that I get to display all my ‘pretties’. After re-doing this Thrift Store Find a few weeks ago, it really made my old dark brown hutch stick out like a sore thumb in my dining room. Soooooo, much to my husband’s chagrin I painted it blue to match my more coastal taste and decor (and now I need to re-do the dining table too.) Here is the piece BEFORE.
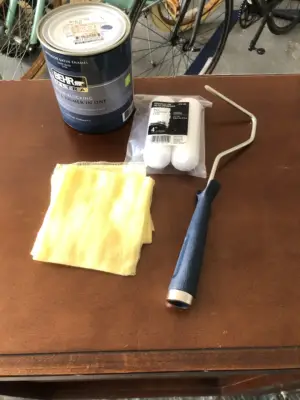
Here are the material used and the steps I took to paint this old dark wood piece of furniture.
Materials Used for this Project…paintbrush |
Step 1, Purchase Paint and Supplies
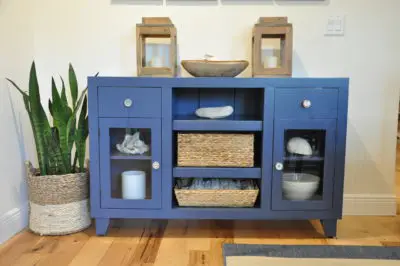
Last month I scored this thrift store piece for only $19.99 at my local Goodwill and painted it English Channel. I really loved the way it came out so I planned to paint the hutch the same color. There was still a half a can of paint left so started with that. I did need to purchase another quart size and now have 1/2 can of that left over, so basically it took 1 quart size can of paint to complete this project.
Painting furniture is all about using the correct products. Chalk Paint is a great option. I have used chalk paint on many pieces, including this one, and this one. For this piece I used Behr Stain Blocking Paint and Primer in One. This stuff is pretty awesome too and did not disappoint. I used a Satin sheen which is best for kitchens, bathrooms, cabinets & trim. Other supplies I used were, Tack Cloths, and rollers for my small paint roller from my last project to use.
Step 2, Clean and Prep…
I decided to just paint this piece right in the dining room! My husband helped me move it a little bit away from the wall, and then I put a tarp down under it, promising myself that I would be super careful (and I was!!!). This thing is heavy so I didn’t feel like moving it to the garage or outside. Before I began, I took everything out of it and took the knobs and handles off too. Then I gave it a good cleaning and tried to make sure I got all the dust. I did not sand first.
Step 3, Paint…
As stated above, I did not sand this piece at all. I just painted right over the dark brown. It took about 3 coats. I used my roller on the big pieces, and a paint brush when needed on the smaller areas, and a very small brush for the smallest lips on the doors. This whole process took about 4 hours total.
After I was done painting and it was all dry, I applied two coats of this Minwax Satin Polycrylic Protective Finish.
Step 4, Styling…
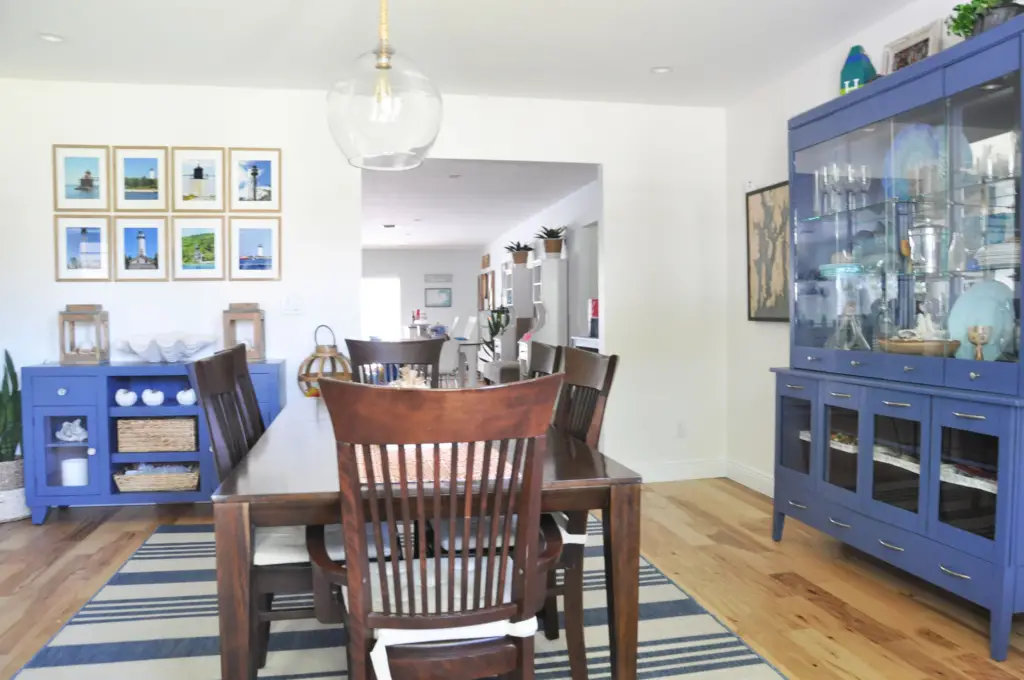
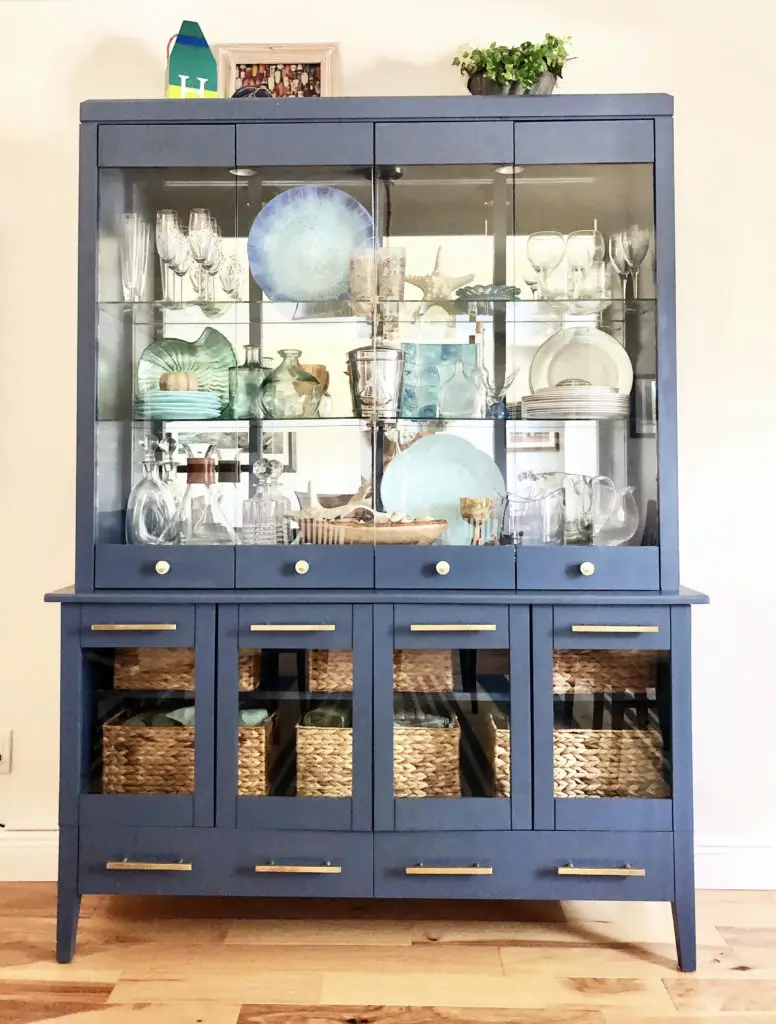
I made sure to wait until the top coat was completely dried before I started putting the knobs and handles back on, and then started putting everything back inside. It was fun to restyle it with all my ‘pretties’. Now I need new lighter baskets for underneath. Also, I contemplated getting some new fun knobs and handles, but the ones it came with are pretty nice so I plan to live with them for a bit and decide later if I want to replace them or not.
Re-doing the Dining table is UP NEXT. I do not plan to paint it blue. I will be sanding and staining this piece to lighten it up.
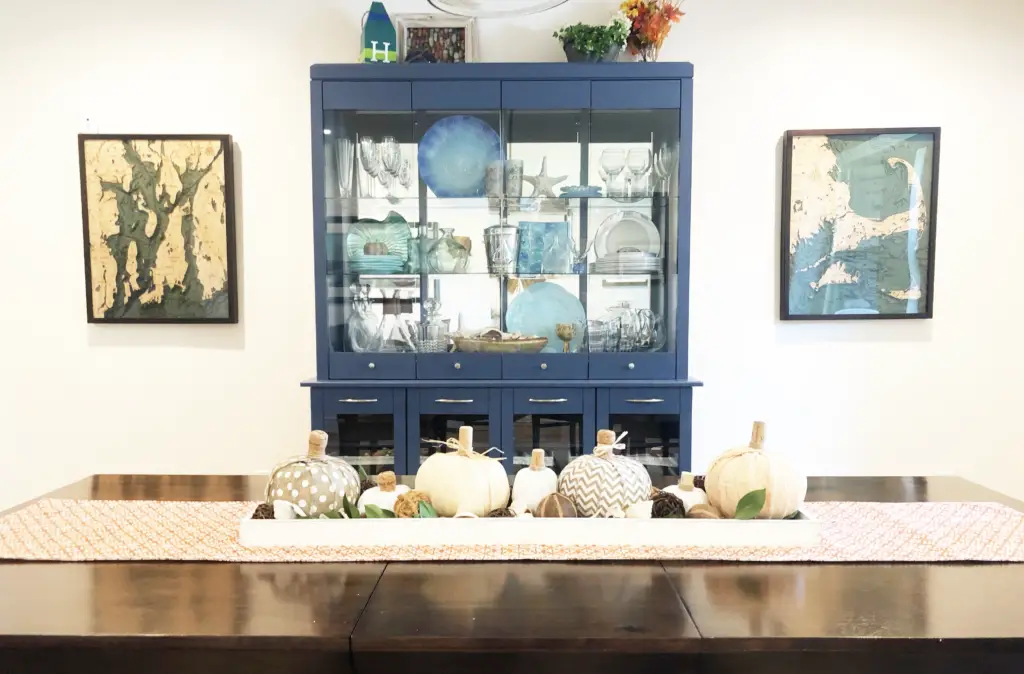
After living with it for a few weeks I decided to change out the knobs and handles. I found these brushed gold knobs and these brushed gold handles on Amazon and thought I would give them a try. Verdict: I love them.
And now I will work on re-doing the table!
Pin for later


5 Comments
Jodi this looks great, love the color. Looking forward to the color you choose for the table.
What if you dry brush the baskets to lighten? Would be pretty for your coastal look.
Have a great weekend
Cindy
Hi Cindy,
Thank you! Funny you should mention the baskets. I JUST walked in the door with some new, lighter colored ones to replace those. I thought about painting the ones I already had too, but I had a gift card for Marshall’s and lucked out and found exactly what I was looking for. Now I think I need to replace the knobs. lol! I saw some cute brushed gold ones on amazon.
Hey Jodi! I actually referred back to you website becauseI have a dark wood liquor cabinet that I need to repaint. I’d like to choose a lighter more modern color. The thing is, I noticed you didn’t sand your hutch but you stripped your dining table. How do you know if you sand, strip or can get away with sanding or stripping altogether? As an amateur, I hope to avoid as much as I can!
Hi Tanya! If you use the right paint you don’t really need to sand. I sanded then stained the top of my dining table whereas I only painted my hutch. Chalk paint or furniture paint are good options to use on furniture. Once painted make sure you use a good polyurethane to protect it. I like the water based Minwax. Hope this helps.
That’s just up my alley, thank you!! I hope you and the family stay safe!