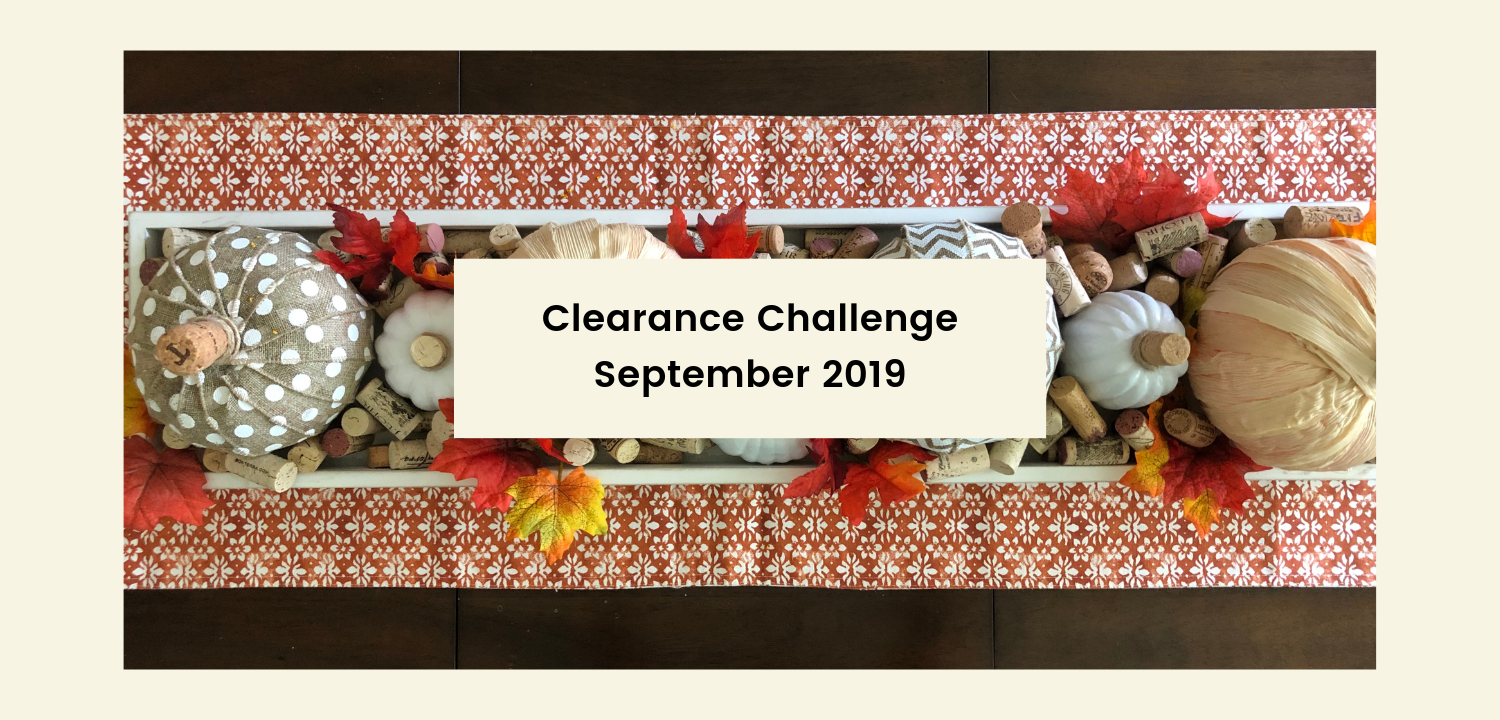
Top Shelf Clearance Challenge – September 2019
It’s time for another Top Shelf Clearance Challenge! Please check out my super creative, crafty and extremely talented blogger friends who also participated in this challenge. Links to all their blogs and their Clearance Challenge Projects are listed at the bottom of this post. About this Challenge… The rules for the Top Shelf Clearance Challenge are as follows. Buy at least one clearance item for $15 or less. Take a photo of the clearance item and the clearance sticker(s). Then take the item(s) and style them or transform them as you wish. In case you missed any of my last Clearance Challenges, you can see them all here. *This post may contain some affiliate links for your convenience (which means if you make a purchase after clicking a link I will earn a small commission which helps keep my blog up and running but it won’t cost you a penny more)! Here is what I found… I actually found several amazing things on clearance this month, but I am only going to talk about one. The item below was found on the clearance shelves at Marshall’s for only $10! After making these DIY Dollar Store Pumpkins I was searching for a large tray to display them on. This item is 3 ft long, by 8 inches wide, so fit the bill perfectly, and the price was right. Yet, it isn’t really a tray at all, but rather a ‘God Bless America’ sign that you can hang on your wall. Cute as it is, I plan to use it as a tray. It will be perfect to use all year long for seasonal centerpieces. I thought I would show you three different ways to style this tray for the Fall season… 1. Give me all the Fall Colors… Everything I used here is from Dollar Tree. I bought a bunch of fall flowers and a bunch of stems of fall leaves. The pumpkins are from Dollar Tree too but were given a makeover. You can see that tutorial here. I already had the vase in the middle (which is also from the Dollar Tree). The vase is filled with sand, but you could fill it with wine corks, or anything you want. Anyway, here is how I styled it. First I placed the pumpkins and the vase in the tray. Next, I started placing the leaves in around them and moving the pumpkins around until I was satisfied with how it looked. I literally just yanked the leaves right off the stems so I could use them in the tray. Pretty easy, and it looks very colorful and festive. 2. Gone Coastal… I wanted a more coastal, neutral vibe for this next centerpiece. Therefore, I added some shells from my collection, these neutral colored decorative spheres or vase filler (or this kind would be great too) from Hobby Lobby that I already had, and some greenery I picked up at Fresh Market. To assemble this centerpiece, I added in the greenery first, then I placed the pumpkins in next, then started adding in the spheres. The runner is from HomeGoods and is reversible! How cool is that? Both sides are great and I couldn’t decide which I liked better, so I was having fun flipping it over for the photos. 3. Cheers to Fall… Last but not least, I used the leaves from Dollar Tree and a bunch of wine corks. I wanted to tie in the fact that I used wine corks for the stems. Once again, I placed the pumpkins in the tray first, then placed the corks around … Continue reading Top Shelf Clearance Challenge – September 2019